
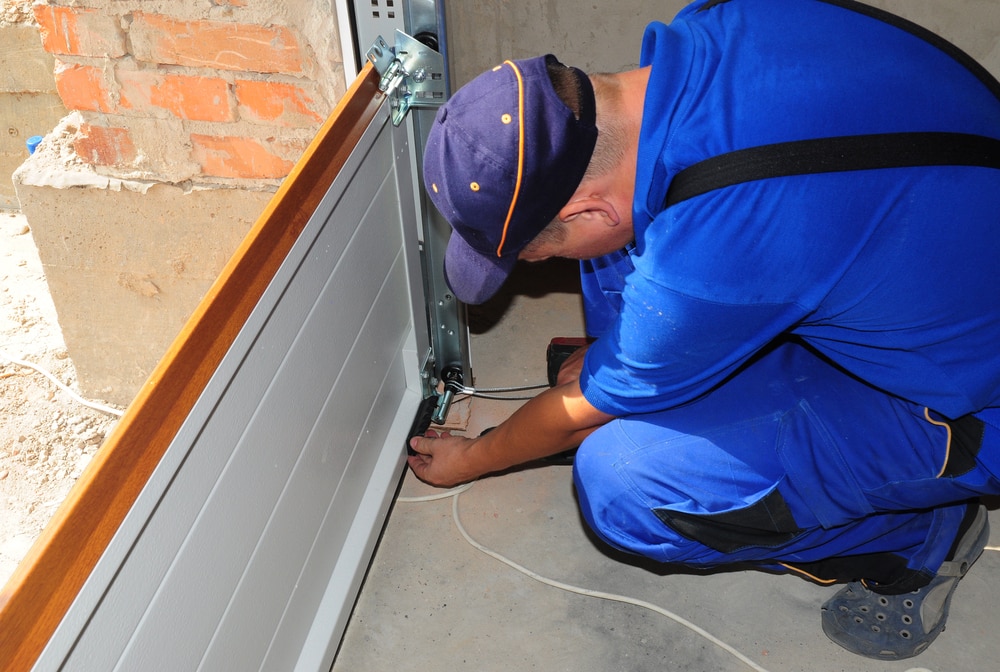
Replacing the rollers on a garage door is often a straightforward DIY project. If you’ve never done it before, it can take a bit of getting used to, but by the time you have replaced the 10—12 rollers that most garage doors have, you’ll be a pro!
If you have a helper, it will make this task safer and easier. However, it can still be done safely by working carefully, not rushing, and using a solid stepladder to replace top rollers.

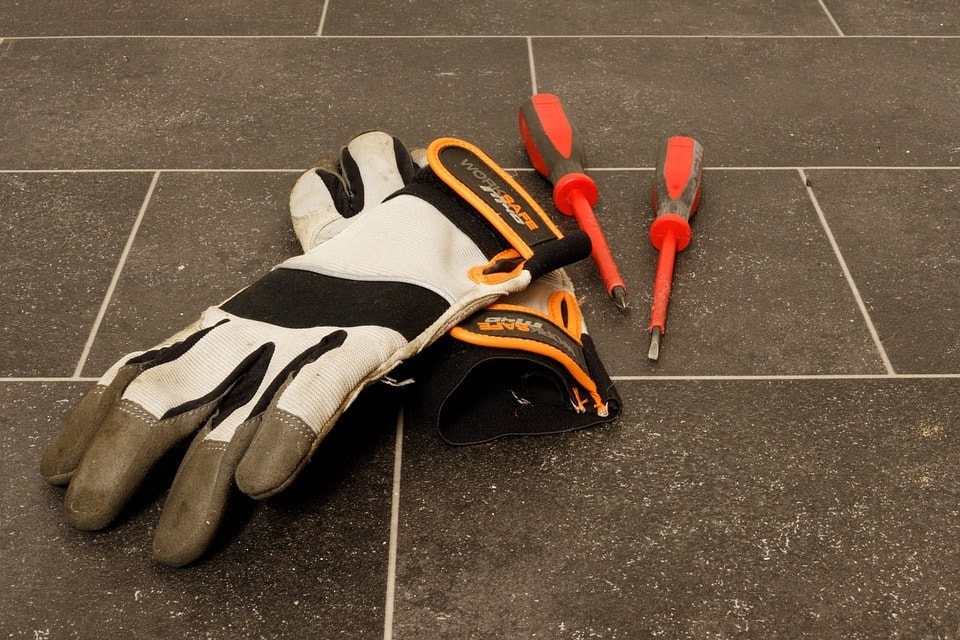
- Safety: Safety glasses, work gloves,
- Tools: Pliers, hammer, screwdrivers, step ladder, clamp
- Supplies: New rollers
How to Replace Garage Door Rollers (12 Steps)
1. Open the Garage Door
Replacing rollers from the bottom to the top is the easiest and safest way to complete this task. Whether manually or with your automatic opener, make sure the door is in its fully open position.
Also, wearing safety glasses and work gloves is recommended from here on out.
2. Make Sure the Power is Off
If your garage door is equipped with a power opener, disconnect the door from the opener. Usually, this is done by pulling a rope connected to the arm that’s activated by the opener motor.
For added safety, physically disconnect the power opener by unplugging it from its power source. If it’s wired directly to the power source, pull the fuse or flip the breaker.
This extra step prevents the door from activating unsafely if the arm responsible for the automatic operation was ever bumped back into place.

3. Pry Open a Space in the Track
Decide which side of the door you want to start with and set up a small table to hold your tools within reach. This will make your life easier if you don’t have a helper.
Find the seam in the track. It will be where the vertical piece meets the curved part that goes to the ceiling. Using pliers or the claw of a hammer, bend the seam open. You’ll want to bend approximately 1-2 inches of track open.
4. Pop the Old Roller Out of the Track
Slowly pull the door down so that the bottom roller is lined up with the opening in the track. With one hand, hold the door steady and pop the roller out from the lip with the other hand. Once released, it comes out of the track.
Keep the door steady, as that part of it will now be loose without the roller in the track.
At this point, you should be able to get the old roller out of the bracket. Sometimes, you may need to tap it a little bit with a hammer if it’s twisted or otherwise damaged.
5. Put in the New Roller
If the bracket where the roller goes is twisted, it can often be straightened with pliers at this point. This will make sliding the new roller in much easier.
Once you’re happy with the bracket, put the new roller in and pop it back into the track. If it doesn’t go in easily, sometimes you can gently pry it in with your screwdriver—but be careful not to bend the new roller.
6. Continue Replacing All Rollers EXCEPT the Top One
Repeat steps four and five until you reach the last top roller. It may be tempting to lower the door and pop all the rollers out at once, but this will make the whole task much more complex and could result in serious injury if the door falls on you.
Also, DO NOT do the last roller. Once you have completed both sides of the garage, you will do the top roller on each side.

7. Bend Track Closed
Once you have done all rollers on one side, bend the track back to how it was. Make sure that you get the seams flush with each other; otherwise, your rollers may catch. This could potentially cause damage to the opening system.
8. Repeats steps for the Other Side
Reopen the garage door, and repeat steps two through seven again.
9. Support the Door
With the door open, put a clamp approximately 1 foot from the ground. This prevents the door from closing while you’re changing the top roller.
If you don’t have a clamp, any sturdy object that’s approximately 1 foot high will suffice.
10. Pop Top Roller Out of Track and Replace with New One
Gently lower the door down to where you have your stop in place. Give it a little push to ensure it’s secure because you don’t want it to come down while you are on the ladder changing the roller.
Once you are comfortable on your ladder, pry the old roller out much the same way you did the bottom rollers. Because the top portion of the track is more flexible, you can often pry the roller out without bending the track.
Same as before, make sure the bracket the roller comes out of is in good shape and then slide the new roller in.
NOTE: Once you pop the old roller out, the top panel of the door will be loose. Make sure you are ready for it, so you aren’t knocked from your ladder.
11. Secure New Roller in Track
Because of the track’s flexibility, you should be able to twist it just enough that you can pop the new roller into its seat. If you can’t twist it enough, then pry open the track just like before—don’t forget to bend it back once the roller is in.
12. Repeat Steps for the Other Side
Repeat steps nine through eleven for the second top roller.
Once both rollers are replaced, clean all tools and supplies away from the garage door path. Reconnect the opening arm to the automatic opener. Plug in the motor or flip the breaker to power up the opener.
Test the door to ensure your track is bent back correctly and the door opens and closes smoothly.
Conclusion
Once you’ve changed these rollers, you really shouldn’t have to do it again for another 12 – 15 years as long as you replace them with high-quality replacements. Also, most manufacturers recommend lubricating the hinges and rollers every six months. This ensures they stay working in tip-top shape for as long as possible.
Featured Image Credit: Radovan1, Shutterstock
Contents
