

Weather stripping can sit around and on the bottom of the door, preventing draughts from getting into the house. Good weather stripping saves money on energy bills and it can help eliminate cold pockets of air near any external doors you have. However, it doesn’t last forever, and even the hardiest of metal weather stripping will eventually need replacing.
Although metal and wood weather stripping is a little more difficult to install than foam or rubber, the process is quick and simple, and one that can be taken on by anybody, regardless of their DIY skill levels.
Below, you will find 9 steps to help you remove and replace weather stripping, as well as a list of the few tools you need and a brief explanation of the different types of products that are available.
 Types Of Weather Stripping
 Types Of Weather Stripping
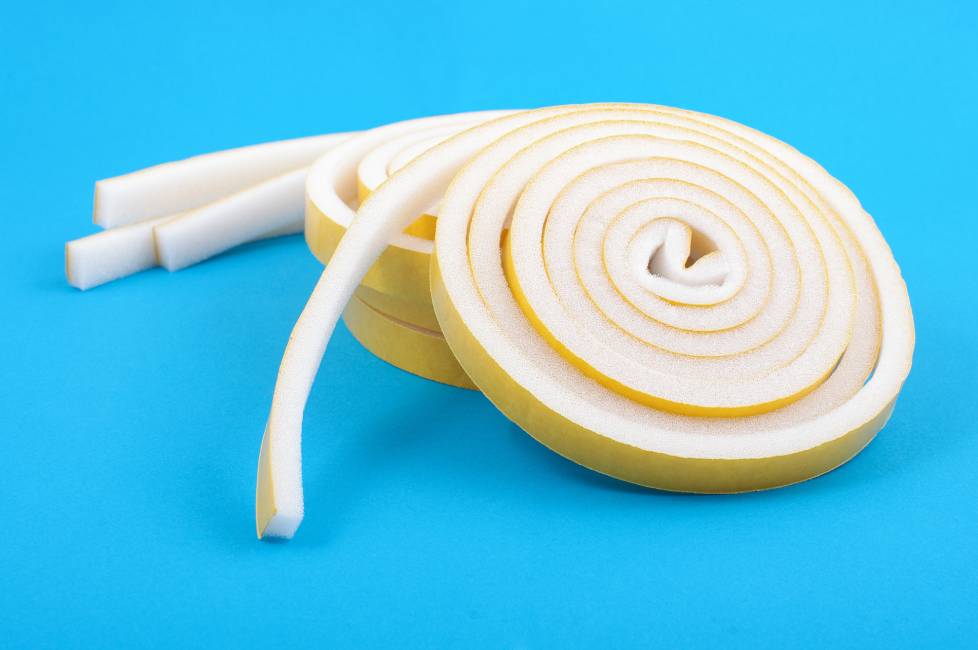
There are various types of weather stripping products available, each available at a different price, with varying durability, and with a range of installation difficulty. Some types of weather stripping simply glue to the exterior of the door and protrude below the level of the door to act as a barrier. Other types might be fixed to the bottom edge of the door, and some are designed to fit on the door stop so are not visible when the door is closed.
- Felt – Usually available in a roll, felt can be reinforced with a metal strip or plain. It is inexpensive and easy to apply, being fixed sing adhesive or staples. However, it will only last a few years before it needs replacing and can look untidy when it starts to wear. Felt tape is usually fitted to the door jamb and not to the door.
- Foam – Foam is similar in most respects to felt. It comes in a roll, is cheap, and is easily attached, but has a short life. Felt roll may be fixed to the door or the jamb, depending on the type purchased.
- Vinyl – Vinyl weather stripping is better suited when there is minimal gap between door and frame because it has a small profile.
- Tubular rubber – Rubber is a good choice for doors that see a lot of use, but it doesn’t look as good as materials like wood and metal.
- Wood – There are various styles of wood weather stripping, including those products that fox to the door frame itself. Wood does need treating but it withstands the weather and can look attractive.
- Metal – Metal is the strongest choice of material, but it is also the most expensive, and because it is unmalleable, it won’t actually do as good a job of preventing draughts as other materials.

Materials and Tools
The materials or tools required will vary according to the type of weather stripping and method of installation, but you will likely need the following tools to complete the job:
- Cloth
- Hammer
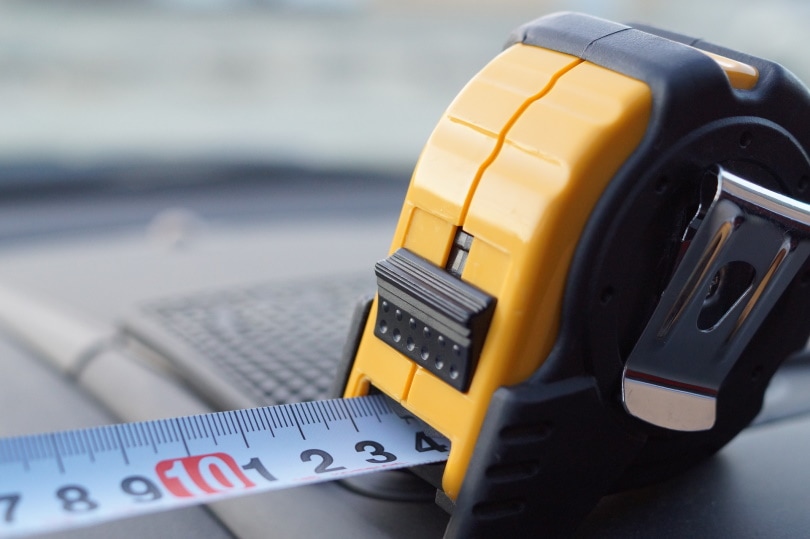
- Measure
- Nails
- Scissors
- Screwdriver
- Soap
- Weather stripping
Installing Weather Stripping
As well as having the tools to hand, you may want to wait for a dry day, if you have to remove the door to add the stripping. The process for replacement is as follows:
1. Remove Old Stripping
Use a screwdriver to remove any screws, a claw hammer to remove nails, or your hands and a craft knife to remove adhesive from the existing weather stripping and pull the stripping away without causing damage.
2. Clean the Door
Clean the area where the weather stripping was. Dirt and grime is likely to have got in behind the stripping, and this can prevent you from being able to neatly and accurately install your new product. Use a detergent or soap and warm water.
3. Measure Up
Measure the width of the door, not the width of the door opening. Write down the measurements and check them by measuring again. Now, measure the gap between the bottom of the door and the floor. If your new weather stripping hangs too low, it can prevent the door opening and closing easily, and if it is too short, it won’t prevent all draughts from getting in.
4. Buy New Weather Stripping
Determine the type of weather stripping product you want, and the material, and buy it using your door measurements. It’s always better to buy slightly too long a piece of stripping than too short because you can cut it down to length, but you can’t make it longer.
5. Cut the Stripping
Foam or felt can be cut using scissors, wood and metal can be sawn. Cut the stripping according your door measurements and make sure it is a straight cut.

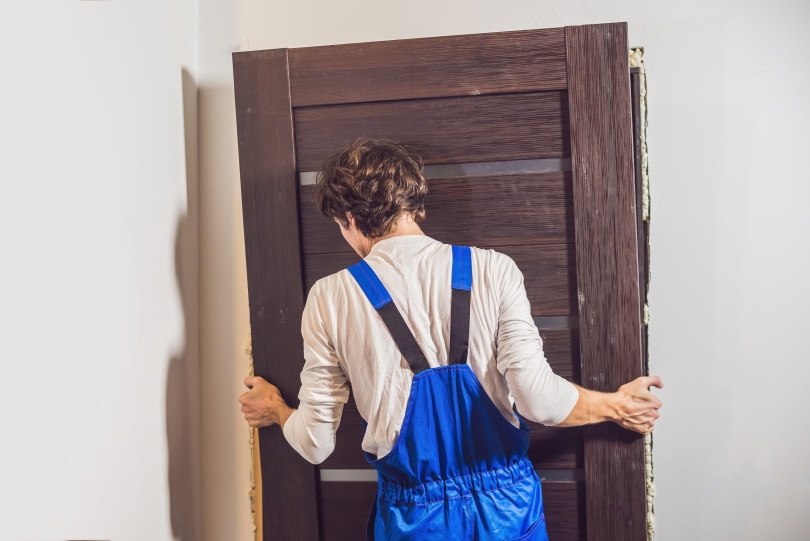
6. Remove the Door
If necessary, unscrew the hinges and remove the door. Most weather stripping can be replaced without having to do this but check the guidelines on the packet and make sure you have ample space to work.
7. Attach the Stripping To The Door
Remove the adhesive backing and stick the stripping to the bottom of the door, pressing firmly and smoothing it out to ensure that it is smooth and firmly attached.
Alternatively, if not using an adhesive fastening, ensure that the stripping is held in place while you hammer nails or screw screws and attach the stripping to your door.
8. Replace the Door
If you had to remove the door, put it back on its hinges with the weather stripping now in place.
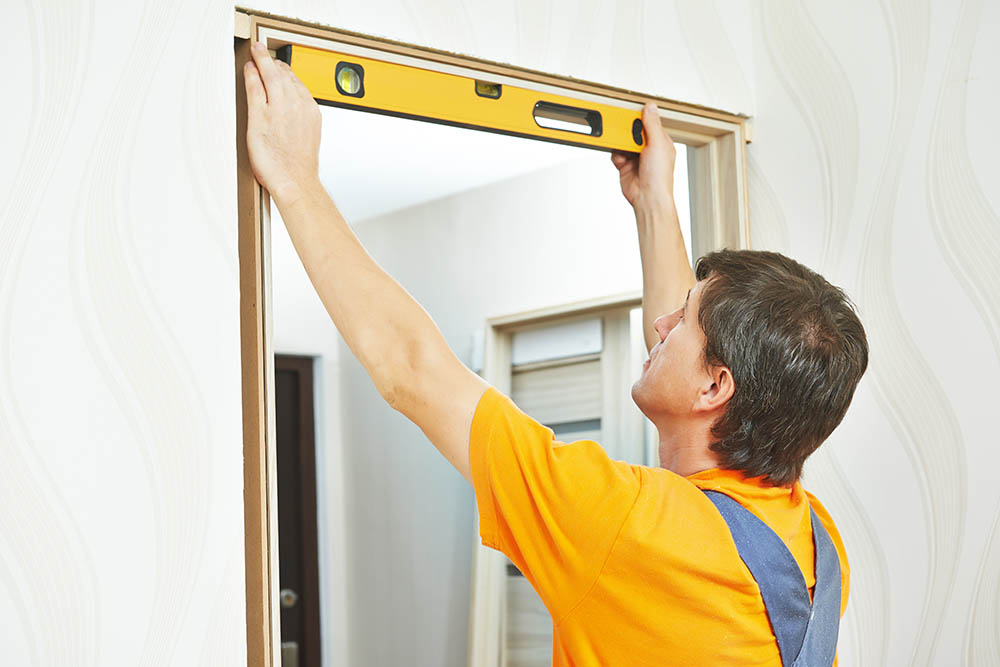
9. Check It Closes
Make sure the door opens and closes smoothly but that there is no gap between the door and frame.
Conclusion
Weather stripping plays a vital role in ensuring your home stays warm and regardless of what type is installed, it will need replacing at least every few years. Fortunately, the process to remove old stripping and restore the barrier is a simple one that should take minutes, rather than hours, although the process will take longer if you must remove the door or if you choose a material like wood or metal.
Featured Image Credit: O.Pash, Shutterstock
Contents
