

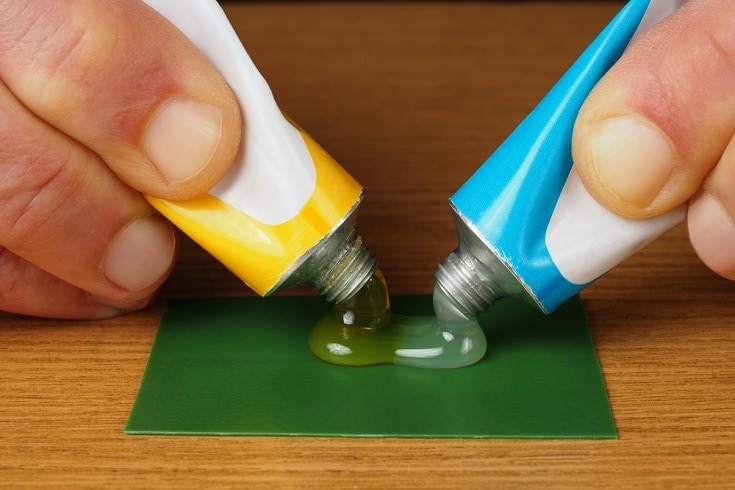
Unless you have experience bolting, soldering, or welding metal together, connecting two pieces of metal is a bit tricky. It isn’t impossible, though. Certain glues are specifically designed to bond pieces of metal. These glues include epoxy, polyurethane, and cyanoacrylate.
These adhesives are strong enough to fashion metal pieces together, but you can’t just use them like Elmer’s glue (You can try, but you won’t get the results you want.) Hence, you need to know how to properly use the adhesives to glue metal to metal. In this article, we give a step-by-step guide to just that. Read on to learn how to glue metal to metal using each main adhesive type.

What Makes Connecting Metal Difficult?
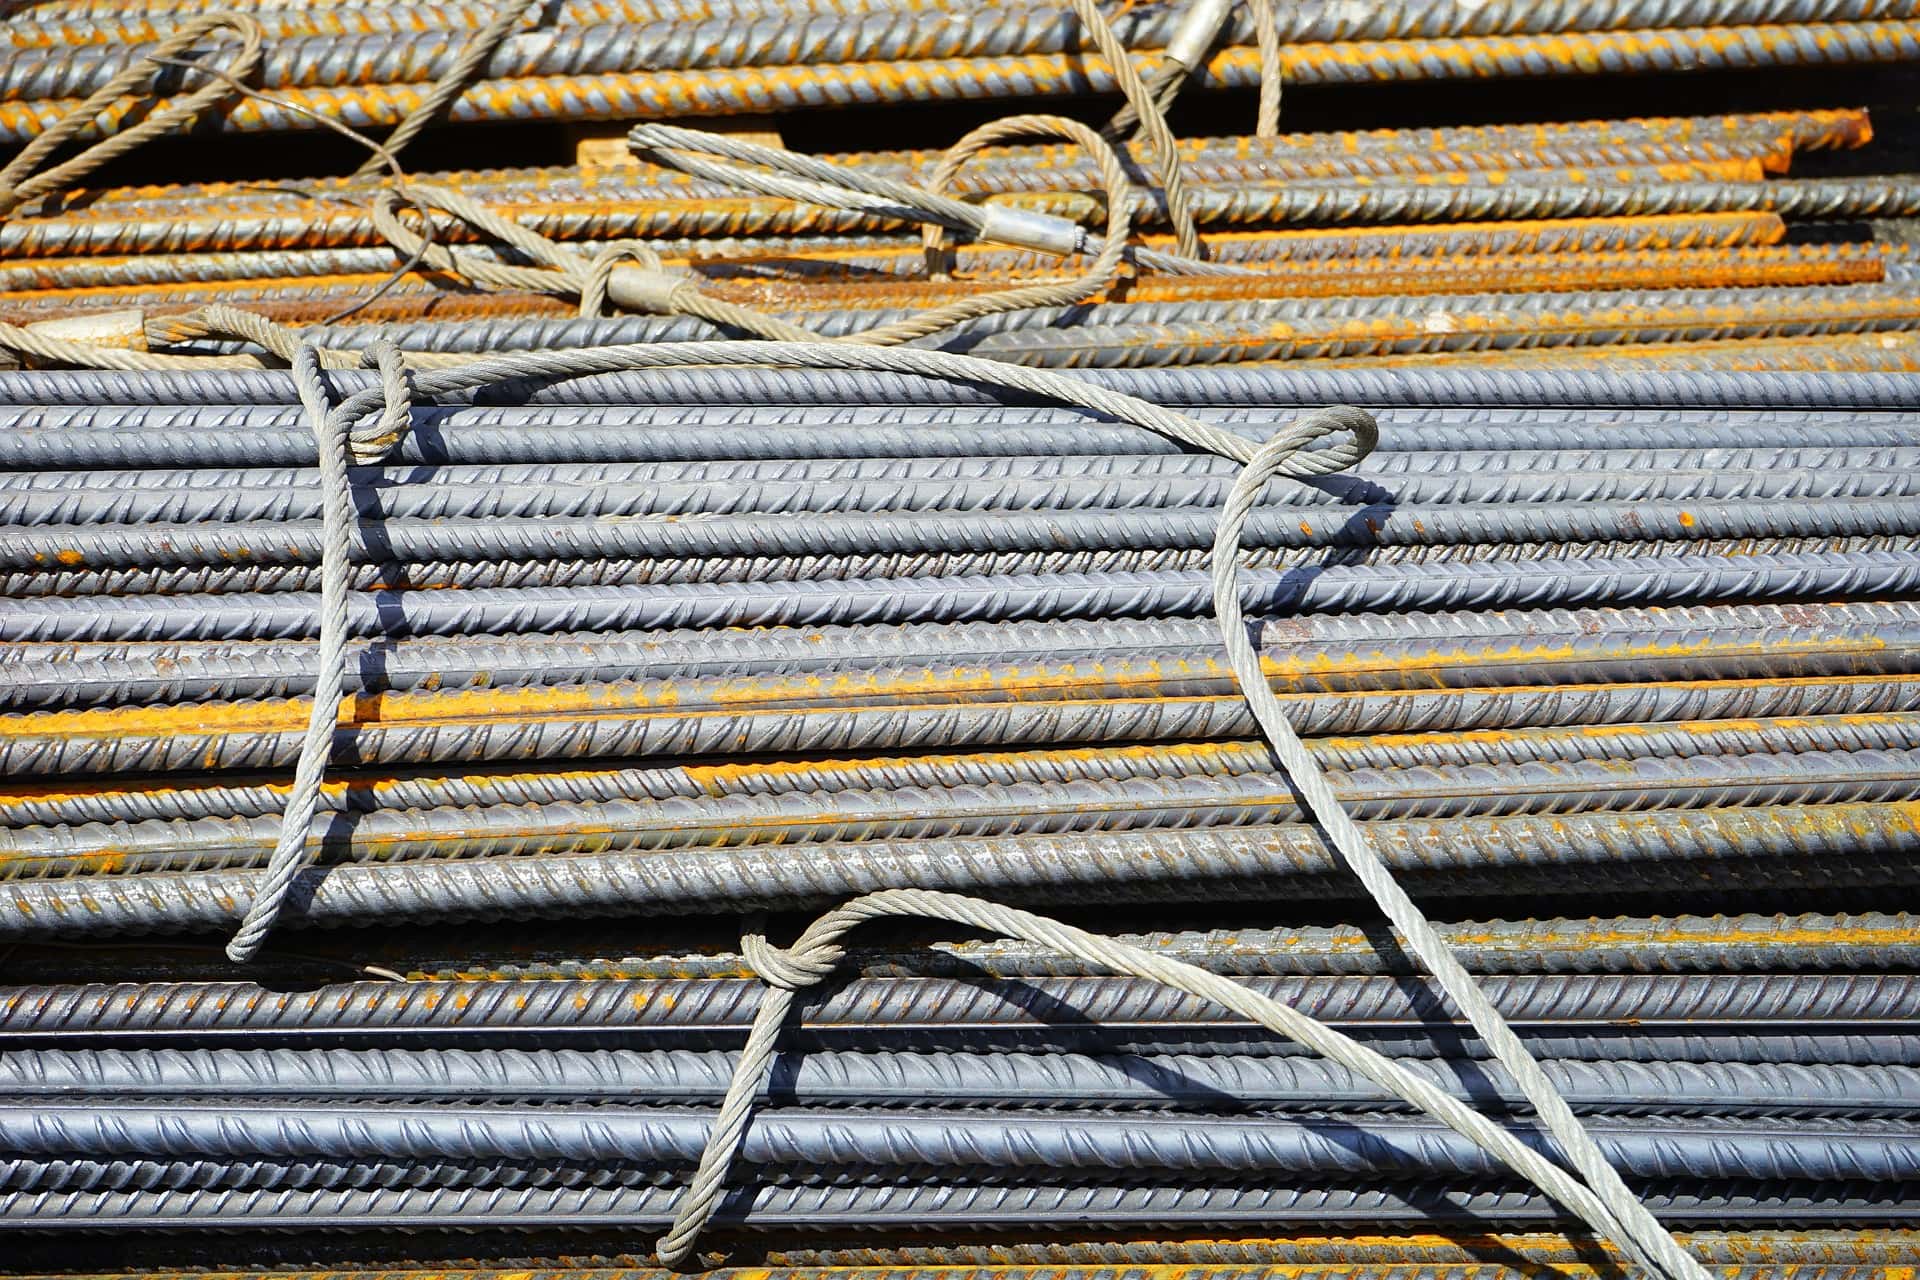
There are two reasons why connecting metal is more difficult than connecting other materials. Firstly, metal is very heavy. This requires the glue to have a lot of strength. Regular adhesives simply do not offer the required strength to hold two pieces of heavy metal together. Even if they temporarily connect the pieces, the finished product won’t last long.
Additionally, most metal pieces have a smooth finish. Unlike wood or fabric, metal is not a very porous material. This means that the adhesive doesn’t have tiny pores to slip into, making it more difficult for the glue to properly bond to the metal. You need to prepare your metal pieces, which we will discuss in this article, for the adhesives to stick properly.
Connection Options
Bolting, soldering, welding, and gluing are the four main ways to connect metal to metal. The first three options should be chosen for thick, heavy pieces of metal. You should also choose those options if the connected piece will undergo a lot of wear and tear.
These techniques will require much more time, skill, and products to perform. Unless you have proper training, you will likely need to hand the job off to a professional. Though we will not go into detail about how to connect metal this way, it is helpful to know your options before hand.
On the other hand, you should select gluing the pieces together if they are smaller and will not undergo intensive wear and tear. Gluing metal pieces together is incredibly easy. Just stop by any home improvement store and pick up an adhesive of your choice.

Getting Started
Before you get to gluing pieces of metal together, there are some things you need to do first.
What You’ll Need
- Protective wear
- Pieces of metal
- Adhesive of your choice
- Scraper or sander
- Clean cloth or paper towel
- Degreaser or detergent
- Fine-grit sandpaper
- Disposable cup/bowl/applicator (if using epoxy)
Prep
Before gluing the metal together, there are some things you need to do first. For starters, select which adhesive you want. You can’t do anything without the glue! Epoxy, polyurethane, and ethyl cyanoacrylate are strong enough to bind metal to metal. You should select epoxy if you need maximum strength and protection. This material is the strongest of the three, and it will fill in gaps.
If you need some strength but not as much as epoxy, polyurethane is probably your best bet. It is suitable for most jobs, and it is much easier to apply. For more instant results, select ethyl cyanoacrylate or some sort of instant super glue (ethyl cyanoacrylate is almost always the base). This option will also be easier to apply, but it does not work to fill gaps.
Filler Some filler Easy to apply No filler Easy to apply Quicker results
Need
Which Adhesive to Choose
Maximum strength
Epoxy
Medium strength
Polyurethane
Low strength
Ethyl cyanoacrylate

Preliminary Steps
1. Protective Gear
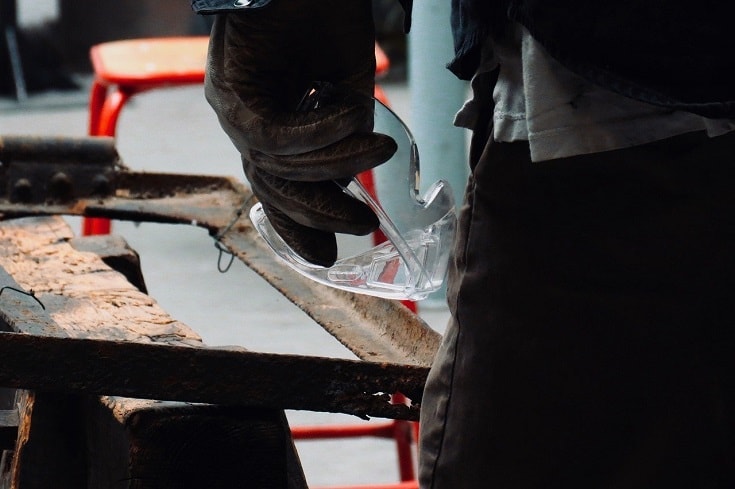
Once you know what glue you want, put on any protective gear. If you are working with sharp or pointy metal, this will likely include heavy gloves and long sleeves.
When working with the adhesives, wear gloves to prevent yourself from accidentally getting the mixture on your hands. Thin rubber gloves should work fine, but still be cautious about what materials the adhesive gets on.
2. Clean the Metal
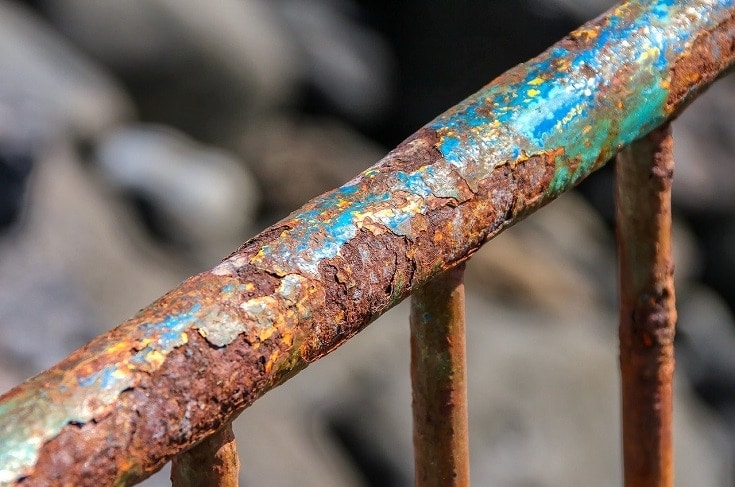
Next, you need to clean the pieces of metal thoroughly. This includes removing any paint, rust, or corrosion. Likewise, you need to remove dust, dirt, oil, grease, or wax from the pieces. Improperly removing these items prevents the adhesive from getting to the metal.
Remove paint, corrosion, and rust with a scraper or sanding tool. Be gentle not to damage the metal but be forceful enough to thoroughly remove these unwanted pieces. Follow by wetting a clean cloth or paper towel with a degreaser. Use that cloth to remove any other residue or dirt that may be on the metal.
3. Use Sandpaper to Roughen the Surface
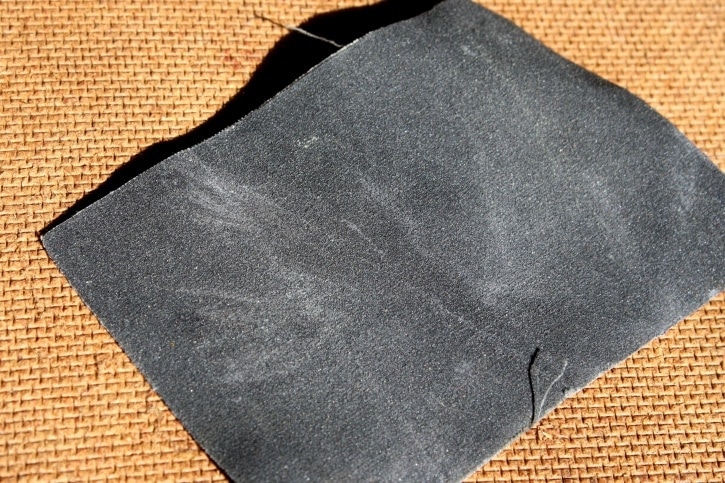
With all rust, dirt, or grease removed from the metal, you should have a clean piece. Get a medium grit sandpaper piece and roughen up the surfaces you will be gluing together. Roughing up these spots will make it easier for the adhesive to properly bond and not fall off.
4. Don’t Forget About Ventilation
The last preparation step you need to take is moving all of your products to a well-ventilated area. Any adhesives that are strong enough to bond pieces of metals are incredibly foul and toxic to smell. Grab your pieces of metal and the adhesives and take them to a will ventilated area to work.
5. Read Your Product’s Instructions
Before we get into how to properly glue pieces of metal together, make sure to read the instructions of whatever adhesive product you choose. Not all products are the same. If your instructions differ from ours, go with whatever your product says. We are only giving instructions based on general adhesives, and your product may differ.
How to Glue Metal to Metal: By Glue Type
As we already mentioned, there are mainly three types of adhesives strong enough to bond metal to metal. How exactly you bond the metal will depend on the adhesive type you choose. Below is an overview of gluing metal to metal based on each glue type.
Epoxy
Of the adhesives, epoxy glues are the strongest. You will definitely want to select epoxy if the metal pieces you are connecting are particularly heavy or large. Before you mix the epoxy, make sure that you actually have time to fit the metal pieces together. Creating the epoxy too early will render it useless.
If you know you have enough time to finish this job, go ahead and start. Most epoxies will require you to mix equal parts of the adhesive and hardener (Once again, read the instructions!). Make sure not to mix the epoxy in any container that you do not want to ruin. It may be best to mix it in a plastic disposable cup.
With the epoxy mixed, use an appropriate tool to put the epoxy on the metal pieces. Assemble the parts 1 to 2 minutes after applying the adhesive. For the next 30 to 60 minutes, clamp the parts together to let the epoxy set. Do not use the item until at least 24 hours have passed after assembling the two pieces of metal.
Polyurethane
Whereas epoxy is a two-part mixture, polyurethane glues typically are single part, but they need moisture to set. This option is very sticky, but it isn’t as strong as epoxy. Nevertheless, it is strong enough to handle many metal types and is much easier to apply.
To apply polyurethane, all you need to do is apply the glue to the respective area. Make sure that wherever you glue, the pieces fit closely together. Polyurethane does not fill gaps well. Immediately after joining the pieces, clamp them together for 1 to two 2 to set properly. You will not be able to use the metal pieces for at least 24 hours.
Ethyl Cyanoacrylate
Ethyl cyanoacrylate will be the basis for instant super glue. They work quickly and create strong bonds, but they do not fill gaps or voids. If you want to use this product, the metal pieces must fit together perfectly for the bind to be strong enough.
Luckily, these instant glues are the easiest to apply. Simply put a small amount of the adhesive on one of the surfaces. Bring the other metal piece to the one where the glue has been applied. Make sure that the two metal pieces are joined together perfectly. Hold them together for about a minute.
Though ethyl cyanoacrylate only takes a minute to bond, the adhesive needs to cure overnight to reach maximum strength.
In Conclusion
Thanks to modern adhesives, connecting metal pieces together is actually pretty simple. The toughest part out of all of it is selecting which adhesive is best for your needs. From there, all you need to do is place the adhesive on the metal and combine the pieces together. It really is as simple as that. Just let the adhesive cure properly and it should hold your metal together beautifully!
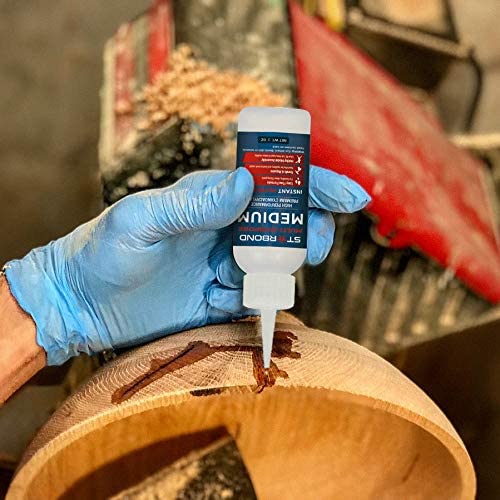
Featured Image: Vlad I. Drijman, Shutterstock
Contents
