
Potting soil is a crucial first step in the growth process, so it’s vital to store it correctly. The terrific thing about potting soil is that you can replenish the nutrients if needed. Proper storage ensures the soil’s nutrients stay fresh and effective for the following season.
Here are a few tips for storing potting soil in the future.

The 5 Tips to Store Potting Soil
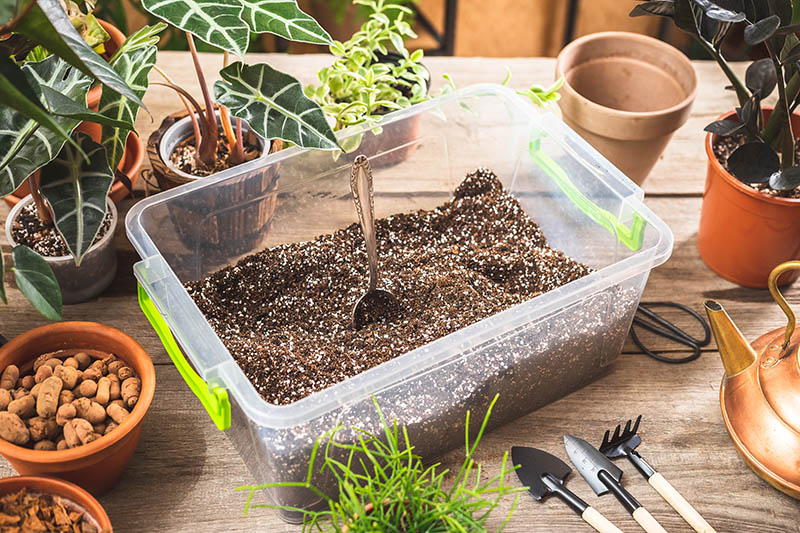
1. Purchase Airtight Containers
If your soil is exposed to the elements, it can contract several pests, insects, bacteria, and fungi. Sealing them off is essential to maintain moisture and live nutrients in the soil. Do not leave the potting soil in open bins.
You can buy simple totes at the dollar store or heavy-duty versions online. Make sure that you purchase the correct sizes needed for the amount of soil you have.
2. Make Sure the Containers are Clean
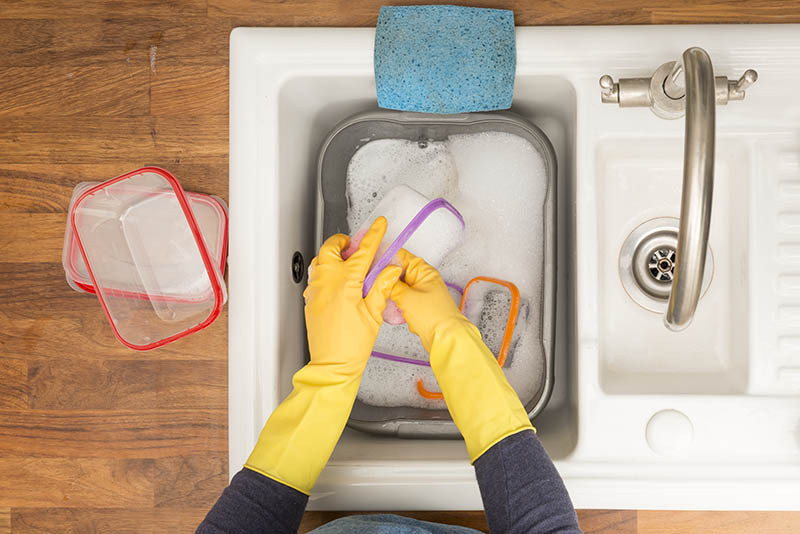
Before using the containers, make sure they’re entirely free of debris and any other remnants of what was there before.
To be on the safe side, it’s best to cleanse the containers, even if they are brand new. This gives you an excellent base to work with, ensuring nothing could deplete the nutritional value of the soil being stored.
Use this concoction to clean the containers:
- 1 part bleach, 9 parts water
Soak the bin for 30 minutes. Then, scrub, hose out, and dry. Voila! You’re ready to add the soil. Ensure it is fully dry before adding the soil to prevent unnecessary trapped moisture.
3. Sterilize Soil, if Necessary
When you sterilize the soil, you’re killing both good and bacteria in the soil. But sterilization is an excellent way to start back at square one and build a nutritional foundation from there.
If you do not sterilize the soil, it can cause damping off, which is a soil-borne fungi disease. If damping off occurs, it will make the soil unusable, even with sterilization.
No need for fancy chemicals—the sun does most of the work for sterilization. You place the soil in individual baggies and place them in the sunniest part of your yard.
4. Revitalize Soil with a Nutritional Boost
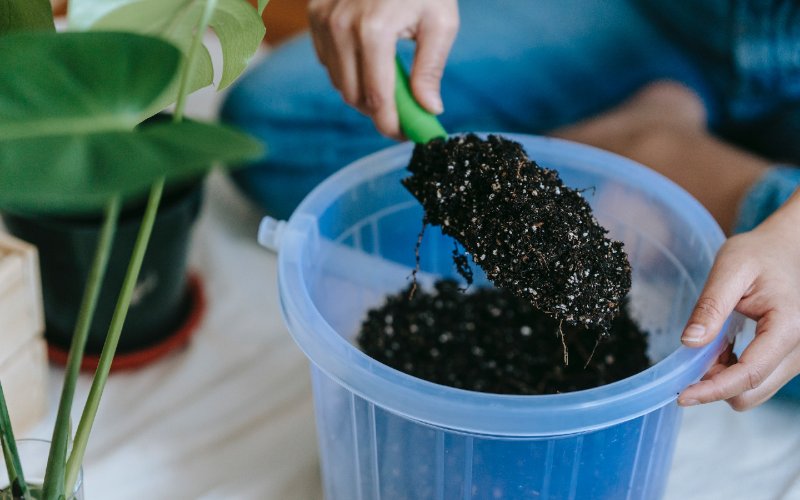
Soil sterilization kills everything—good and bad. So, to restore the soil’s nutrients, you need to give it a boost before using it.
You can add fully decomposed compost to your soil. A good rule of thumb is to add 1 part compost to 3 parts potting soil. If the compost is too heavy, it can prevent proper airflow in the soil.
This combination will feed new seedlings or stalks without smothering it. And you can keep replenishing the nutrients as needed throughout the planting season.
5. Don’t Use Potentially Poor Soil
If you feel your soil could have been exposed to air or moisture over the cold months, discard it the following season. If your soil was contaminated in any way, it could reduce or infect your upcoming starts for the season.
In this case, it’s better to be safe than sorry. So, when in doubt, pitch it!

In Conclusion
It’s easy to store your soil away and use it again next year. Don’t skip on any part of the process, as you need each step to prevent mold contamination and disease—and make sure your soil is bursting with nutrients for the upcoming plant life it will support.
Each season if you have any remaining soil, you can repeat the process, so you never waste a thing.
Featured Image Credit: Andriana Syvanych, Shutterstock
Contents
