How to Whitewash Brick: 5 Quick & Easy Steps
-

- Last updated:
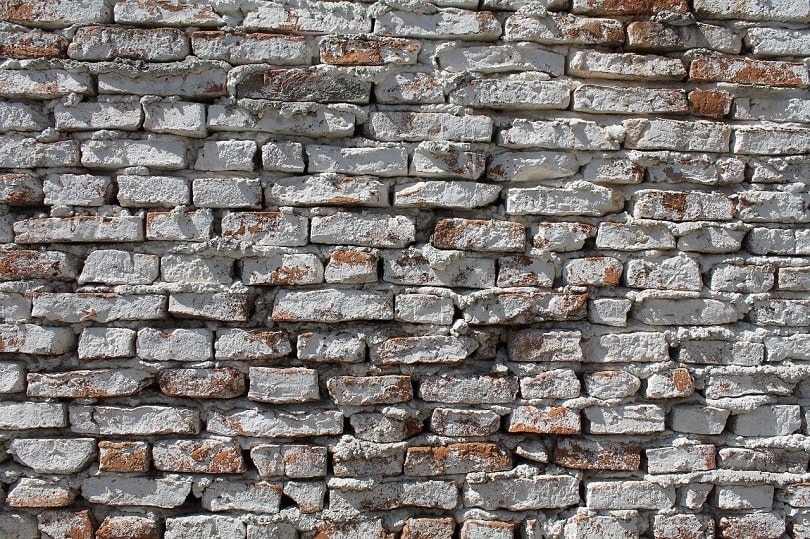

Whitewashing brick can be a quick and easy way to improve the look of old worn-out brick on the interior and exterior surfaces of your home. We will help by explaining a little about what whitewashing is and providing you with a step-by-step tutorial to complete the task as quickly as possible.
Join us while we cover all the bases to help you achieve this attractive old-world finish in any home.
What is Whitewash?
Originally, whitewash was a hydrated builder’s lime that’s not as easy to acquire as it once was. You can still find it for adjusting the pH of garden soil, but it’s dangerous to your health, so modern whitewash does not use it. Current whitewashing is typically latex-based, is much safer, and doesn’t produce as much odor as traditional methods.
There are acrylic-based whitewash brands like the one that Giani makes that you are welcome to substitute for the one we will be using, but it’s more expensive and may require additional steps.
Whitewashing Brick
1. Prepare the Work Area
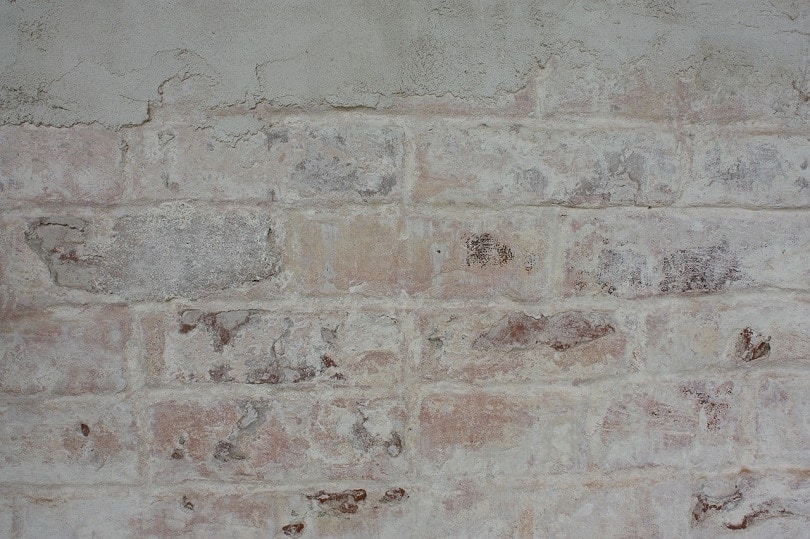
- You will need a lot of room to work while you are whitewashing, so make sure you move any furniture out of the way.
- Put down a drop cloth and hold it in place with some rock, so it doesn’t move while you work.
- Cover any furniture or other surfaces you could not move with a drop cloth.
- Use painter’s or masking tape to cover any small surfaces that might get splashed with the whitewash.
- Cover the chimney or fireplace mantel with plastic and hold it in place with tape.
2. Prepare the Surface
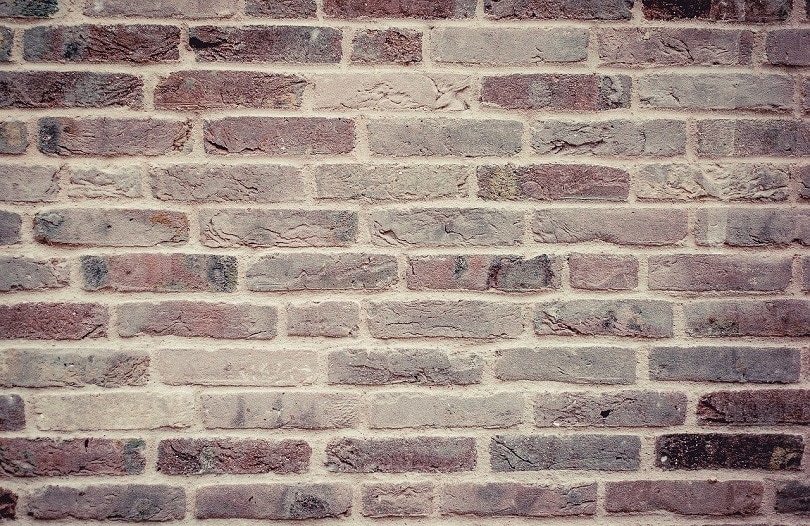
If you are whitewashing an exterior surface or a basement with a finished floor and good drainage, you might choose to use a power washer to remove the top layer of dirt and prepare the brick for whitewashing. However, if power washing is not practical, you’ll need to clean the brick by hand.
- Fill a pail with warm water and add several tablespoons of Dawn dish detergent or a similar all-purpose cleaner.
- Apply the solution to your brick with a clean rag or sponge.
- Work the solution into the brick and mortar using a scrub brush. Use care not to damage the brick by being too rough.
- Allow the solution to sit for 10-15 minutes to break up the dirt and oils.
- Rinse using a clean rag and warm water.
- If the surface is still dirty, you can repeat these steps or try a deep cleaning foam like that made by Tuff Stuff. The foam works great at removing soot around chimneys, but you will need proper ventilation, gloves, and eye protection while using it. You can also use a scrub brush to apply a solution of one tablespoon boric acid to one-gallon warm water to help remove smaller stains from your brick surface, but once again, you will need protective gear.
- Use a paint scraper to remove any old paint or stickers from the brick surface.
3. Prepare the Whitewash
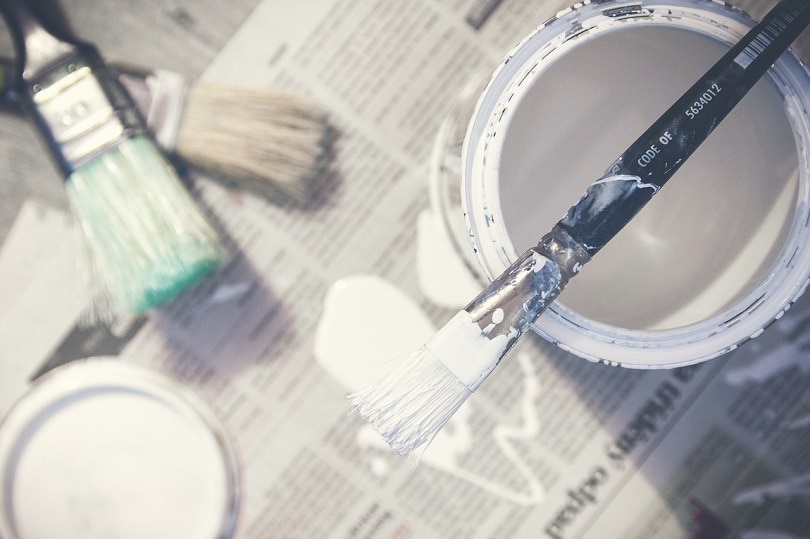
- To create your whitewash, you will mix white latex-based paint with water in a 1:1 ratio.
- Stir well until mixed thoroughly.
- Since you are using latex paint, you can make it any color you desire.
- Test the solution in an inconspicuous area.
- You can add more pint to thicken it or more water to thin it out. It should have a watery consistency that can take several coats to apply. The color will darken as it absorbs into the brick.
4. Whitewash Your Wall
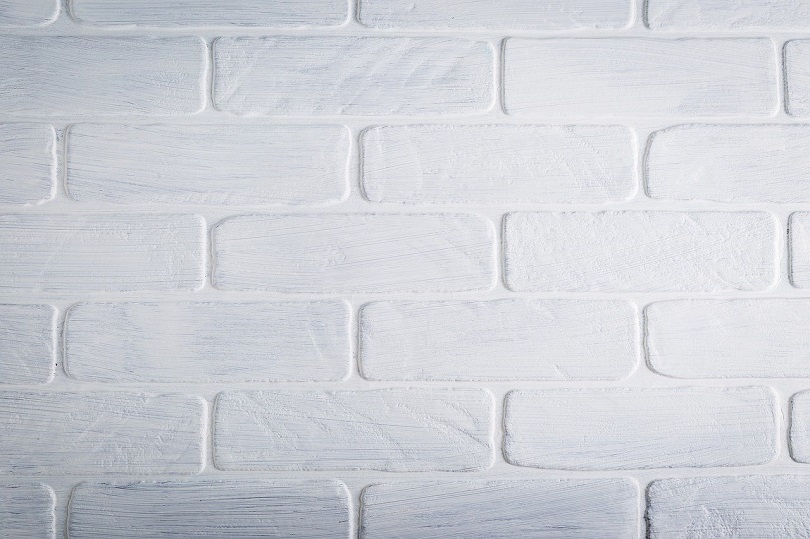
- If the wall is no longer damp from cleaning, spray the area with some clean water using a spray bottle.
- Use a large paintbrush to apply the whitewash with one hand and catch drips with a cotton cloth in the other.
- Dab the wall as you go to soak up excess paint.
- Continue until you whitewash the entire wall.
- You may need to use a smaller brush to get into the mortar, and many people prefer to apply the paint with a cloth. We found the cloth to be faster, but it creates a bigger mess.
- Most of your first coat will likely get absorbed, and you will probably need to apply two or more coats to get the desired color.
- Allow it to dry overnight.
5. Touch Up
- Once the solution dries, you may notice that it absorbed into the brick more than you expected, and it may need to repeat these steps to apply a few more coats.
Summary
Whitewashing brick is not difficult if you follow these five steps. We prefer the latex paint to the traditional limestone method because it looks the same and is better for your health. Vintage whitewashing is also unsuitable for high traffic areas because it rubs off easily, which doesn’t happen using latex paint, so you can also use this method on floors, shelving, and other surfaces. Acrylic-based whitewash works well but is expensive, so we would only recommend it for external surfaces.
We hope you have enjoyed reading over our look into this attractive brick painting technique and have decided to use it to improve your brick surfaces. If you learned something new and think it could help others, please share this guide to whitewashing brick on Facebook and Twitter.
Featured Image Credit: paarvathy, Pixabay
Contents

