
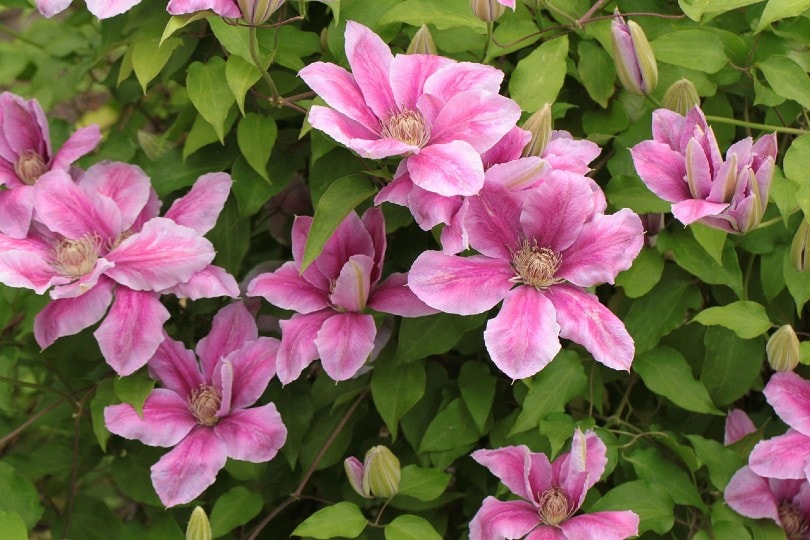
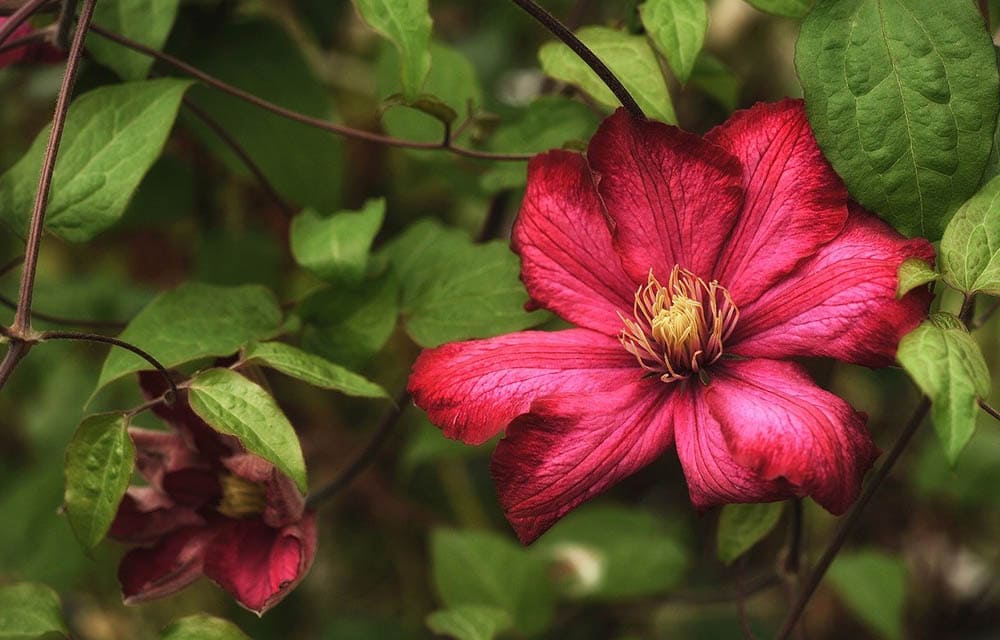
Clematis is a beautiful flower that makes a great addition to any garden. It is known as the “Queen of Vines” and can be used as a decorative, flowering vine on trellises and other climbing structures. It comes in many different colors, sizes, and shapes, so you can find an option that will fit in just about any situation.
It grows in hardiness zones 4 through 8 so it can grow in most areas. You can also plant Clematis on the ground and watch it sprawl alongside your other plants. While it does grow quickly, it typically isn’t considered invasive.
However, this plant does require some specific actions to get it to grow properly and you need to be cautious when planting it. We’ll explain everything you need to know below.

When to Plant Clematis
Planting clematis starts with getting the timing correct. Typically, you can plant outdoor clematis in the early spring or fall. This plant doesn’t do well with harsh sunlight, so it helps to plant it in a cooler time frame so that it can get established. Avoid the height of summer for this reason.
When moving potted clematis outside, you can do so any time before the last frost in the spring and the first frost in the fall. However, you may want to avoid the hotter parts of summer for the same reason above.
The 6 Steps on How to Plant Clematis
1. Consider the Soil
Clematis isn’t a super sensitive plant. However, it is more sensitive than other plants out there when it comes to the soil. It prefers loose, well-draining soil. Too much water can quickly cause root rot, so don’t plant Clematis in wetter areas. A neutral pH is preferred, or at least as close as you can get.
Before you plant, mix in any soil corrections or fertilizers that you need to. Compost is often recommended, as is a few handfuls of bonemeal. Any fertilizing you do now will be paid back to you tenfold later.
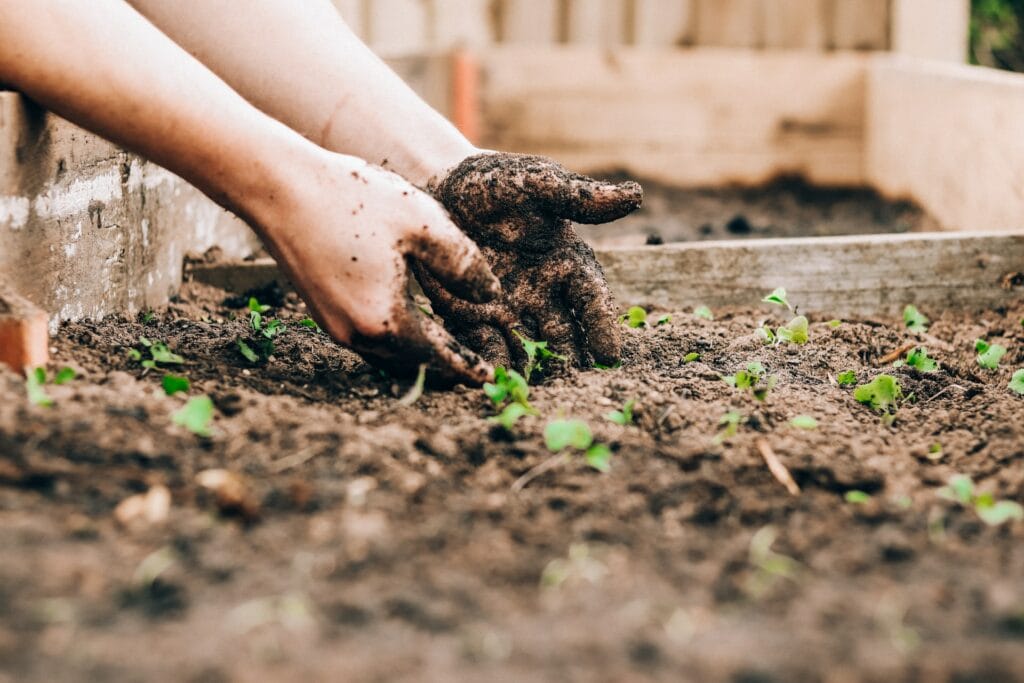
2. Dig a Hole
The hole needs to be about 2 to 3 inches bigger than the width of the root ball, as well as a few inches deeper. None of the roots should be exposed to the sun, as the roots are especially sensitive to heat. In fact, you don’t want the roots exposed to the sun for too long while you’re planting.
Therefore, you should plan on moving pretty fast. Don’t expose the roots until you’re ready to put the plant in the hole.
3. Place the Plant in the Hole
When the hole is big enough, carefully place the plant in the hole. Do not grab the stem for support. Instead, hold the plant from the bottom. A broken stem typically leads to a dead plant. If necessary, grab a leaf for balance. A broken leaf can grow back.
Preferably, the crown of the plant should be between 4 to 6 inches beneath the surface of the dirt. Once again, the roots are sensitive to heat and sunlight, so they need to be placed pretty far underground to stay protected.
Furthermore, placing the roots deep encourages stem development, which leads to a stronger plant. It may also encourage branching, leading to more vines per plant.
4. Fill the Hole In
You should fill the hole in carefully to avoid damaging the roots. However, you also want to work a bit faster than you may normally, as the roots should not stay exposed to heat and sunlight for too long. Work to keep the roots as cool as possible, but don’t use water to help this cooling process, as this may cause root rot.
After the hole is full, we recommend watering the plant. This will cause the soil to settle, and you may find that you need to add more on top. If you’re able, mulching is highly recommended. Mulch helps prevent the sunlight from heating up the dirt below, which helps prevent the roots from overheating.
5. Install the Climbing Structure
If you haven’t already, now is the time to install the climbing structure. While you don’t have to use a climbing structure, it is highly recommended. Keeping the plant off the ground ensures that it stays dry and moves it away from pests. Plus, this plant naturally likes to climb. If you don’t give it something to climb, it may find something else.
Of course, if you’re using a structure that was previously installed, you can skip this step.
6. Leave the Plant Alone
After you’ve planted Clematis, you should not move or disturb it. This plant can become a bit picky when it is first planted. It may wilt for a few days before recovering. However, any additional disruptions can make the situation worse, so you should give the plant a few quiet days.
We recommend keeping the soil moist. However, you don’t want it soaking wet constantly. Watering weekly is often plenty for these plants. Mulch can prevent the soil from drying out between waterings if you’re having trouble in this area.
You can fertilize the plant occasionally. Usually, fertilizing in the spring is recommended. However, you do not need to do this the year you plant the clematis, especially if you prepared the soil beforehand. A balanced, all-purpose fertilizer is recommended. Keep the fertilizer away from the stem, though, as it can cause chemical burns to the plant.
For the first year, you’ll likely need to do very little to the plant. However, don’t be surprised if it takes a bit to get going. Once again, this plant is a bit sensitive, so it usually takes a bit to recover after being transplanted.
Conclusion
The clematis is a beautiful vine that is utilized in landscaping. It produces a variety of flowers depending on the variety, producing a delightful scent. However, this plant is a bit sensitive, so it requires specific conditions to grow correctly. Its root system is particularly sensitive, so transplanting can be difficult.
The most important thing to remember is that this plant’s roots are sensitive to heat, so you have to plant it deeper than most plants. You should also plant it during a cooler part of the year, such as the spring or fall. Early morning planting is also recommended, as this avoids the heat of the sun.
Featured Image Credit: cocoparisienne, Pixabay
Contents
