
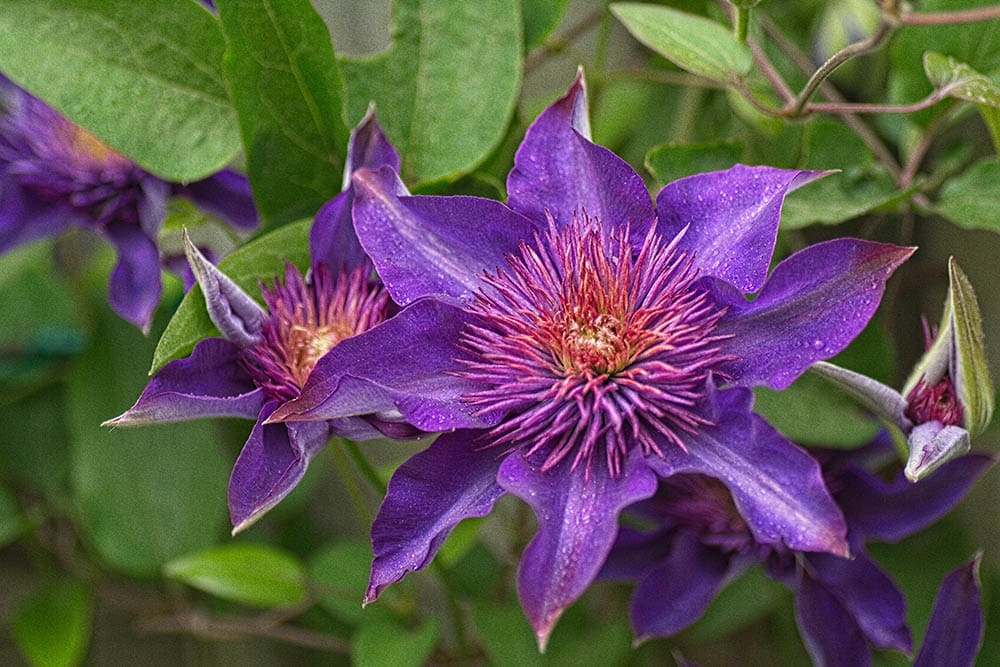
Famously dubbed the Queen of Climbers, the clematis is a perennial climber of the buttercup family. Its beautiful large lavender blossoms make it perfect for trellises, obelisks, or for adorning other large trees.
But the clematis is as beautiful as it is rampant. A little negligence, and you’ll have to contend with a tangled mass of stems. So while knowing how to grow these climbers is important, knowing how to prune them is just as important.
If you’ve been having trouble pruning your precious clematis, worry not. We are about you to let you in on how to prune these lovely climbers the right way. Grab your reading glasses and secateurs, and let’s dive straight into it.

What You’ll Need
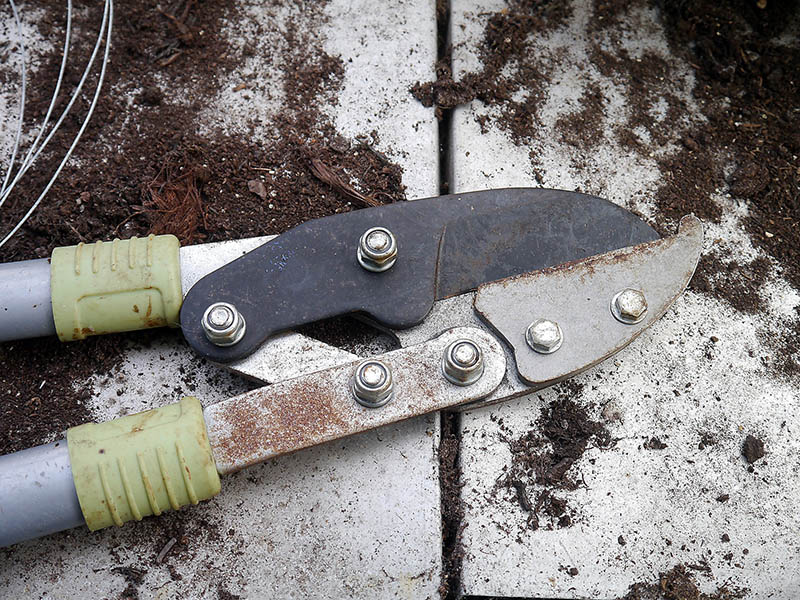
Before you roll your sleeves and get down to business, you’ll need to have the right pair of tools for the job. Remember, pruning is an overly-sensitive job. Use the wrong tools and you could make rough cuts that promote insect damage. To correctly prune your shears, make sure you have the following tools:
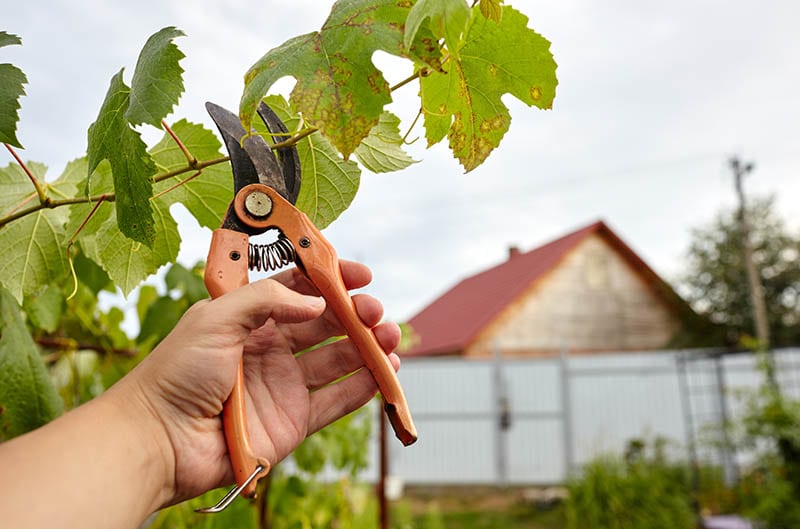
- Secateurs or pruning shears
- Pruning saws
- Hedge shears
- Loppers
- Pole pruners
Having the above tools should leave you well-equipped for the task at hand. With all the tools in check, you can proceed to the actual pruning.
How to Prune Clematis
There are hundreds of different clematis varieties, but you can roughly divide them into three groups: Group 1, Group 2, and Group 3. The type of group depends on the time of year the plant produces flowers.
The 3 Tips for Pruning Group 1
The first group of clematis plants blooms earlier in the year, usually between February and March. These are winter-flowering clematis and require a trim once the threat of frost passes. Some popular varieties include C. cartmanii and C. cirrosa.
Pruning Group 1 clematis should be a piece of cake unless you’re dealing with an overgrown shrub. Here’s how you do it.
- Use clean, sharp secateurs to remove any dead flower heads and do the rest for any straggling stems to keep the flower in good shape.
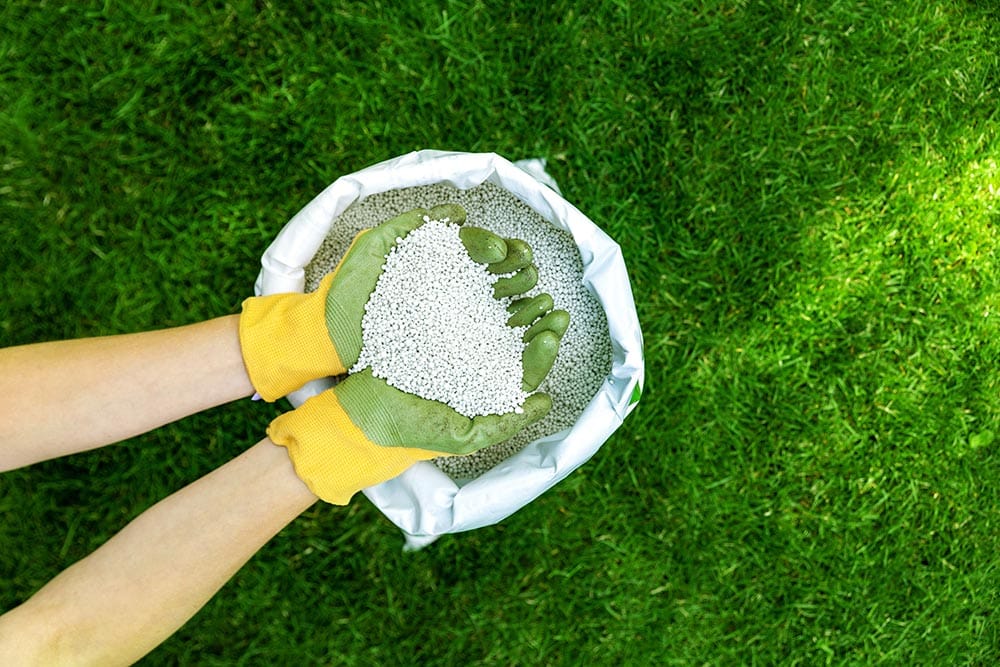
- Apply slow-release fertilizer on the plant to gradually release minerals and encourage new growth after pruning for the next several months.
- Use farmyard manure or well-rotted compost as mulch around the roots to provide nourishment and help retain soil moisture.
The 5 Tips for Pruning Clematis Group 2
Clematis Group 2 are clematis varieties that flower between May and June. They include varieties like the clematis Mrs. Cholmondeley and clematis Duchess of Edinburgh. These are mid-season flowerers and should hence be pruned during the months of February and early March.
Group 2 clematis bear large flowers on new shoots from the stems of the previous year. Here’s how to prune these lovely plants:
- Using sharp secateurs, carefully remove any dead or weak stems to stifle new growth.
- Check all stems individually before and find a pair of healthy buds, then prune just above them.
- Avoid heavy pruning, or you’ll lose all the beautiful large flowers.
- To encourage the growth of a second flush of flowers, prune again after the first flush. This time prune back a strong side shoot just below the blooms.
- For overgrown plants, you can reduce them by a season or two by pruning back harder after the first flush of flowers.
Fertilize with granular fertilizer and use compost as mulch to encourage new blooms. In a few months, you’ll be the envy of all your neighbors.
The 3 Tips for Pruning Clematis Group 3
Clematis Group 3 are the late-flowering clematis varieties with flowers that grow on the stems of the previous year. Some popular examples include the clematis Viticella ‘Kiev’ and the clematis Gipsy Queen. These varieties boast impressively large flowers and are a favorite with gardeners across the divide.
Pruning clematis Group 3 should happen in the late summer to early fall (August to October). Here’s how you do it.
- Using clean, sharp secateurs cut back all the oldest branches up to 15 to 30 cm above the soil level.
- For varieties with attractive seedheads like the Clematis Orientalis or the Clematis helios, consider trimming or thinning them out to the main framework of the frame to let the seedheads reign supreme. It’s worth noting that failing to prune or trim your Group 3 clematis will leave you with a top-heavy shrub with a bare base. This doesn’t make for the best look.
- Some gardeners opt for a combination of both Group 2 and Group 3 pruning. This means creating a framework that’s left unfettered to grow while cutting some of the stems at the base. Doing so encourages flower growth all around the plant.
Why Should You Prune Your Clematis?
Pruning isn’t the most exciting job in the world, but it’s something you’ll have to do if you want healthy and thriving clematis. It’s worth noting that clematis only produce flowers at eye level. Failing to prune them means they’ll only grow taller and leave barren, unattractive stems. This isn’t something you want in your backyard.
Final Thoughts: Pruning Clematis Simplified
Everyone wants beautiful, healthy, and thriving clematis, but getting them takes quite a great deal of effort and commitment. Now that you know how to prune your clematis, you’re already one step closer to achieving just that.
However, don’t forget that your pruning is only as good as your tools. Invest in high-quality tools for clean cuts that don’t damage your precious plants. Also, be sure to prune your clematis according to its specific group. A one-size-fits-all approach will only leave you with a top-heavy shrub that’ll be quite the eyesore.
Remember, if you’re having trouble pruning your clematis, you could always hire a pro to do it for you. Wishing you all the best!
Featured Image Credit: Ed G, Unsplash
Contents
