

For those looking for a faster harvest, starting seeds indoors is the way to go. In cooler areas, this may be the only way to ensure a harvest during the growing season, especially for veggies that take longer to grow. Luckily, starting seeds indoors is not terribly difficult. It isn’t much different from planting seeds outside, only you’ll have a transfer to worry about.
That said, not all seeds can be started indoors. For instance, carrot plants do not like having their roots messed with. Therefore, they are not a good candidate for starting indoors.
Before you begin your garden seeds inside, though, there are several preparatory steps you need to consider.

When to Start Seeds
When you should start seeds depends on the type of seed you have. All plants grow at different rates, so you’ll need to start your seeds at separate dates according to their type. Usually, seed packets state when you should start the seeds indoors, typically according to the last frost date in your area.
Therefore, it is helpful to know the last frost date in your area before you begin. You can find this date online with little trouble or just use the Almanac calendar.
The 11 Simple Steps on Starting Seeds Indoors
1. Buying Seeds
Before you begin, you’ll need to acquire the seeds you want to plant. You can find seeds at many different locations, including local home improvement stores and online catalogs. Seeds vary in price immensely, but most common seeds are pretty inexpensive.
Seed’s purity and quality are governed by laws. In other words, you cannot sell seeds that won’t germinate. Therefore, the place you purchase seeds from isn’t terribly important. Even if they are off-brand, the seeds should germinate just fine.
You can store leftover seeds for next year. It is often best to store them in a cool place, such as a fridge. Adding a packet of silica gel can help keep the humidity low, preventing germination.
2. Location, location, location
Next, you need a place to start your seeds. Often, this is a bit more complicated than it may appear. The place should be free from heavy traffic to prevent accidents, as well as drafts and excessive heat. Preferably, you should prepare the area so that any spills won’t be a problem. (In other words, don’t start seeds over a carpet!) How much space you need will depend on the number of seeds you’re starting, but this factor is also important.
The temperature should be room temperature consistently. A garage often isn’t the best choice for this reason, but a basement may be.
While many people may consider starting plants on a windowsill, this is not recommended for a few reasons:
- With only one direction of sunlight, plants will often become extremely tall and thin, making them unsuitable for the outdoors.
- Water damage can occur from watering the plants.
- Heat builds easily around windows, drying out the potting mix.
- The temperature will often not stay consistent.
3. Choose Containers
You may have a few old, small containers nearby. In that case, you may not need to purchase new containers for these plants. However, most people will need to purchase seed-starting containers of some sort. We primarily recommend commercial seed starting containers, as they are very small and often work best.
These containers are reusable, so you can continue to use them every year. However, they may need to have drainage holes poked into the bottom. You should also sterilize the containers before each use to prevent diseases and mold.
You can also make degradable pots from newspapers or purchase commercial options made from shredded wood or peat. These options are recommended mostly for plants that don’t transfer well, as you won’t really have to transfer them.
To promote germination, we recommend putting a clear dome over the container. Often, commercial containers come with these domes. However, you may have to purchase them separately or build your own. When the seedlings are tall enough to touch the dome, remove it so that they can continue to grow normally.
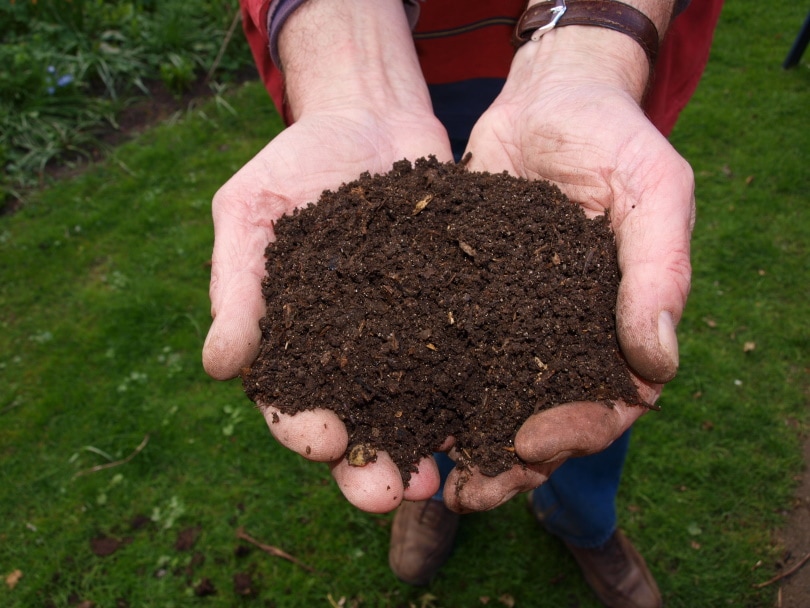
4. Purchase a Potting Mixture
Potting mixtures are not the same as soil. Most potting mixtures are a mix between peat and vermiculite. Luckily, this mixture is great for starting seeds, so it’s what we recommend. Using these mixes instead of dirt from the outside ensures that your plants won’t have to contend with diseases and weeds, which can be brought in from outside.
Plus, these mixtures are lightweight and often hold water well.
Always fill the pots and water the mix before adding seeds. Usually, the mixture has to adjust a bit before seeds can be planted.
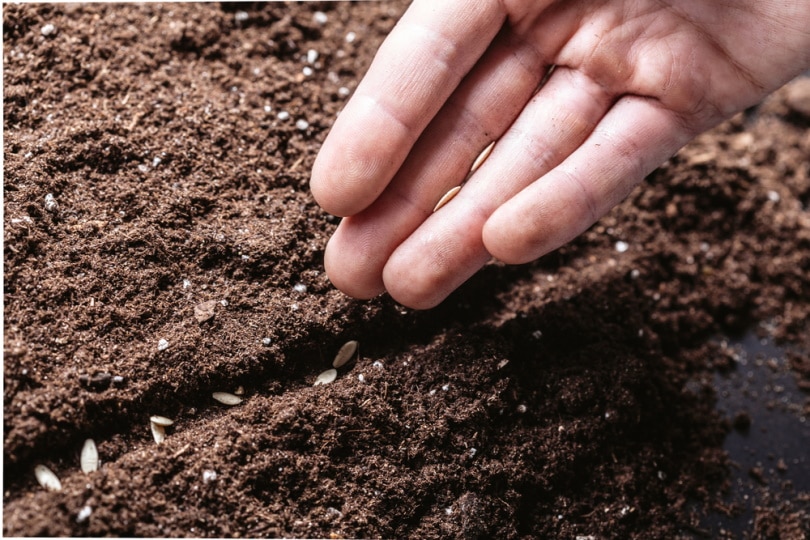
5. Adding the Seeds
After the potting mixture has settled, you can sow your seeds. You should follow the directions on the seed packet, as each type of seed will have slightly different needs. Plan some way to identify each seed. Often, pieces of paper can be used, or you can write on the containers with a permanent marker.
If a seed requires light to germinate, be sure not to bury it too deeply. Otherwise, it may not get any light. Plants that need darkness to germinate should be placed somewhere dark. You may have to keep different types of seeds in different places for this reason.
If you’re utilizing older seeds, use two or three per container. They tend to have a lower germination rate. You can always thin seeds out later if necessary.
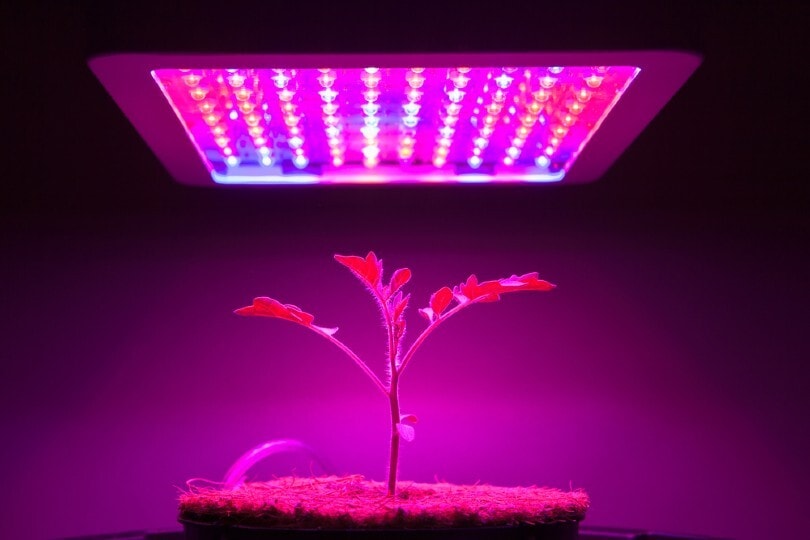
6. Add Light
After your seeds are planted, they typically need a steady source of light. Even if plants require darkness at first, light is required once they germinate. We never recommend relying solely on natural light, as cloudy days can throw a wrench in your plan. Instead, fluorescent lights are typically a suitable option. However, grow lights are by far the best option if you can afford them.
Set up your lights so that they can be moved as your plants grow. You want the light as close as possible to the plant, but you may have to move them upwards as the plants grow. About 2 inches from the top of the plant is ideal, as this prevents long and leggy sprouts.
Plants only need 12 to 16 hours of light, depending on the seeds. Do not leave the light on constantly, as plants need some darkness. They have a day/night cycle just like humans. If you commonly forget to turn the light off, you can add a timer to the lights that automatically turn them on and off at certain times.
7. Ensure Proper Heat
Plants need a decent amount of heat to grow properly. Usually, this isn’t a huge deal, as our houses are usually warm enough for most plants. However, you may want to consider adding a consistent source of heat underneath the plants to encourage plant growth. When the potting mix is kept warm, seeds will germinate faster and root systems will be healthier.
Furthermore, adding electric heating sources can kill bacteria and other pathogens. Some of these pathogens are harmful to sensitive seedlings, potentially killing them when they sprout.
Keep heating mats on constantly, including during the night.
8. Water
Of course, seedlings also need water. We recommend keeping soil moist while seeds are germinating— but not wet. Too much moisture can cause rot before the plant even gets going. Most gardeners use a water bottle to apply only a small amount of moisture. You can also set pots in a tray and allow water to move up from the tray.
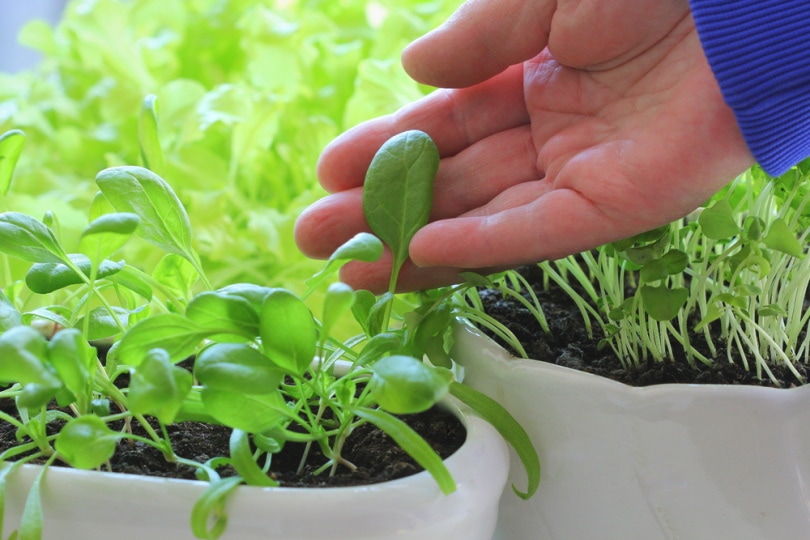
9. Time to Transplant!
As your seedlings grow, you may need to move them into bigger pots. Large peat pots are recommended, though many budget gardeners also use plastic cups with a hole cut into the bottom. Transplanting can be a tricky business, as seedlings are easily damaged during the process. To prevent damage, never tug on a plant while transferring it. Instead, scoop out the roots and place the plant gently into the new pot.
Never hold the plant’s stem for support. Instead, support the plant from the bottom where the roots are located. Using a spoon can often make transplanting much safer, as it allows for scooping and supports the tiny plants well. Either way, holding a plant by a leaf is better than the stem. A plant with a lost leaf can continue to grow, but a plant with a damaged stem cannot.
If your plants need to get particularly large before transplanting, consider adding extra light. Often, one light is not enough for several large plants.
10. Harden Seedlings
Before you consider moving your plants outside, they need to be hardened. Suddenly moving a plant outside can easily lead to it dying, since it isn’t used to wind, fluctuating temperatures, or sunlight. Therefore, slowly introducing your plant outside helps ensure that they survive the transition.
You’ll need to start this process a couple of weeks before you plan to plant. Start with placing the plants outside for a few hours in mild temperatures and wind protection. Whenever it gets cool (or hot), bring the plants back inside. Slowly elongate the time the plants are outside, introducing them to more wind and sunlight.
Preferably, plants should be left where they will be planted for a few days before you put them into the ground. This ensures that the plant can handle the area. If the plant begins to suffer, you can bring it back inside and continue with the hardening process.
11. Planting
Finally, it is time to place your plants in the ground. We recommend planting in the afternoon after the sun has already peaked. Choose a cool, easy day for the plants, as the transplanting process can be stressful.
Even after hardening, plants may wilt after transplanting. This wilting is normal. In most cases, plants will recover after only a few days. You can use covers to help the plant recover and give it a break directly after transplanting.
Otherwise, plant according to the instructions on the seed packet.
Conclusion
You don’t need to start seeds indoors for all plants, but many will benefit from an easy growing period inside. Usually, this process requires more work than planting seeds directly into the ground, as you’ll have to transplant them at some point. However, it does help you control the conditions easier, which helps bring about germination.
Keeping a calendar of when each type of seed needs to be started and moved outside can be helpful. Because each plant is different, they cannot all be started or moved at once. To keep things straight, a calendar is highly recommended.
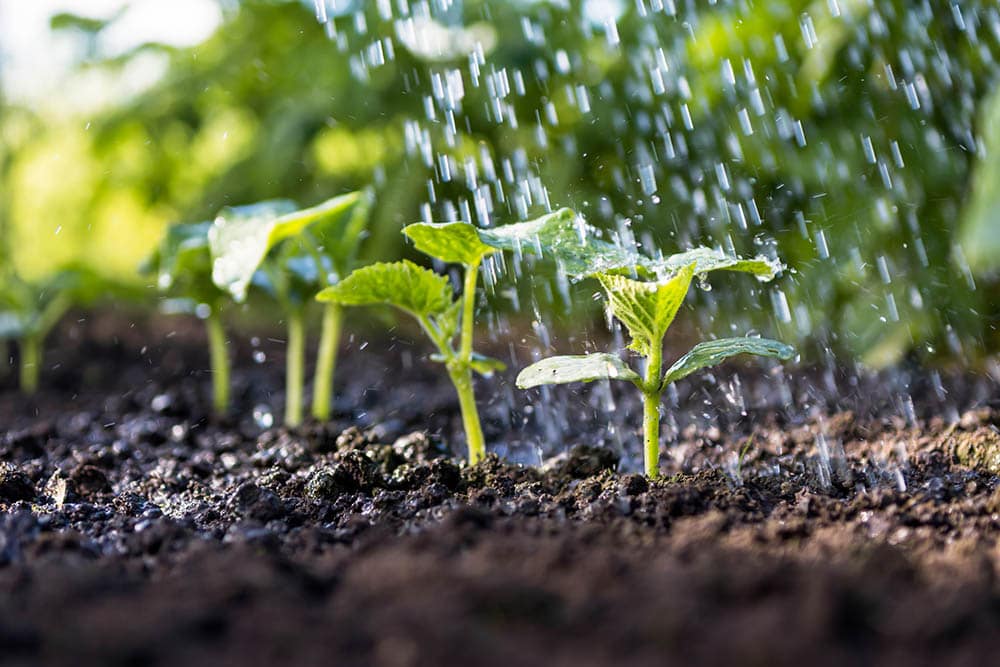
Featured Image Credit: Art_Pictures, Shutterstock
Contents
