

When your bathroom subfloor is damaged, it’s understandable to be alarmed. The subfloor and foundation are integral to your home’s stability, and you need to have the subfloor replaced when it becomes worn or broken. If your subfloor has started to crack, bend, or break, read on.
We’ll be honest here; this type of work can be rough, especially if you’re not experienced with DIY projects. Most of the labor involved is doable for one person, but there’s a reason most people just call an experienced contractor. Use your best judgment. Now, let’s check out how to replace a bathroom subfloor.

Before You Start
Let’s get down to the nitty-gritty. As you might expect, you’ll need some tools and materials to accomplish your job. As with most construction, proper planning is essential to creating long-lasting and durable work. Let’s see exactly what you’ll need to replace your bathroom subfloor.
- Razor knife/scraper
- Hammer
- Drill with hammer functionality
- Circular saw
- Crowbar
- 2x4s
- Braces
- L-brackets
- Nails
- Wood and concrete screws
- Plywood sheets
How To Replace a Bathroom Subfloor in 5 Easy Steps
1. Remove Flooring
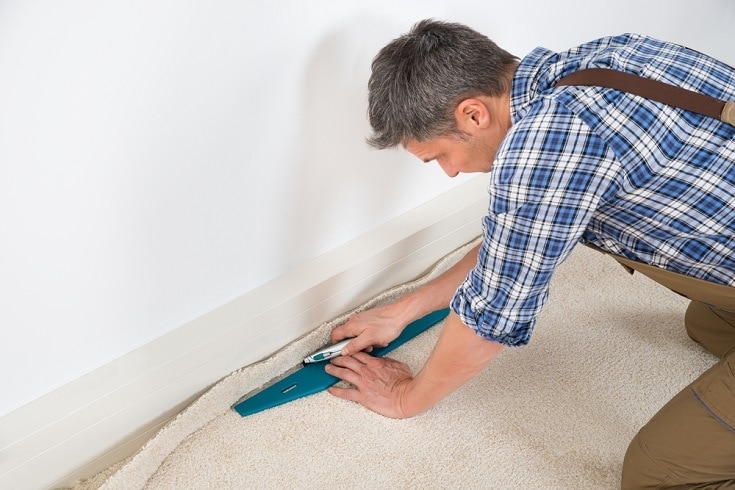
If your bathroom has carpet, go around the outer perimeter of the area you’re replacing and pull up the edges. You’ll also have to remove the underlay and any nails securing the carpet to the subfloor. You can leave flooring in areas that you’re not replacing.
For tile or linoleum, score around the edges and use a crowbar with a hammer to loosen the floor. Pull up whatever areas you’re replacing underneath, and let’s move on.
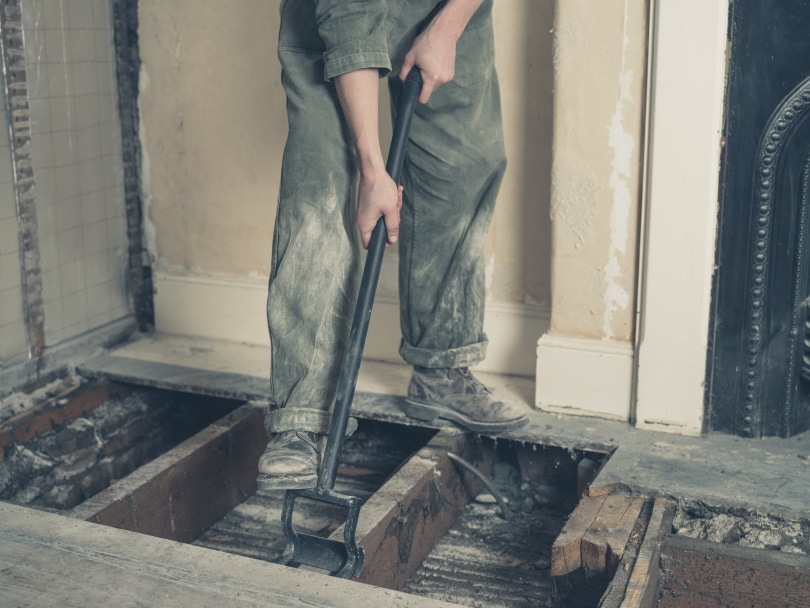
2. Remove Subfloor & Joists
This guide makes no assumptions about how large an area you need to replace, but feel free to only cut certain areas of the subfloor as needed.
Remove the screws securing the subfloor to its joists, then use your crowbar to pry up the section of wood. If necessary, cut into the wood with your saw and then try to remove it. Technically, you might not need to replace the joists, but we’re assuming they’re also damaged. Hit them with your hammer to remove them.

3. Install Joists
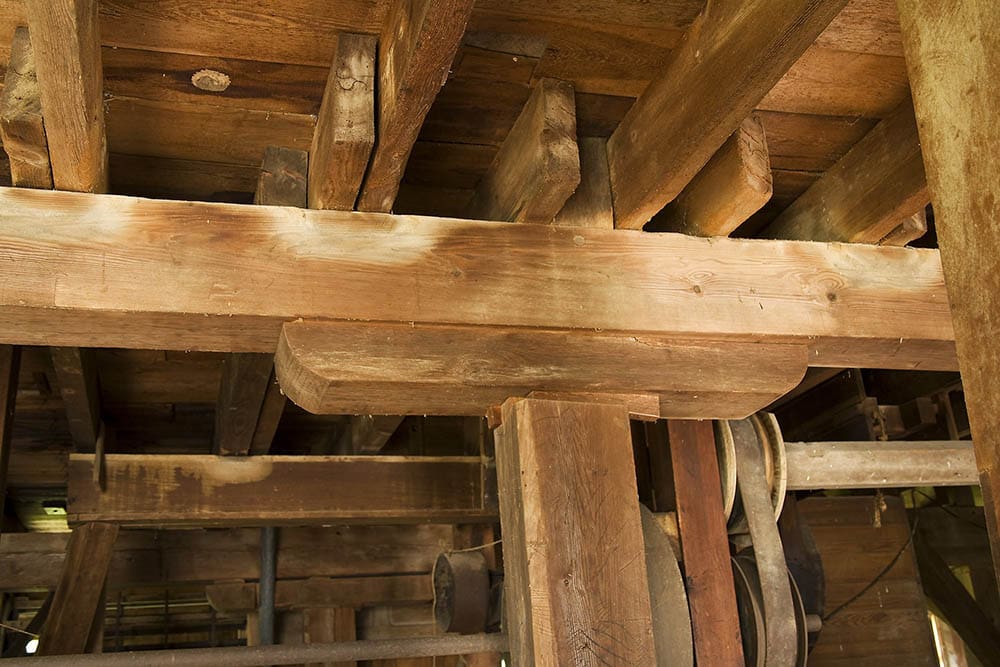
Place your 2x4s about 36 inches apart, then secure them to the concrete underneath. Do this by nailing one side of an L-bracket into the wood, then a concrete screw through the other part into the concrete. For concrete, put your drill in hammer mode. Put L-brackets on both sides of each wood piece at every 36-inch section.
Place braces between the ends of each 2×4 at a 36-inch interval, securing each brace at both ends with wood screws. Now that you’ve got your joists installed and braced, it’s time for the fun part.
4. Install The Subfloor
Cut your plywood sheets with your circular saw to spec, according to which sections you need to replace. Removing a full sheet won’t be as difficult because you won’t have to make any cuts.
Place the plywood sheet and cut/file down any stray edges that don’t fit. Next, all you need to do is put wood screws through every joist. It’s critical that you don’t cut corners here; otherwise, the stability of your floor is in jeopardy.
5. Finish Flooring
Now that you’ve repaired your bathroom subfloor, you can feel free to finish the floor however you’d like. For a more utilitarian space, bare concrete or tile works, but consider adding carpet if you want to use the bathroom. Laying down carpet goes a long way toward making a bathroom feel more cozy.
Conclusion
Your bathroom’s subfloor is a vital part of your home that must be repaired if you notice damage. Failing to do so can result in catastrophic damage to your home when the floor caves in. Although replacing the subfloor isn’t as complicated as some home repairs, the job is unsuitable for an inexperienced builder or casual DIYer. The steps we’ve outlined can help you replace the subfloor, but it’s best to hire a professional contractor if you’re not confident in your building skills.
Featured Image Credit: Levent Konuk, Shutterstock
Contents
