
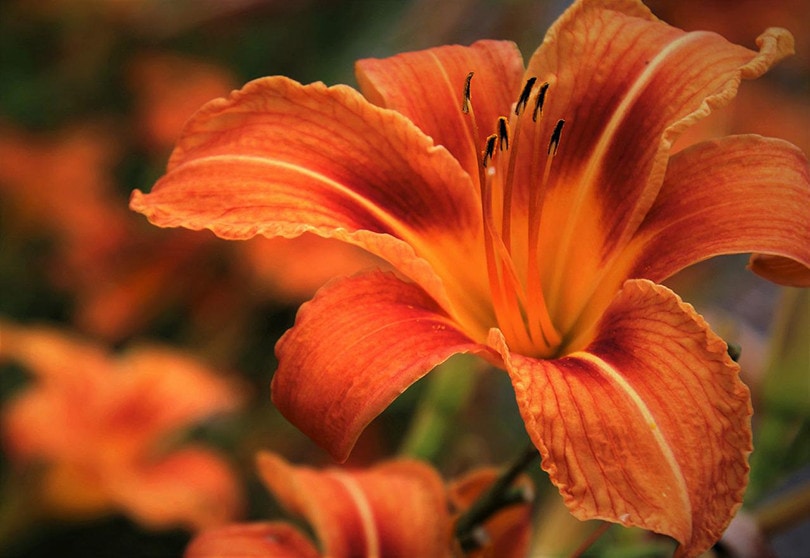
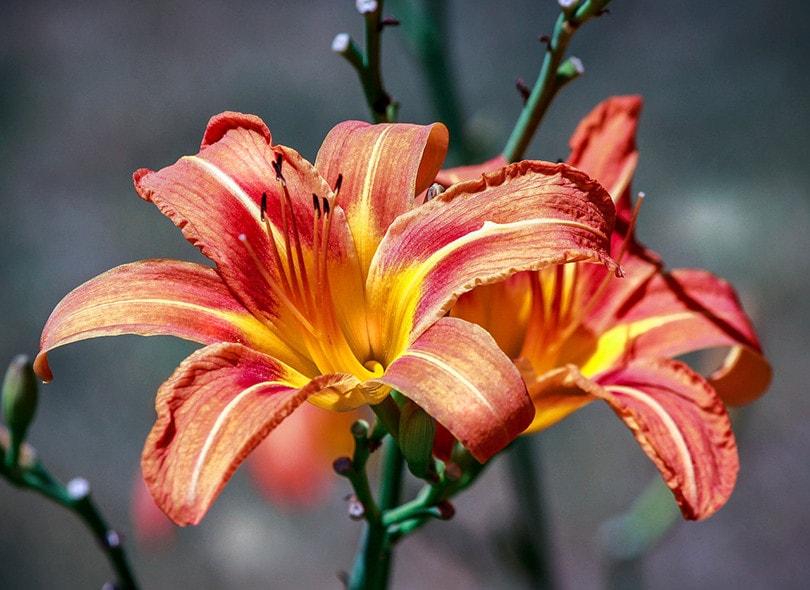
Daylilies are popular with gardeners due to their beautiful colors and the daily blooms they provide. These hardy little perennials can give you years of enjoyment without making you constantly battle the elements to ensure they survive in your yard. Also known as Hemerocallis, daylilies can survive in drought situations, in the scattered sun, and even in not-so-ideal soil conditions.
While the name is misleading, daylilies aren’t actually lilies. Most lilies grow from a bulb. Daylilies grow from a fleshy root. The flowers grow on stems called scapes while the leaves grow from the crown of the daylily. The scapes can present 12-15 buds. The reason the daylily has such a long bloom period is thanks to the fact a mature plant can have up to 6 scapes with some growing as much as 6 feet tall.
Now that you know a bit about the daylily, let’s learn more about how and when to plant them. This will help you ensure your daylily scape is not only beautiful but prepared for the world around it.

Before You Get Started
Before you take on the task of putting your daylilies in the ground, there are a few things you should do before you get started. Caring for your daylilies once they arrive, knowing when to plant them, choosing the right area, and preparing the soil properly are all important things you should consider before grabbing your bare roots and placing them in the soil. Let’s learn more about these steps now.
Receiving Your Daylilies
When your daylilies arrive, you’ll notice they are bare-root. In most cases, this means they were recently harvested. These roots can be kept at 40 degrees Fahrenheit in their original bags for up to 3 weeks. Many people use the vegetable drawer of their fridge for storage.
You may also notice that your daylilies have sprouted while en route to your home. This isn’t a problem. You can easily trim the shoots back an inch after they’ve arrived. Most roots are also dry after shipping. Before you plant them, make sure to soak them for 30 minutes in lukewarm water.
When to Plant Your Daylilies
While waiting up to 3 weeks after your plants arrive is okay, it is always best to plant your daylilies quickly after arrival. If you’re using daylilies that were harvested in late summer for fall planting, it is best to have them in the ground before the year’s first frost. For spring daylilies, they are best planted in the early to mid-spring time.
Choosing the Right Place
Daylilies need the right environment to grow properly. Up to 6 hours of full sun is suggested. This can be an area that receives scattered sun throughout the day or one where the morning sun is prevalent with a bit of shade in the afternoon.
The soil in your chosen spot needs to be neutral to slightly alkaline. It must also be moist and have good drainage. Daylilies do well in most soils as long as these criteria are met.
Preparing or Working the Soil
If your garden is already prepared and the soil is rich and well-drained, you can simply spade or till the soil around 12–15 inches in depth to prepare it for your daylilies. If this isn’t the case, mixing in a 2-4 inch layer of manure and a bit of garden compost can help make your soil more suitable for your plants.
Now that your soil is ready, it’s time to plant your daylilies.
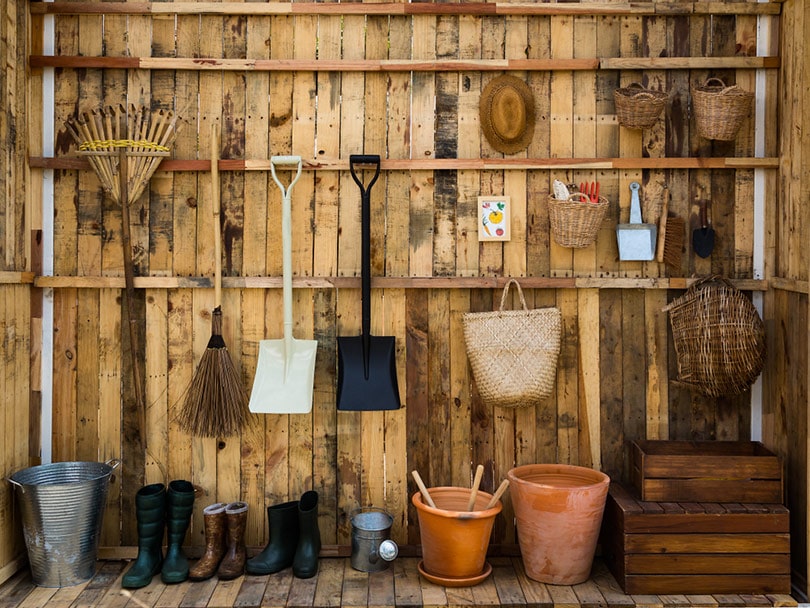
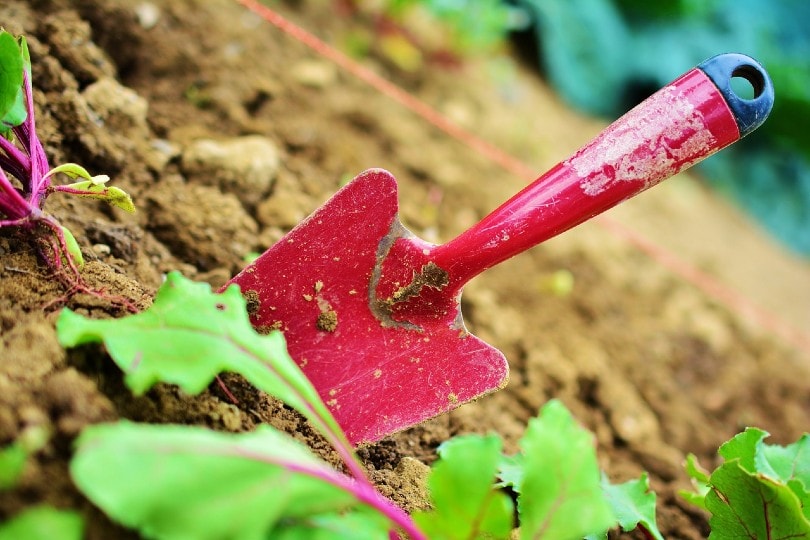
- Gardening gloves
- Small shovel
- Water

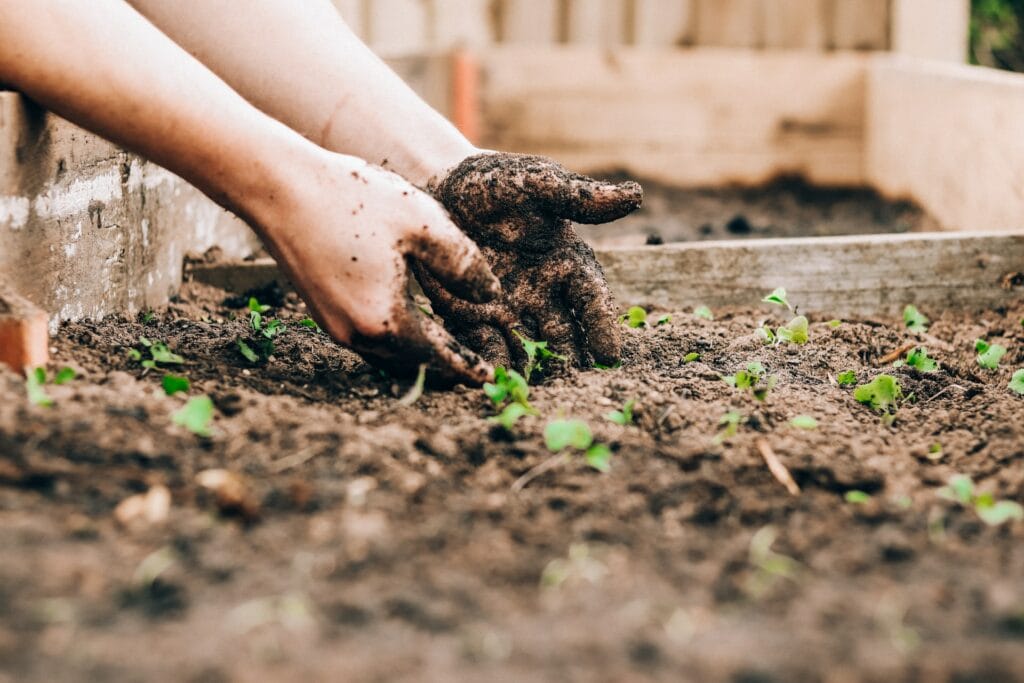
The 5 Steps To Planting Your Daylilies
1. Bring Soaked Daylilies to the Garden
As was mentioned above, before planting, daylily roots should be soaked in lukewarm water for 30 minutes. Collect your plants and bring them to your prepared garden site.
2. Dig Your Hole
Next, dig a hole that is wide enough to allow the root to be placed inside so that it can easily spread. Be careful as you spread the roots so as not to harm the plant. Your plant should be roughly 1 inch in the ground.
3. Cover the Bulb
Replace the dirt around your bulb being careful that no more than 1 inch of soil covers the plant’s crown. The crown is the area where the root meets the stem if you are unaware of this term.
4. Firm the Soil and Water
Finally, lightly pack the soil around your new plant then water thoroughly. The soil around your plant should be well-saturated.
5. Repeat and Enjoy
Repeat these steps for each daylily root until all have been planted. Then enjoy watching your daylilies grow. It is important to note, however, that it isn’t uncommon for new daylilies to wait a year before blooming. This doesn’t mean you’ve done anything wrong. These plants often require up to a year to become established.
Caring for Your Daylilies After Planting
Daylilies are hardy plants that don’t require a lot of tending. If you want your daylily garden to flourish and look its best, however, here are a few steps you can follow after planting to help things along.
- Water new daylilies at least once a week to help them get established.
- When rain is scarce, ensure your daylilies receive an inch of water per week to help them bloom.
- Add mulch to keep daylilies moist and avoid lots of weeding.
- Remove spent blooms when you see them by simply snipping them off.
- After the year’s first frost, you can cut back your daylilies to a little above ground level if you choose.
- Compost can be added to your daylilies when spring arrives once more.
Final Thoughts
With a little love and care, daylilies can become an integral part of your garden. Whether you have a green thumb or are giving things a go for the first time, following the steps above can help you enjoy the beauty of these hardy plants. As with any gardening, you will have successes and failures. Don’t give up! Daylilies are easy to care for and can be an integral part of your garden.
Featured Image Credit: pasja1000, Pixabay
Contents
