

A projector is an excellent way to create the atmosphere of a theater at home with minimum effort and time spent installing it. Mounting a projector onto the ceiling is relatively easy once you learn all the basics. The tips below will help you make this process as smooth as possible, being straightforward and accessible for beginner DIYers or home improvement enthusiasts.
Read on below for some expert tips.

Before You Begin
Before you mount a projector on the ceiling, you will need to place the screen in the ideal location. Depending on the layout of your room, you can have multiple possibilities. Choose a wall that doesn’t receive any sunlight to make the picture appear as bright as possible. Consider acquiring blackout curtains, allowing you to use the projector in broad daylight with the best effect.
After you finish placing the screen in a perfect location, grab all the tools and hardware you’ll need for this project.
- Tape measure
- Pencil
- Level
- Ladder
- Screws
- Lag bolts
- Screwdriver
- Stud finder
- Wrench
- Electric drill
The 4 Expert Tips on How to Mount a Projector on the Ceiling
1. Calculate the Distance Between the Projector and the Screen
Before finding the ideal location for your projector, finding the ideal distance from the screen is important. This distance is commonly referred to as a throw distance, and it can be measured and calculated easily. In the instruction manual for your projector, you can usually find its throw ratio, which you’ll use to calculate the correct distance.
To calculate the throw distance, you need to multiply the throw ratio of your projector by the width of your screen. This means that if, for example, your screen is 100 inches wide and the throw ratio is 2:8:1, the ideal distance from the screen is 281 inches.

2. Find the Perfect Spot to Mount Your Projector
Once you’ve found the perfect distance of your projector from the screen, this will further determine the exact position of your projector on the ceiling. There are several ways to calculate the ideal position, but we will explain the easiest and most precise way to find an ideal spot.
Begin by measuring the distance between the wall and the edge of the screen and transfer this measurement to the ceiling parallel to the screen. The second measurement will be from the edge of the screen to the middle of the screen. This second measurement should also be transferred to the ceiling, parallel to the screen, which will give you the ideal location of the projector.
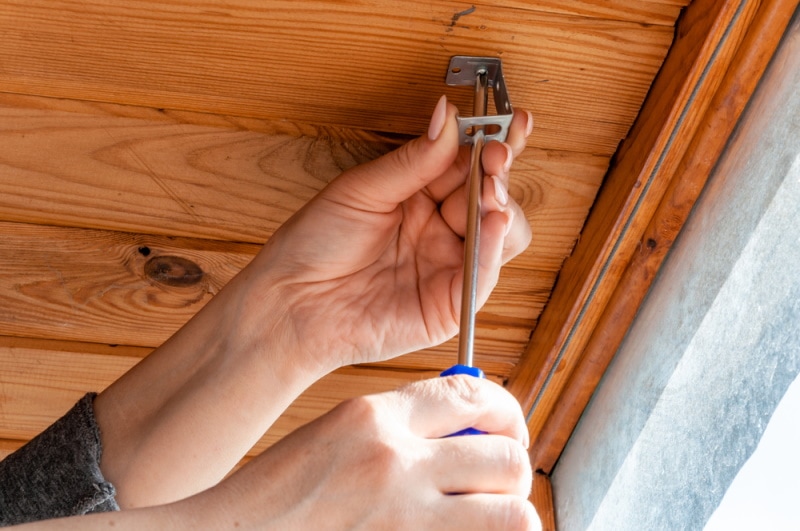
3. Attach the Mounting Brackets
After the location is set, other steps should be fairly easy. The mounting of the brackets is a simple procedure that will be straightforward if you follow the instructions in the manual. You will use screws and a screwdriver for this part, and make sure to screw everything tightly. Once the brackets are mounted, check to see if the projector is level with the mounting plate—this is important so that later the picture emitted from the projector will be straight.
4. Make the Marks on the Ceiling and Mount the Projector
Using a stud finder, search around your marked position on the ceiling for any ceiling studs or joists. If you find the joist in that spot, you can secure the mount to it with a screwdriver. You’ll need lag bolts and a wrench for this. Alternatively, you can also drill the holes in the ceiling using an electric drill and anchors.
In Conclusion
After you’ve read all the tips we have to offer you on this topic, you can finish this entire project yourself pretty easily. Once you’ve got all the necessary tools and parts, this project will be a fun afternoon activity. After you are done, you’ll be left with a gorgeous, neatly mounted projector that will provide you with many years of entertainment.
- Related Read: DIY Projector Screen Frames You Can Make Today!
Featured Image Credit: Malikov Aleksandr, Shutterstock
Contents
