
Unlike more low-maintenance flowers like daffodils, tulips are fussy plants that do poorly when left in the ground for the winter. By cutting off the flowering bulbs at the end of the season and storing them safely over the winter, you can get a head start on the next season. Let’s check out the best tips you can utilize to store your tulips for better blooms next year.

The 4 Tips to Store Tulip Bulbs

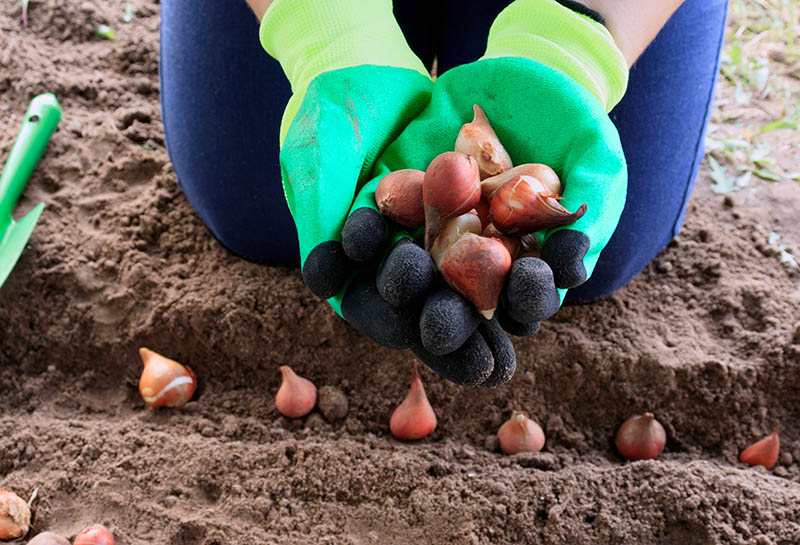
1. Learn the Proper Cut Timing & Technique
- You’ll need: gardening gloves & pruning shears
First, you’ll have to wait until the tulip flowers are fading. Once that day comes, take your shears and cut the flowering stem at the base of the bulb. This “deadheads” the bulb so the plant can conserve valuable energy.
Don’t prune or remove the leaves, which serve as vital energy stores for the next growing season. The plant will redirect energy from the bulbs to growing underground offset bulbs that you’ll collect later.
If you’re so inclined, you can feed the plant a high-quality bulb fertilizer at this stage while you wait for the next stage. It’ll go a long way toward helping offset bulb growth.
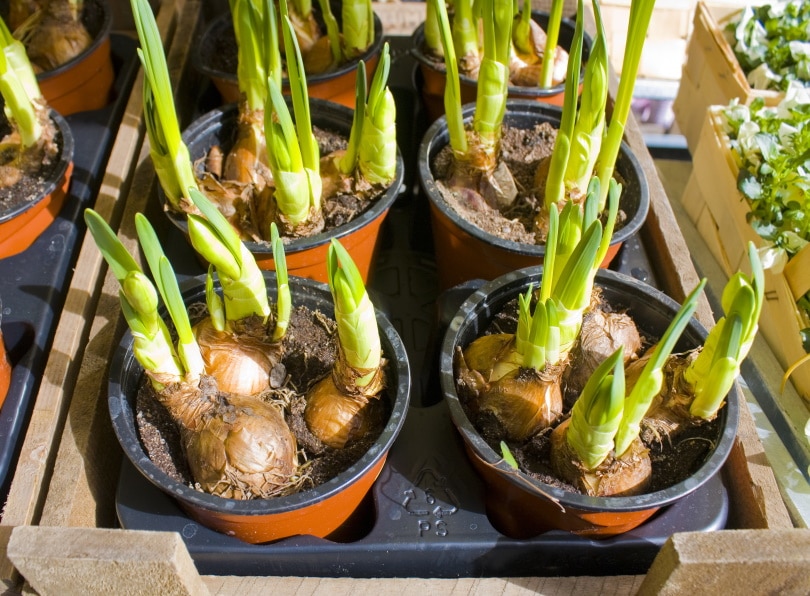
2. How to Lift Tulip Bulbs
- You’ll need: gardening gloves, a garden shovel, pruning shears
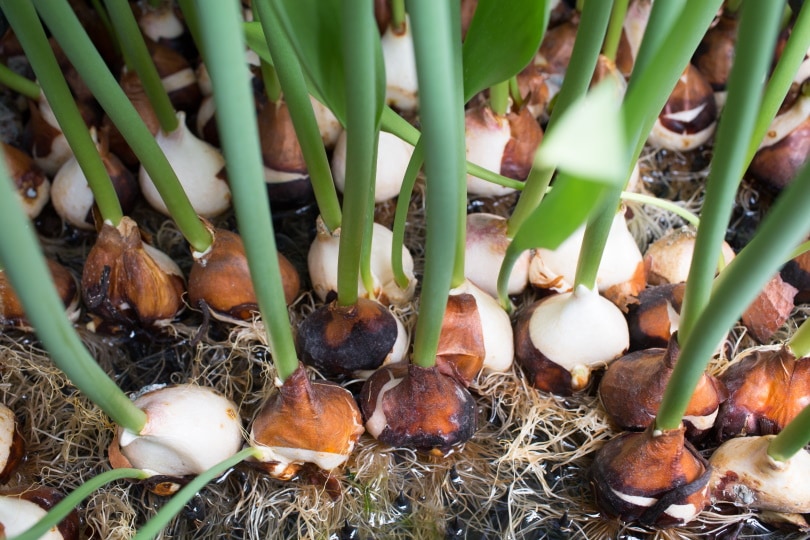
It’s time to pull your tulip bulbs once the foliage has died back to the ground around midsummer or so. Especially avoid overwatering at this time because it will lead to root rot. Now that the plant is done storing energy, take your garden shovel and loosen the ground around your tulip bulbs to make these next steps easier.
Pull the bulbs up from the ground and brush the dirt from your bulb to get a closer look. Cut off the leaves and roots as close to the bulb as you can safely manage. If you’re unsure if you can make a cut without damaging the bulb, leave the remaining bits to fall off later.
3. Drying & Offset Storage Prep

- You’ll need: baking sheet/newspaper, cool & well-ventilated space, pruning shears
The initial drying stage takes a few days to a week, depending on how well-ventilated your drying area is. A garage or covered carport are perfect areas, but any shaded outdoor area should work. Put your bulbs on a baking sheet or some newspaper and leave them to dry.
Check your bulbs daily as they dry, brush off soil that falls off, and flip them when the top side appears dry. Once they’re totally dried out, whip out your pruning shears and trim any crispy protruding bits, like roots, foliage, or stems.
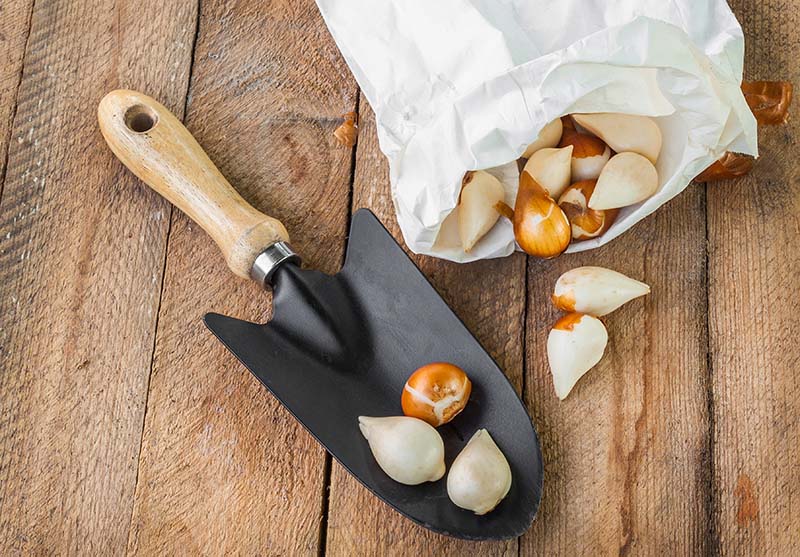
Now, identify the mother bulb and offset bulbs. The main or mother bulb is useless because tulip bulbs only bloom once, but the offsets are what you want. Twist off the smaller offset bulbs and put them together, then dispose of your mother bulbs as you see fit. They’re a great addition to compost bins, but the trash is fine too.
Put your offsets back out to dry and throw away any that show signs of rot. Separate them into large bulbs that could flower immediately from smaller bulbs that need a year in the ground to grow viable flower buds. These latter bulbs can also be put in an indoor nursery to give them a head start.
4. Pack & Store Offset Bulbs
- You’ll need: a mesh/onion bag, newspaper/sawdust/sphagnum peat moss, and a cool & well-ventilated area
Your next step will depend on your storage medium. Newspaper is cheap and widely available, and sawdust may be plentiful if you do woodwork yourself. Both will preserve the bulbs’ moisture content and keep their temperature stable until you need them. Sphagnum peat moss also works if you happen to use that in the garden, but there’s no need to go buy some just for tulip bulb storage.
If you’re using newspaper, wrap each bulb in newspaper and twist them off loosely at the tops. For sawdust and peat moss, fill up a mesh bag with it and carefully submerge your dried bulbs in the bag. Onion bags also work. Either way, the bag will provide airflow to the bulbs so they can dry and remain dormant for the next growing season.
Finally, just hang your bag up somewhere cool with good ventilation. Again, a garage or shady spot outside is ideal for this, but a basement would work well too.
Conclusion
Drying and storing tulip bulbs might be a hassle, but if done correctly, you can have fresh tulip bulbs ready to show off their blooms in your garden next spring. Throughout the process, make keeping the bulbs intact your primary goal because damage can mean game over for the following growing season.
Featured Image Credit: Natallia Ustsinava, Shutterstock
Contents
