

Tiling a floor yourself can be a big job, but it is worth the effort because it can save you money in labor costs. Proper planning and layout are critical to success, but many people don’t know where to begin. If this sounds like your situation, keep reading as we explain where to start tiling your floor no matter what room you are working in. To calm your anticipation, it is usually by the wall furthest from the door. We also provide you with several tips and pointers to help ensure that your project is a success.

How to Start Tiling Your Floor in 10 Steps
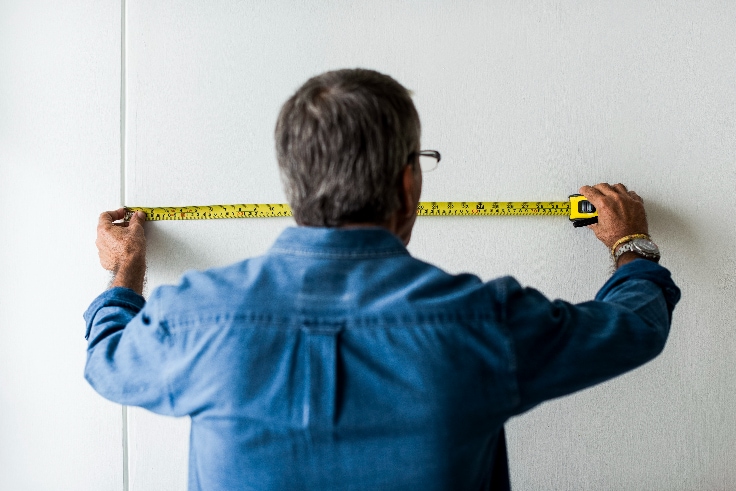
1. Measure the Room
Always begin a tiling job by measuring the room, no matter what tile you plan to use or where you are using it. Start at the back wall, the one farthest from the door. Measure the length of the wall and mark the center point.
2. Draw a Straight Line
Use a protractor or similar tool to help you draw a straight line across the floor at a 90-degree angle from the wall.
3. Mark the Centre of the Wall
Choose an adjacent wall and mark the center of that wall.
4. Make a Cross
Use the protractor again to draw another 90-degree angle across the room, which should cross the first line that you made at a 90-degree angle.
5. Create a Layout
Starting where the two lines intersect, lay your tiles along the two lines. Doing so will help you see what they will look like on the floor, and you can start to create a layout that you like by adjusting the tiles slightly if you need to. When you find a layout that works, mark it with chalk or a pencil so you can follow it as you install the tile. Tile spacers are a great way to mark the layout and ensure that your lines are straight.
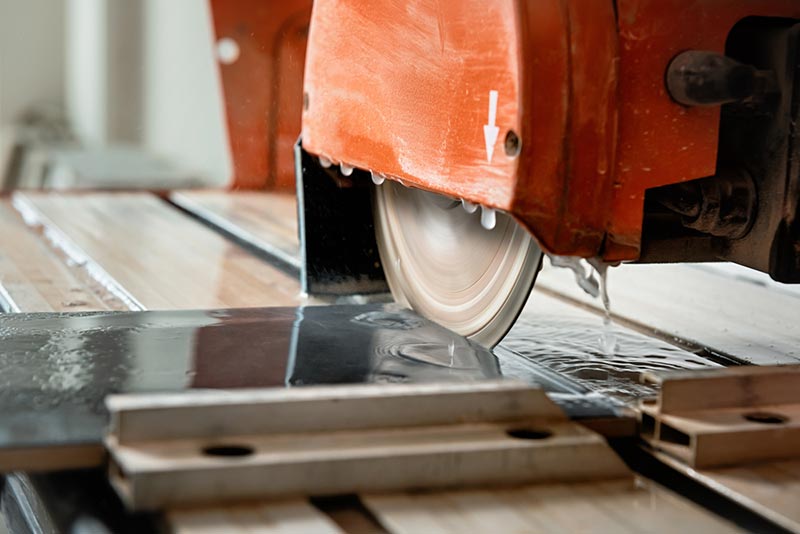
6. Cut Your Tiles
You can see if you need to cut tiles as you create your layout, and doing it now will help you ensure that it fits after being cut. Use a wet tile saw to cut the tile while wearing the proper safety equipment, or mark the tiles that you need cut and take them to a local professional tile cutter in your area.
7. Mix Your Mortar
With all the tiles cut and in place, you are now ready to begin tiling. Follow the instructions on the package to mix your mortar. It should be thick like peanut butter when it’s ready to use, with no clumps or lumps.
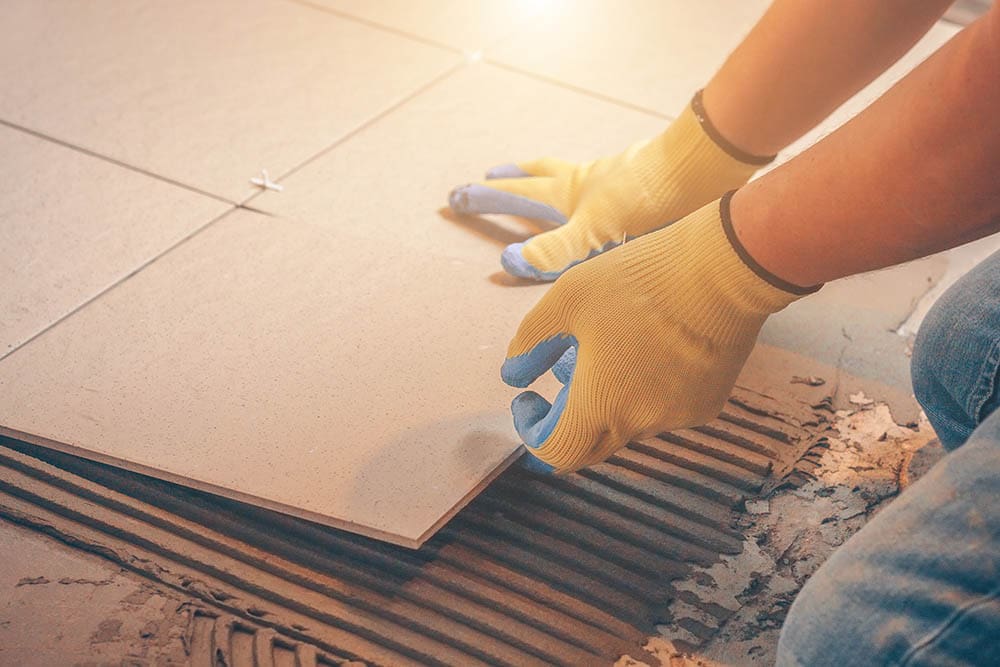
8. Start Tiling
Start again at the back wall, lifting the tiles in the reverse order that you put them down. Remove several of the tiles, scoop up an apple-sized amount of mortar, and spread it evenly on the floor with a trowel, using the edges to create grooves in the mortar. Add your tile. Spread only as much mortar as you can cover in 10 minutes, or it might compromise the bond.
9. Continue Toward the Door
Tile your way toward the door, so you don’t need to walk on any fresh tiles.
10. Let the Mortar Set
Wait at least 24 hours before walking on the tiles.

Conclusion
You will start tiling your floor in the center, working your way out toward the walls. It’s easiest to create a dry layout so you can be sure the tiles line up correctly before you start mixing any mortar. This also enables you to tile your way out the door without stepping on freshly laid tiles, which might compromise the tile’s bond with the mortar. Tile spacers can help you keep your lines straight and make the finished product look more professional.
Featured Image Credit: cnikola, Shutterstock
Contents
