
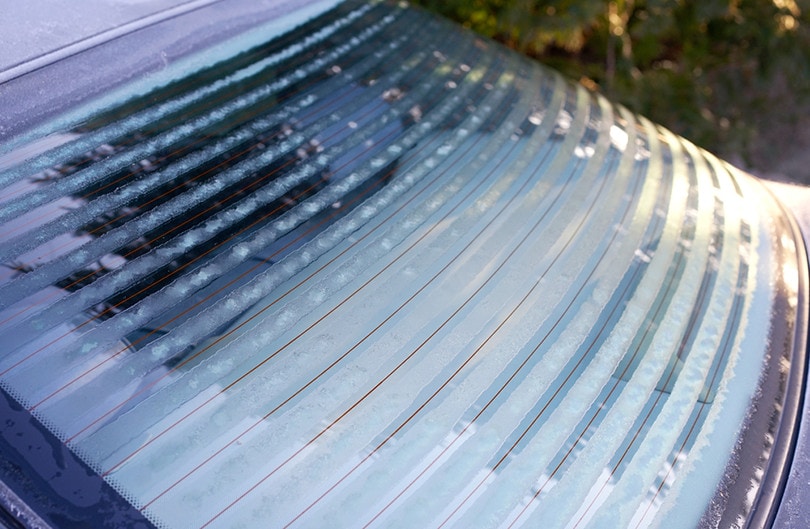
The rear window defroster is an essential part of your car and will prove vital during the winter months. It helps eliminate condensation build-up and, more importantly, it is used to melt ice and snow that settles on the rear window.
The defroster is essentially a grid of wire that runs back and forth across the length of the window. When turned on, an electrical current is passed through the wire, causing it to warm up, and this melts the ice on the window.
As essential as the defroster is, it can become damaged or irreparably broken, leaving you blind out of the back window and potentially having to pay hundreds or even thousands of dollars to get the rear window replaced. Thankfully, using an inexpensive repair kit, it is possible to fix the issue yourself and avoid having to buy a replacement window.
Below, we have outlined the 11 steps required to affect those repairs, as well as information on the tools and equipment you’ll need to complete the job.
Causes Of Damage
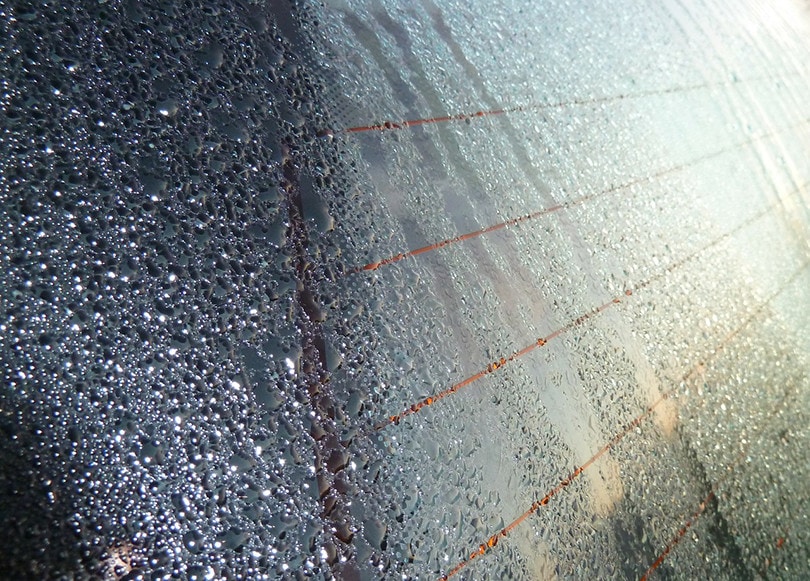
The defroster consists of electrical tabs, which are soldered onto the grid, and a length of wire. Any damage to the tabs or the wire can stop the defroster from working. Attempting to clear ice from the inside of the window can cause damage, and so too can any protruding items that might catch on the wires. The tabs can also come loose if they are knocked when you pack the trunk too full. Generally, you should only ever wipe the wires, gently, using a cloth, to help prevent damage.
Assess The Damage
There are various repair kits available, including those that repair just the tabs and those that repair the wires. Both are relatively inexpensive and do the job, but before you start, you need to know the extent of the damage you’re dealing with.
If part of your window still clears, there is a good chance that the wire has become damaged near where the ice ends and the clear window starts. If the whole window remains iced over, it may mean that the tabs and the wire need fully replacing.
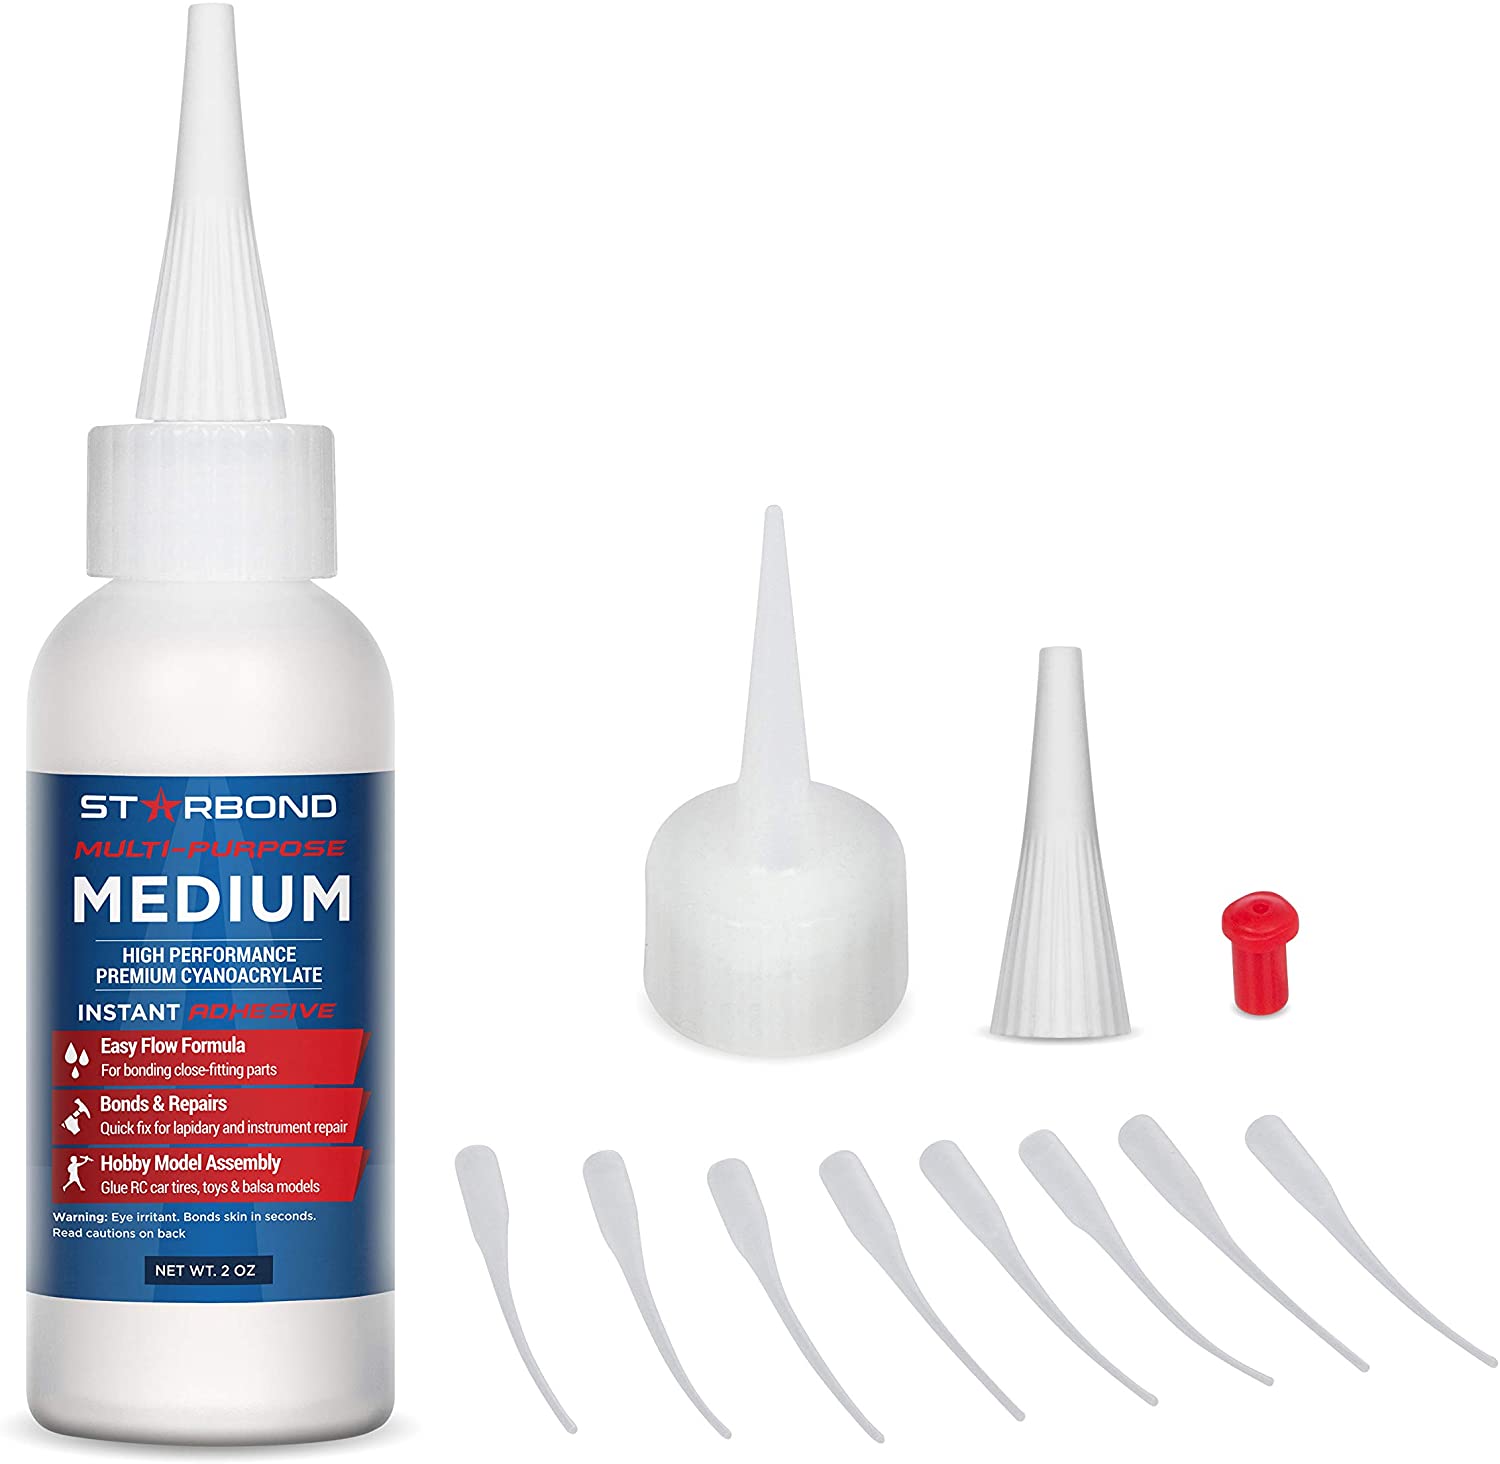
Materials And Tools Needed
Be aware that some repair kits will include accessories like sandpaper, so open your repair kit to see what is included and what else you need. Some kits include everything, and they should include the glue or applicator that you will need. Otherwise, the only equipment you might need that isn’t included is sandpaper.
In most cases, you will need to wait until the temperature is above a certain point. Most repair kits advise waiting until it is above 50F, or the applicator and glue may not set properly.
How To Fix A Rear Window Defroster (11 Steps)
Assuming it’s the right temperature and you have all the required equipment in your repair kit, the steps to repair the rear window defogger are as follows:
1. Clean The Window
Wipe the window with a mildly damp cloth. Don’t use anything abrasive and do make sure that the cloth is not too wet. An abrasive cloth or a wet cloth could cause more damage than you fix, but you do need to remove dirt, dust, and debris from the area before you start.

2. Sand The Tab Down
If the tab has broken off, use sandpaper to sand down the rough solder. Even if you have a soldering iron of your own, you should avoid trying to solder it back in place because the heat can cause serious damage to the defogger.
3. Clean The Tab
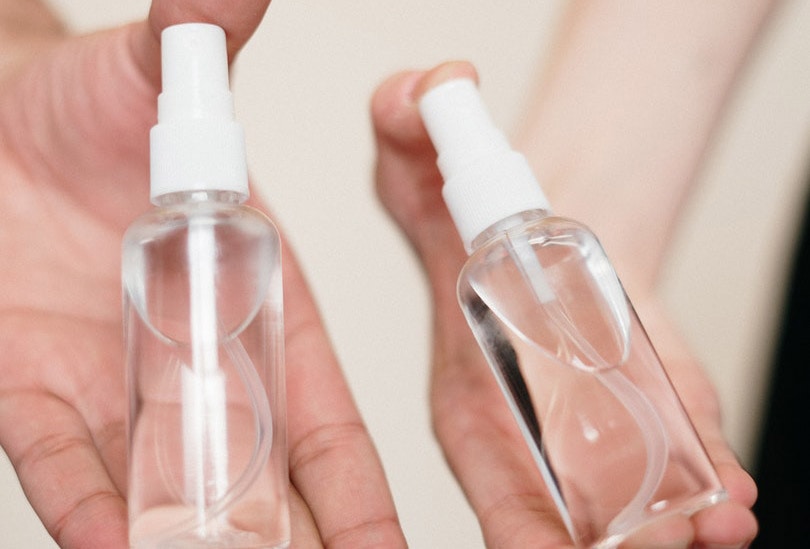
Use alcohol solution, usually provided with the repair kit, to clean the tab and the area where the tab broke away from the system.

4. Add The Activator
Activator speeds up the bonding process when an appropriate adhesive is applied on top and is typically found in repair kits. Apply the activator to the tab and the surface it is being glued to. It takes a couple of minutes to dry.
5. Apply The Glue
While the activator is drying, use the time to mix the glue that is provided. It is usually mixed in the packet by kneading it. The glue packet includes silver particles that are used to pass current, and they need to be well dispersed throughout the adhesive substance. Once mixed and the activator is dry, apply the glue to the tab.
6. Attach The Tab
Firmly hold the tab on the contact area. The glue will usually adhere and set within two minutes, and you need to hold it still while this happens. Once it has dried, you should wait 24 hours before testing or using the defogger.
7. Apply Alcohol Around The Broken Grid Wire
If you are repairing the gride wire itself, apply the alcohol solution around the damaged area that you will be repairing.
8. Apply The Stencil Sticker
Apply the stencil sticker so that the stencil line matches the unbroken grid lines at either end. Remove the backing so that the stencil sits in place.
9. Apply The Conductive Paint

Carefully brush the conductive paint over the stencil line, ensuring that you don’t miss any sections and that there is a good, solid, unbroken line of paint between the unbroken parts.
10. Remove The Stencil
Once the paint has dried, remove the stencil.
11. Test The Defogger
Wait 24 hours for everything to dry and set and then test the defogger.
Conclusion
A broken rear defogger can present you with a challenge. You will either need to carefully remove ice yourself, every time you want to drive in cold conditions, or may have to replace the rear window or entire rear panel. Alternatively, repair kits are available that provide you with everything you need in order to make the repairs. They are inexpensive but their instructions can be difficult to follow. Using the steps above, you should be able to fashion your own defogger repairs so that you can get back on the road regardless of the weather and rear window conditions.
You might also be interested in: Cricut Window Cling vs. Removable Vinyl: Pros, Cons, & Differences
Featured Image Credit: aRTI01, Shutterstock
Contents