
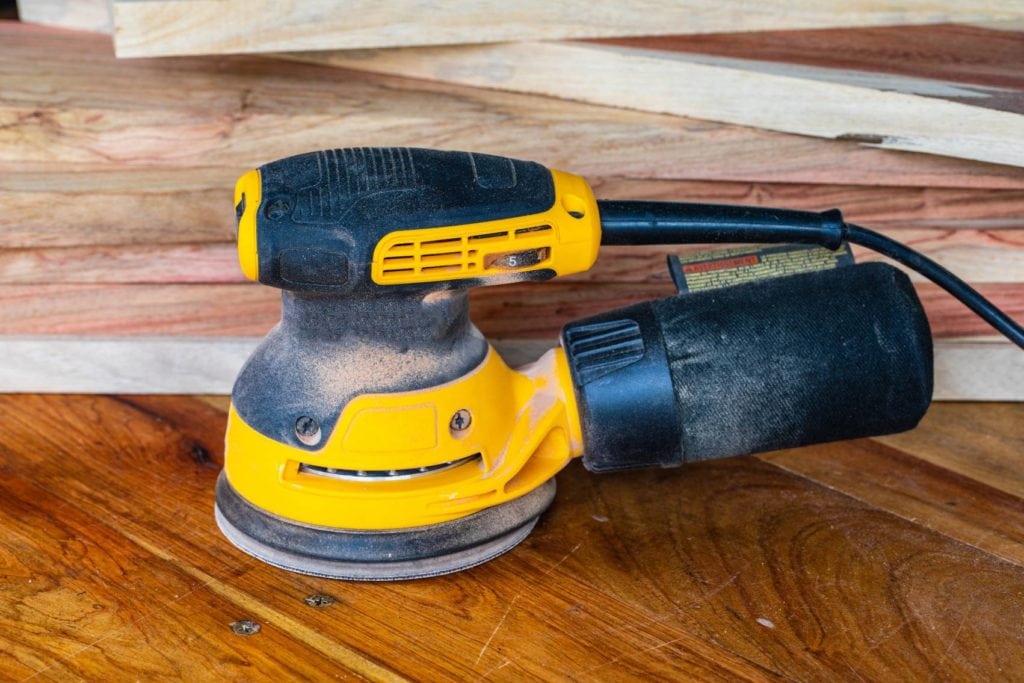
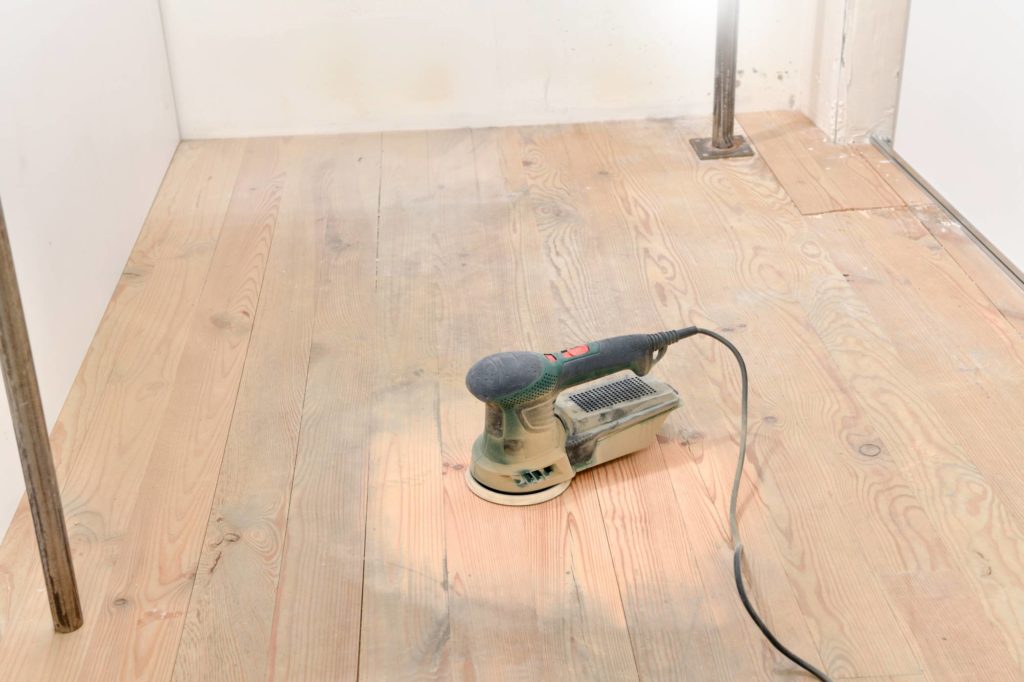
Sanding is a necessary process if you want to achieve an attractive wall. Whereas more ideal sanding tools are available, it is fine to sand small pieces of drywall using an orbital sander. Orbital sanders are lightweight, fast, and easy to use, meaning you’ll enjoy using them if you love DIY projects.
They’ll help you remove materials on the wall, smoothen rough surfaces, resand, and carry out a plethora of other home improvement projects. However, you’ll need various other sanding tools if the project is larger or you want a smoother finish.
In this article, we walk you through the process of using an orbital sander on drywall while avoiding the risk of ruining the finishing. We also take a look at the pros and cons of using an orbital sander over other sanding tools, so hang on.

The 5 Step to Use an Orbital Sander on Drywall
Even without the help of a professional contractor, many people can still use orbital sanders easily and quickly. Nonetheless, it’s essential to know how to use the tool effectively for the best results. Here are some helpful tips.
1. Prepare the Drywall Surface
How do you prepare drywall for sanding? Well, you apply a thick coat of a joint compound one day before the sanding.
If you have plenty of time to prepare, you’ll get better results by applying multiple thin layers of the joint compound every day and smoothening it out upon drying. That is, you apply a thin layer of the joint compound, allow it to dry, then smooth out. Repeat for three days and your wall is fixed.
By all means, keep your orbital sander away from unfinished drywall as it may damage the surface. For the same reason, do not sand when the joint compound hasn’t dried.
2. Observe Safety Precaution
For any DIY project to be successful, you ought to be keen on your safety first. Before handling the orbital sander, put on a dust mask and a pair of safety glasses to protect yourself from dust.
To keep the wind from blowing dust around the house, you’ll have to cover door cracks and other openings while leaving one window open for ventilation purposes. Alternatively, you can put in a box fan that lets out the dust.
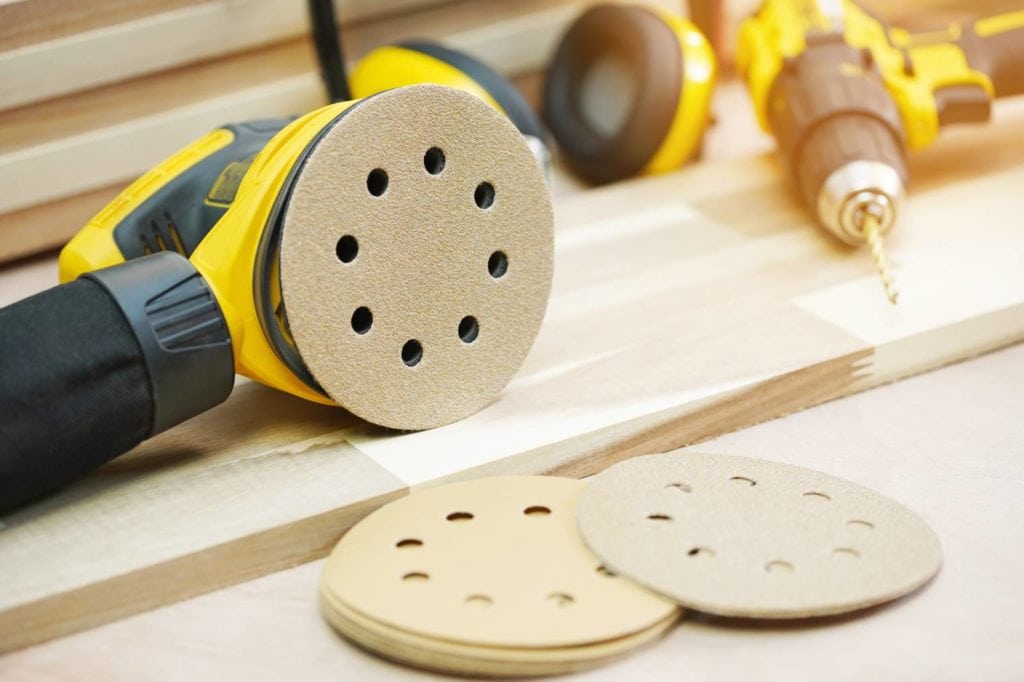
3. Select a Sandpaper Grit
Sandpapers have varying grit numbers and are used for different purposes. If they are coarser, the grit numbers will be lower and vice versa. Sandpapers with a finer grit (grit range: 150–180) are ideal for refinishing drywall surfaces effectively.
After choosing the sandpaper, your next step is to attach it to the orbital sander. Too often, sanders let you replace new sandpaper pads using a hook and look system. Be sure that each piece aligns with the sander’s base correctly before turning the tool on.

4. Sand With Slow But Even Pressure
This is one of the most crucial practices when using an orbiter sander. Apply light pressure while ensuring the sander moves in circular motions; otherwise, you may end up creating divots in the drywall mud. To avoid heating the sandpaper, you should sand the drywall while moving around in random circular motions as well.
Remember to start at the top of the joint. Don’t rush; take your time especially if you want to achieve a perfect, smooth drywall finish.
5. Prepare for Painting
After you’ve removed all ridges and bumps from your drywall, you’ll need finer sandpaper (grit number 220) to smooth out swirl marks. Doing so will ensure a smooth and consistent finish that’s ready for painting.
It’s important not to sweep the resulting dust off the walls as it will help bind the drywall and the paint together. They will also hide any damages or scratches that may be left behind by the orbital sander.

Pros and Cons of Using an Orbital Sander on Drywall
- Easy to use: Unlike other sanding tools, using an orbiter sander doesn’t require extraordinary skills; everyone can learn it quickly. All you have to do is hold it straight (avoid tilting) and apply the least pressure.
- Speed: When compared to hand sanders, orbital sanders are way faster and more efficient. In fact, using them will save you twice as much time. The process of attaching the sandpaper also takes a few seconds without requiring sandpaper blocks.
- Versatile: An orbital sander will help you tackle various sanding tasks without the need for other tools. This means you can smooth drywall and sand them to finish. You’ll also use it on furniture, counters, and floors and, still, the final surface will be ultra-smooth.
- Cost: According to a research conducted by DataIntelo, the market growth of orbital sanders is growing at a CAGR of 3.9% because they are cheap to buy, use, and maintain as compared to electric sanders. Despite its low price, it still lives up to its desires and performs without much frustration. It also guarantees less hand fatigue since it’s easy to hold and direct.
- Swirl marks: Because the sanding pads of orbital sanders move in a circular motion, they may leave swirl marks on the surface of the joint compound, therefore failing at their job.
- Requires fine-sanding: Whereas it’s not necessary, you may have to use a fine-grit hand sander to sand your drywall to ultra-smooth levels.
- They are hand-held: Orbital sanders are held by the hand, meaning they are not ideal for reaching high walls and ceilings. While some of them may come with elongated handles, they may not do a scrutinous job.
- Risk of ruining the wall: Using orbital sanders requires only light pressure. If it becomes too much, the sander will not only remove the joint compound but also damage the drywall surface.
How to Minimize Dust While Sanding Drywall
Dust during sanding is as common as sawdust during sawing. Whether it’s an orbital sander or any other sanding tool you are using, the sanding process notoriously produces a lot of dust.
Here are some tips to help you minimize dust resulting from drywall sanding:
- If you are operating in a two-room house, it’s advisable to open a window in the nearby room to allow circulation of air and dust out of the house.
- Use a fan for better ventilation.
- Don’t forget to wear a dust mask or respirator during the sanding process to prevent any respiratory issues.
- To make the cleanup process easier, you should lay a cloth or tape plastic on the floor to gather the dust.
- Seal all door frames, cracks, and ducts with masking tape or plastic sheets. You can leave the bottom opening untapped, though, to improve ventilation.
- If your windows are glass-made, removing the screens will save you a lot of time and effort since you won’t have to clean them after sanding.
Top 3 Common Mistakes to Avoid When Using an Orbital Sander
Here are three common mistakes you must avoid to achieve an ideal, high-quality finish every time you use an orbital sander:
1. Avoid Sanding Too Fast or Too Slowly
Sanding is a tedious process. For that reason, most people often move the sander quickly in a bid to finish sooner without realizing they are doing it wrong.
On the other hand, moving it too slowly will not only waste much of your time but also lead to poor results. You may over-sand or cut through the surface.
Quality sanding requires keen attention to detail, therefore, you should move your sander at an even and controlled pace to achieve the best results on your drywall.
2. Avoid Turning on the Sander in the Air
If you don’t want to create swirls when starting and ending a sanding session, you must not turn the sander on while it’s in the air, and off when it’s in contact with the drywall surface. Reason for this? It will be difficult for the sander to make contact with the drywall surface when it’s already moving.
The little lag time that’s often assumed is enough to cause uneven sanding and swirls because the sanding part is already rotating. Hence, you can only start your sander when it’s in contact with the surface and stop it when it’s not.
3. Avoid Tilting the Sander
Most people forget that the sander isn’t an angle grinder. If you use it on an angle rather than a flat surface area, you’ll end up with a more uneven finish and a destroyed sander disc. A more convenient way of sanding out irregularities on an uneven surface is by switching to coarse sandpaper or using a filler product to occupy the defected spots, then sanding evenly.
Conclusion
After reading this article, it’s evident that you can sand your drywall using an orbital sander. Although they aren’t ideal for big projects, orbital sanders are perfect for DIY tasks.
If you want to attain the best results while sanding your drywall, however, you must take a bit of caution and care while using this tool. Otherwise, you may end up hurting the wall more while also exposing yourself to respiratory issues caused by the dust.
Featured Image Credit: Kasarp Studio, Shutterstock
Contents
