7 DIY Shutter Plans You Can Build Today (With Pictures)
-

- Last updated:
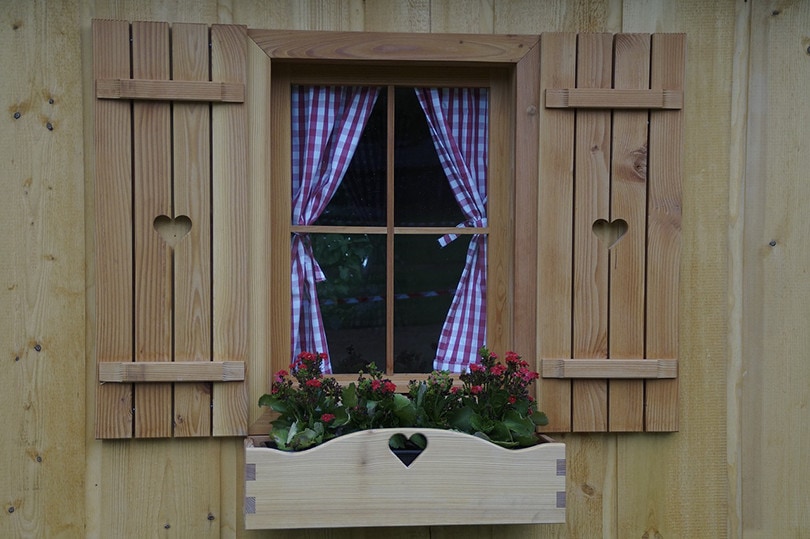
Shutters are an easy way to spice up a home’s exterior that needs a little curb appeal. Shutters can be made to be purely decorative, or they can be functional. Functional shutters give homeowners extra protection for their windows in case of bad weather. Whether you want to add shutters for their visual appeal or for their functionality, they can be made by hand at home.
Building your own shutters can save you hundreds of dollars and give you the freedom to create whatever style shutter you want without having to go through the hassle of tracking down the perfect addition for your home.
DIY shutter plans range in complexity from basic to advanced. There are plans here for everyone, from the novice carpenter to the family with a woodshop in their barn. Here are seven amazing DIY shutter plans that can be built in one day or less.
The 7 DIY Shutter Plans You Can Build Today
1. Board and batten shutters
| Materials: | 1×6 cedar, 2×6 pine, 2” exterior screw, spacers |
| Tools: | Miter saw, drill, sander |
| Complexity: | Basic |
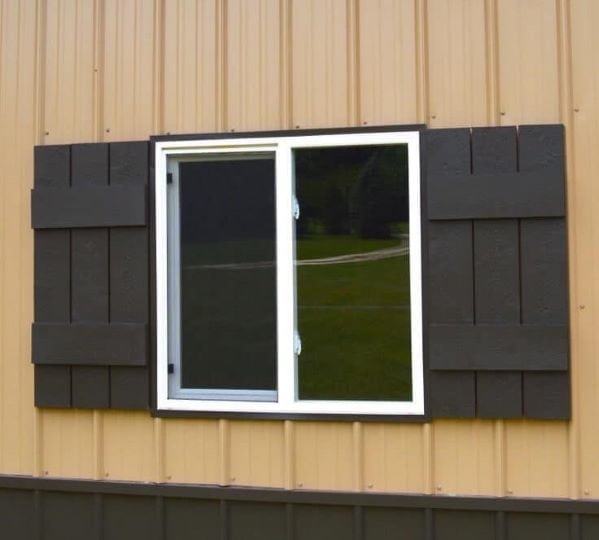
The most straightforward type of shutter is board and batten. These classic shutters have been sprucing up homes for generations. The best part is that they are exceedingly easy to build. With just three 1×6 boards of your choosing and a 2×6, you can upgrade your home with a classic look. These shutters are not only easy to build, but they are affordable too. Some box stores will try and charge you hundreds of dollars for shutters made overseas. You can avoid those high costs and still get the look you want with this simple step-by-step plan to build your own.
2. Cedar shutters
| Materials: | 1×4 cedar, 2×4 cedar, 2×6 cedar, spacers, exterior screws, nails, wood glue |
| Tools: | Table saw, miter saw, drill, hammer, workbench |
| Complexity: | Intermediate |
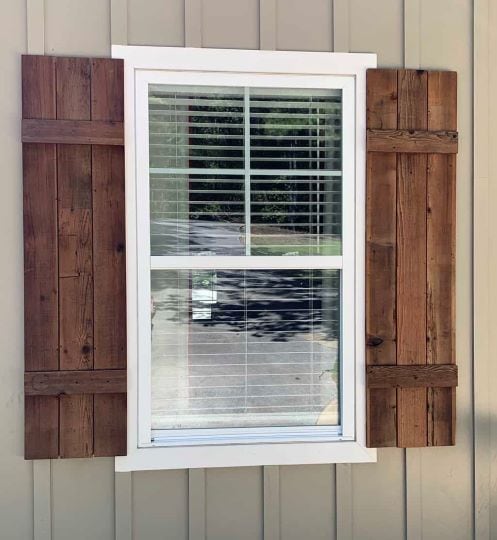
Cedar is a popular wood for a variety of outdoor projects. It is widely available and naturally resistant to bugs and rot. It also has an instantly recognizable rustic look perfect for any shutters. Cedar is lightweight and easy to work with. These cedar shutters not only look great, but they will last a lifetime without having to paint, seal or upgrade them. If you are looking for a simple set of shutters that you can build today and leave up for years without having to worry about corrosion, these shutters are perfect. With a standard set of saws, a few hours, and a little bit of woodwork, these shutters can soon be adorning your home.
3. Plywood shutters
| Materials: | 4×8—3/4” finish plywood, 4×8—1/2” finish plywood (x2), finish nails, 1¼” screws, sheet metal, wood glue |
| Tools: | Table saw, miter saw, jigsaw, hammer, drill, router |
| Complexity: | Advanced |
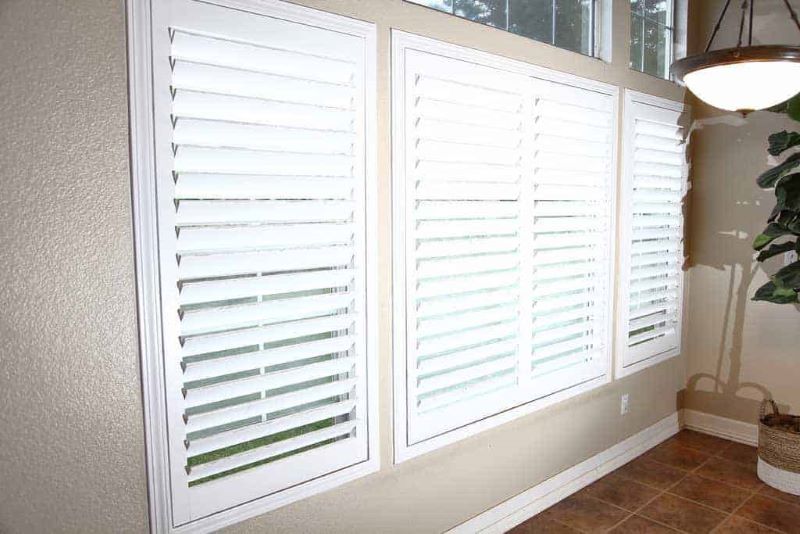
These shutters can be made completely out of plywood you can find at your local lumber yard. Not everyone wants rustic homemade-looking shutters. With three sheets of plywood and a table saw, you can build professional-looking shutters for your home in an afternoon. The benefit of plywood shutters is that they are uniform all the way around, which gives them a clean look.
These plans call for some advanced woodworking. Each louver needs to be accurately ripped to uniform sizes to get the desired look. This project is perfect for anyone with their own home woodshop. Plywood also gives you the flexibility to choose what kind of finished look you want. You can purchase marine plywood for extra durability or birch plywood for the perfect paintable surface.
4. 1×4 shutters
| Materials: | 1×4 spruce or pine, wood screws, water seal |
| Tools: | Miter saw, drill |
| Complexity: | Basic |
Not all DIY shutters have to use a variety of complicated materials. These simple shutters can be entirely constructed from basic 1x4s that can be purchased at nearly any home improvement store. The 1×4 boards have the benefit of coming in a variety of different species, including affordable pine, classic cedar or fetching poplar, and many others.
These shutters can be quickly assembled in just a couple of hours. The easy nature and straightforward construction mean that you can make shutters for your entire house in just a couple of days while saving thousands off store-bought prices.
5. Craftsman shutters
| Materials: | 1x4s of your choosing, 1” pocket nails, 1⅜” nails, wood glue, hinges |
| Tools: | Miter saw, hammer, paint or stain |
| Complexity: | Basic |
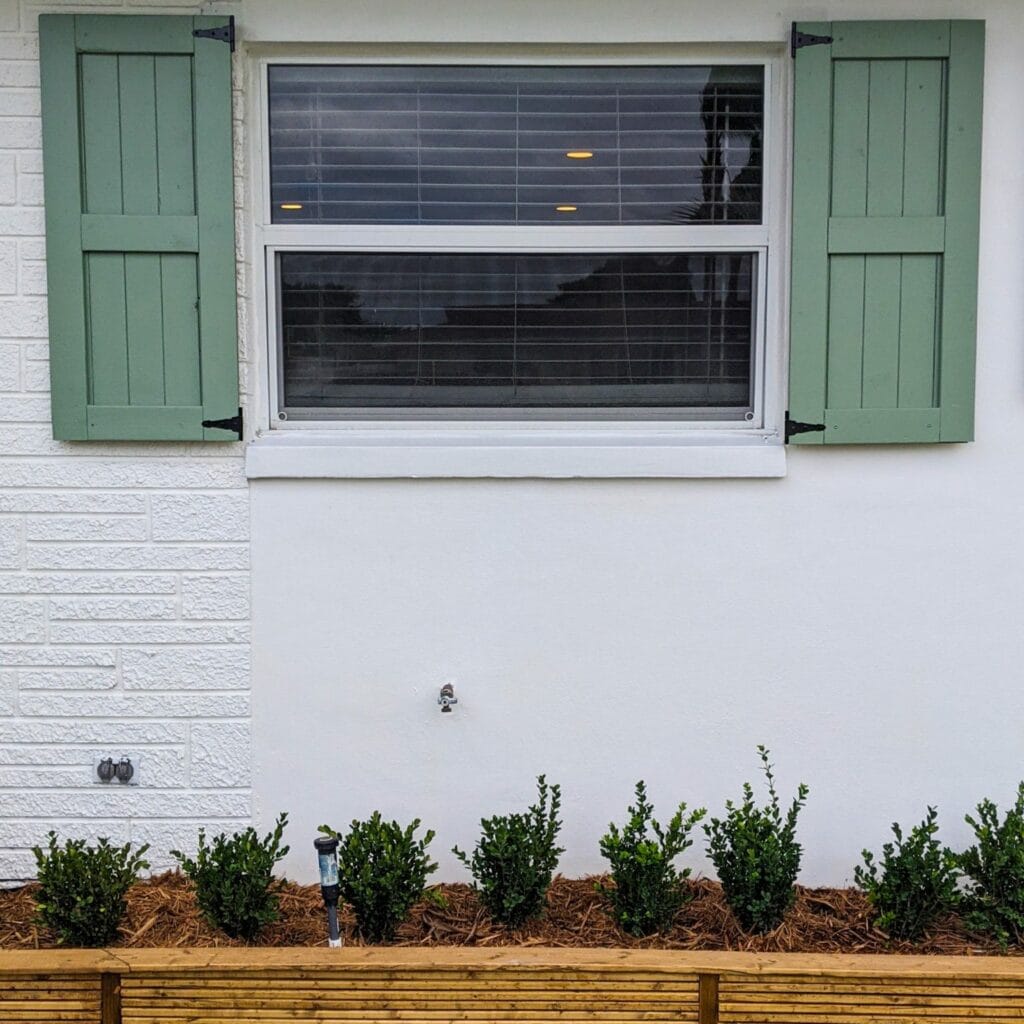
These craftsman shutters are the perfect addition to any craftsman-style home. They are also a great feature for anyone looking to add some craftsman design elements to any style of the house. The boxed look is timeless and gives a classic aesthetic that anyone can love. This design is simple to complete and gives you the freedom to make it your own. With paint, you can add a pop of color to a drab exterior or stain the shutters to give a rustic appearance. One of the best things about these plans is that despite their simple nature the end product looks professional.
6. Plantation shutters
| Materials: | 2×4 boards, 2×6 boards, material for louvers (1×2, 1×3, or 1×4), screws, wood glue, louver pins, wooden dowel or rod |
| Tools: | Miter saw, drill, hammer, wood glue |
| Complexity: | Advanced |
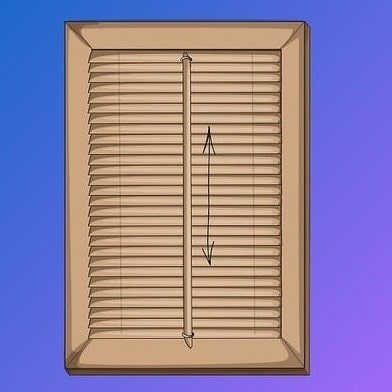
These plantation shutters are the perfect project for the avid carpenter. These plans give you the ability to handcraft a full set of functional plantation shutters from scratch. Many DIY shutters are merely aesthetic, but these plans give you the option to create a fully working set of plantation shutters that can be opened or closed. This is a step up from many similar plans available online, but it does take a lot of know-how to pull off. With some skill and patience, the end result is well worth the effort.
If you are tired of buying overpriced items for your home from overseas manufacturers, these plans are the perfect way to create your own version right in your own backyard. No worrying about warranties, shoddy work, and sketchy customer service reps to give you the product you crave.
7. Interior shutters
| Materials: | 1×4 cedar, 1×6 cedar, 1×2 pine, wood screws, hinges, wood glue, wood putty |
| Tools: | Drill, nail gun, miter saw |
| Complexity: | Intermediate |
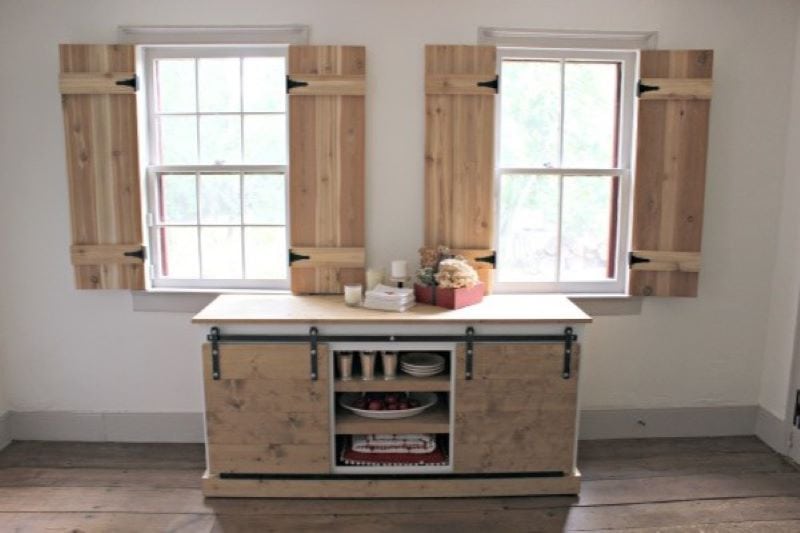
Shutters are not only a great addition to the outside of your home but also the interior. Interior shutters give you the ability to shut out blinding glare without having to go outside. They also add a rustic touch to stylish kitchens and family rooms. You will be surprised at how much warmer a space can look with the simple addition of small interior shutters flanking your favorite window.
These interior shutters are easy to build and offer a lot of flexibility in their size, style, and function. These are also perfect for someone who already has decorative exterior shutters but wants to add functional shutters to the interior of their home.
FAQs
What is the best wood to use for shutters?
Shutters can be built from a variety of different wood types. The choice of what species of wood is the best is going to depend on how you want to finish your shutters. If you are going to paint and seal the shutters, almost any kind of wood can be used in an outdoor setting. If you are looking to stain the wood or keep it raw, you are going to want to choose a wood that holds up to the elements. Cedar and pressure-treated wood do great outside without any additional products needed. Birch, poplar, spruce, and pine are all great options for shutters that you plan on painting.
Decide on how you want the end product to look, and then choose a wood based on that decision and your budget. Different types of wood can create vastly different-looking shutters. The choice is yours.
What kinds of shutters can be reliably made by hand?
Most shutter designs are very simple. All types of shutters can be made by hand as long as you possess the correct level of skill and tools. This article covers every major type of shutter, and they are all doable given the right materials. Even working plantation and craftsman shutters can be done yourself if you are willing to put in the work.
Can you make functional shutters by yourself?
Yes. The difference between aesthetic shutters and functional shutters is usually just a few extra measurements and some hinges. If you plan on making shutters that open and close, make sure the shutter can clear the window frame and is large enough to cover the entire window from both sides. With the addition of durable outdoor hinges and a simple locking pin, any shutter can be turned from purely decorative to functional.
Conclusion
If you don’t think of yourself as particularly handy, do not be intimidated. There are shutter plans out there that are buildable by complete novices. There are also shutters that require high levels of craftsmanship and precision. Whichever category you fall into, there are shutter plans out there for you to build yourself. Your house can be one weekend away from a serious visual upgrade.
Featured Image Credit: Efraimstochter, Pixabay
Contents

