
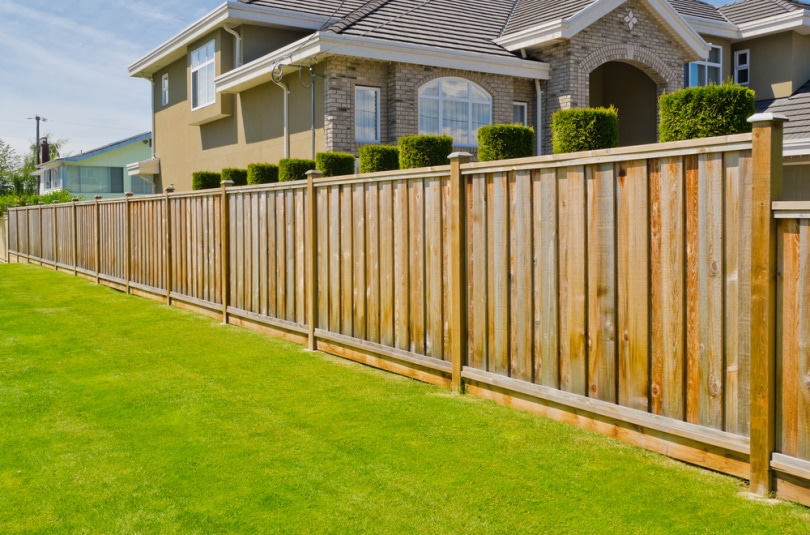
If the fence on your property is old, worn-out, and sagging, and you want to fix it, prefab panels are your best bet. First, they’re (relatively) cheap. Second, they don’t take forever to ship/deliver. More importantly, these panels are very easy to install manually. As long as you have a buddy to help you out, you won’t need to pay contractors for the job.
Today, we’ll talk about how to attach pre-assembled panels to a post. We’ll go over the necessary tools and equipment, required permits (if any), and the right techniques for installing fence panels on your own. The whole thing will take 2–3 days; you can be done over the weekend! Alright, now let’s get right to it!

| Time Needed | 2–3 days (if you do it manually) |
| Estimated Cost | Depends on the size/material |
| Difficulty | Low/moderate |
What You’ll Need for the Job
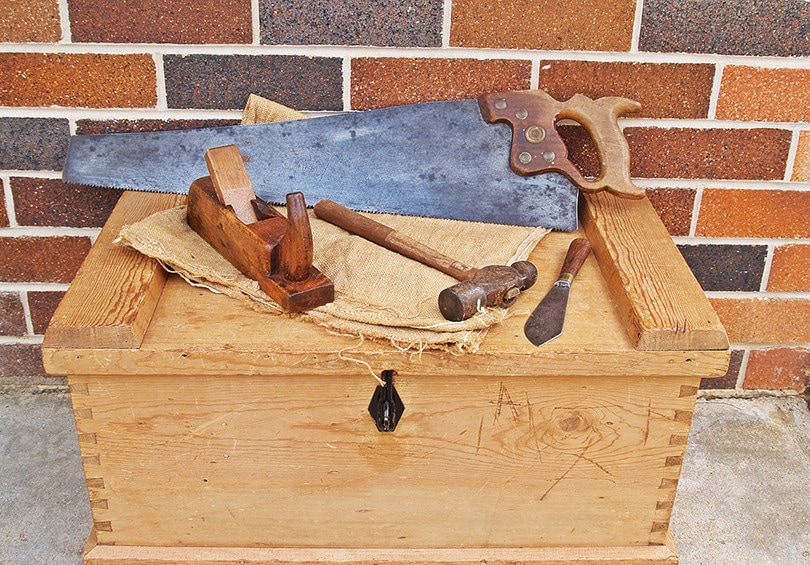
A post hole digger, shovel, and concrete are absolutely necessary to install fence posts. However, since our focus today is on attaching panels to a post, primarily, you’ll need protection for the hands and eyes, a hammer, a drill, and, of course, a pack of fence panels. Here’s a more detailed look:
| Tools Required | Materials/Products Needed |
| Gloves, goggles, and a mask | A set of fence panels |
| Standard-issue hammer | Fence posts |
| Electric drill/screwdriver | Exterior screws and nails |
| Measuring tape and square | A can of paint/wood stain |
| Circular saw | String and stakes |
| Tamping bar and shovel (optional) | Post caps (optional) |
| Hole digger/auger (optional) | Ready-mix concrete (optional) |
The 8 Tips & Tricks on How to Attach Fence Panels to a Post
1. Check the Local Laws
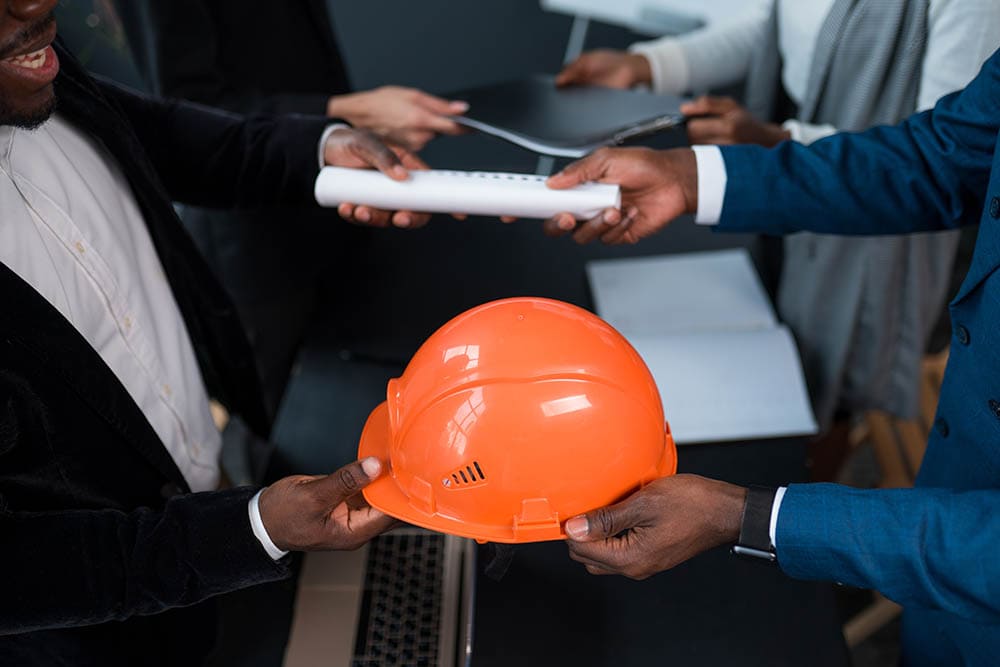
Before you do any fencing, make sure that you’re not violating local laws. Ordinances, building codes, and zones—even if you successfully build a fence ignoring all these requirements, eventually, they will catch up to you. Every single state and even city is different, but the general rules are mostly the same. The maximum height for interior yards is usually 4 feet, while exterior fences can be as tall as 6 feet.
And let’s not forget about the “good” and “back” faces of the fence. Most amateurs prefer to nail/screw the panels to the face of each post. It’s easier to do it this way and involves less planning and measuring. What you should do, however, is mount the panels right between the posts. Thus, your neighbor will get the “nice” look, which is the proper fence etiquette. And you don’t want to raise tensions, right?
Is there a punishment involved?
Yes, most states require you to do this (build the fence so that you get the backside) on a legislative level. If you build it the other way around (put the “bad” side towards the neighbor), the government will force you to redo the whole thing. Again, this depends on the local laws, but it’s always better to be safe than sorry. Besides, with fence panels, you can pick a design that looks great on both sides.
2. Get Everything Ready
With the codes and ordinances out of the way, think about safety. Get in contact with the authorities or a utility company to check whether any pipes or cables are running underneath your property. Calling 811 to get info on power lines is also an option. While you’re at it, have a word with your neighbor about the property/fence lines. They might be nice enough to pay for 20%–30% of the fence cost, or even more.
Do you have all the tools, equipment, and materials ready? Then begin by removing the old panels using a pry bar. Next, get rid of any nails or screws that are left on the posts. These will only get in the way and can even hurt you while you’re busy with the new panels.
3. Make Sure the Posts are Secure
Are they already in place? Then all you’ll have to do is double-check to see how secure they are. Depending on the area that you live in, the posts will have to withstand winds, rain, snow, hail, and maybe even heavy storms. And let’s not forget about UV rays and insects. That’s exactly why it’s so important for the posts to be brick-strong, as the panels will solely rely on them to hold everything together.
Use a level for checking how straight each post is. Wiggle it into the correct position; use a tamper, if necessary. Setting the posts can be a lot of work. If you want to master the art of digging holes, pouring in concrete, and mounting the posts, you can learn all about that further down this guide. For now, let’s focus on how to place the panels, attach them, and get everything nice and tight.
4. Position the Panels
The hardest part about this is handling the weight. While some fence panels are relatively lightweight, they tend to be quite heavy. So, it’s better to ask a friend to help you out. Otherwise, you will have to hire a contractor to handle the installation. Now, when you’re face mounting, the panels should be centered on the face of every single post in the row.
Use a level to check how even the fence line is. This will take some going back and forth, especially if this is your first time building a fence. Or, as recommended earlier, place the panels between the posts so that your neighbors get the good side. See that they fit tightly. Again, use a level to make sure the fence panel isn’t sagging. Just put the level tool on top of it and it will show you everything.
5. Attach the Panels to the Post(s)
Alright, now that we’ve positioned the panels and they’re nice and snug, we can finally attach them to the posts. When face mounting, the most important thing is for the screws to reach the posts. Drive one screw into each side of the rails for the fence to be secure. The longer the screws, the better, as they’ll have to go through the backer rails and reach the posts.
For the most part, you’ll need to do the same when the panels are placed between the posts. Only this time, the screw should be driven through the rail at a 30º angle. Two screws per backer rail have proven to be more than enough (that’s six screws on each side). Once a couple of screws are in, it will be much easier to handle the rest. Alternatively, you can use nails.
Lifting the Panels
Remember: the panels need to “hang” 2–4 inches above the ground. Use scrap wood or space blocks to keep them at the right height. They’ll hold the weight of the fence panels, and you can concentrate on attaching them to the posts. Moreover, the extra clearance will allow for better water drainage, not to mention make it easier to do regular maintenance.
6. Finish Up and Trim the Posts
Keep pushing screws through the rails and checking for level. Yes, this can be a bit tiresome, yet the more attention you pay to how even the fence is, the less work you’ll have to do once you finish it. The trick here is to position every new panel so that it’s flush against the first panel. Cutting down the posts is the next step.
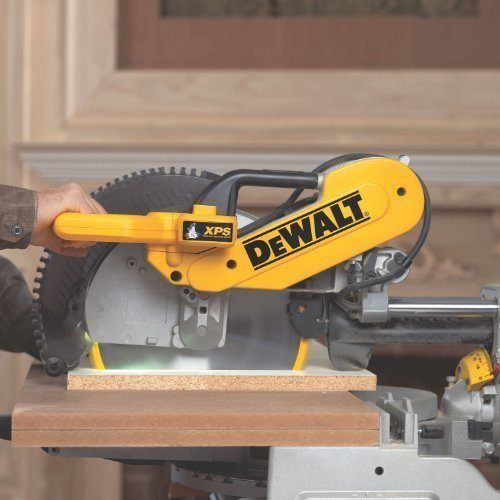
They should still be higher than the panels (4–6-inches taller). Use a circular saw for that. You might have to cut some of the panels as well. Most pre-assembled panels that they sell at home centers are 8-feet-long and 6-feet-tall. So, depending on how long your fence is, some cutting will be involved. That same circular saw will work.
7. Nail the Post Caps and Stain the Wood
Last, but not least, grab some caps, put them on top of the posts, and secure them. They have two jobs: to make the fence look more “expensive” and to prevent rain/moisture from ruining the posts. A couple of nails and a hammer—that’s all the equipment you’ll need for this. Do you want both the panels and the posts to last? Then consider painting or staining them.
Now, paint provides longer protection while staining takes less time to apply. The stain should be oil-based, of course; otherwise, it won’t be able to resist natural elements. In any case, we recommend doing this BEFORE attaching the panels to the caps, as you’ll have more “room for maneuvers”. A thin layer of a wood preservative would be appropriate as well.
8. Double-Check Everything
The job is done! The last thing to do is go around the fence and examine everything. Check every post (is it secure enough), every screw (maybe some of them are sticking out), and the overall firmness and level. If you hire an experienced contractor, they’ll be done with the whole gig in a day or two. But they also do charge a lot ($55–$60 per linear foot).
So, even when you decide to pay a third party to handle the installation, get at least 5–6 estimates before hiring someone. These won’t cost you a penny, yet you will learn the average labor cost in your area. Every company/contractor will have a different price, of course. A quick note: late fall/early winter is the down season. Therefore, if you’re on a budget, get in touch with a contractor then.
Checking the Old Posts
Are the fence posts in a decent shape while the actual fence isn’t? Then fence panels should be the only thing on your shopping list. However, if the posts are in a bad shape, that means you need to replace them as well. Grab a knife or a screwdriver and push it against the post. If the wood is fragile, brittle, and the knife/screwdriver goes through easily, you’re dealing with internal rotting.
Setting New Posts
Planning on setting new posts instead of the old ones? You won’t have to dig any holes then. Just remove the concreted posts, put them aside, and slide the brand-new posts in. And if this is a brand-new fence, run a string line to find the right spot for each posthole and mark them with stakes. Then go ahead and dig the holes. Use a posthole digger or an auger for that.
The holes should be 3x wider than the posts and 30% the length. Before mounting the new posts, go ahead and fill the holes with ready-mix concrete. To ensure proper alignment, use a level and string lines. When working with concrete, put on protective gloves, goggles, and a mask (so that you don’t breathe anything in). Regular concrete will take 10–12 hours to cure; fast-setting concrete, in contrast, is ready-steady in 1–2 hours.
What’s the Best Material for A Wood Fence?
The most popular fence panels are built from wood. You’ve got pine, cedar, maple, and other options. However, wood is not the only available material. You can go with vinyl, chain link, steel, or aluminum. Now, wood posts will probably not be able to hold an aluminum fence, but if you’re ready to commit to premium quality, it will be a great choice.
Wrought-iron fences are among the most expensive ones ($35–40 per linear foot), while chain links are rather cheap ($15–18). Composite fencing can also be quite pricey ($30–32).
Conclusion
If you’re not ready to pay someone to install a new fence for you, fence panels are the best DIY option on the table. You won’t have to manually cut, shape, and attach every single piece of hardwood. Instead, you can pick a panel of the right size, choose the design/style that you like, the wood type, and attach it to pre-installed posts.
Fastening the panels to the posts won’t take much time or effort, either. Just follow our detailed instructions, make sure you’ve got the necessary equipment/tools ready, and don’t forget to put on protective gear. Yes, you will have to do some heavy lifting and maybe even get your clothes dirty, but the result will be 100% worth it!
Featured Image Credit: romakoma, Shutterstock
Contents
