

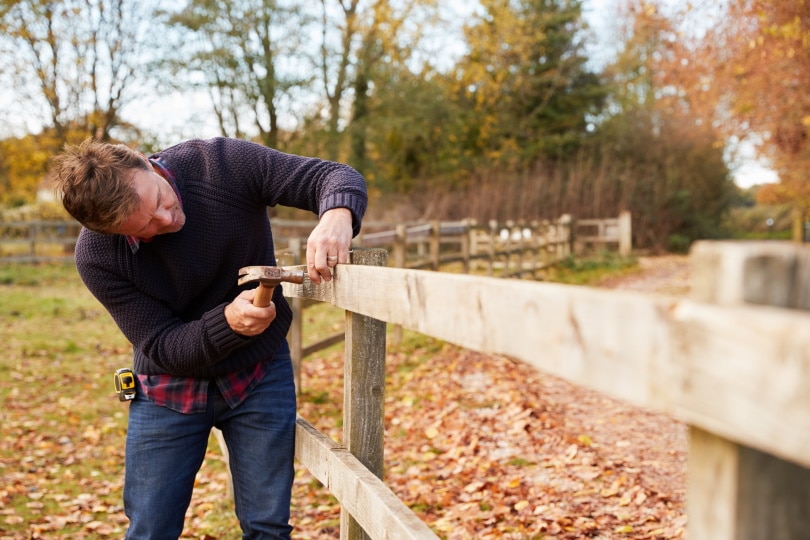
If you want to have an even and sturdy fence, you need to effectively layout the fence posts beforehand. Even though laying out posts may seem difficult at first, it’s actually pretty easy.
With the following nine tips and tricks, you’ll be able to layout your fence like a pro.

The 9 Tips & Tricks for Layout Fence Posts
1. Check for Utilities Beforehand
Before you get started, make sure you know where the utilities are located under the ground. This is a mandatory step in most locations. Not only is this step legally required, but it will help to protect yourself from injury while building the fence post.
2. Check Property Lines
You also want to check out any property lines. The last thing you want is to start building your fence only to find out that you are on someone else’s property. You may need to get your area inspected to ensure the fence falls within your property lines.
3. Start at a Corner
Once you actually start mapping your fence, begin at a corner. Drive a stake into the ground at this corner. Think of this as the starting point for your fence. Once you have the corner down, work outward using a string to keep the fencing in line.
4. Use Strings
You’re likely going to work with landscaping string. The string will create a straight line so that the fence is completely even and in line. To do this, wrap the strings around each stake you put down. Then, follow the next few steps in this article.
5. Mark the Fence Line

The fence line is where the actual fence will lay. Once you put a stake in the first corner, start putting stakes along the fence line and wrap a string around them. This will create the fence line for the entire perimeter.
6. Mark the Corner and End Posts
You need to put stakes specifically at the corners and end posts. You do not want to have questions about where the corner should be located once you’ve already started. Continue to wrap the string around all of these stakes.
7. Mark the Gate Posts

If there’s going to be a gate, make sure to mark your gate posts. You will follow the same methods as described above, including the use of stakes and string.
8. Mark Your Line Posts
The last thing you’re going to need to mark is the line posts. A line post will help you know where the fence panels are located. You will need to know the width of your panels in order to mark the line post effectively.
9. Set Parallel Lines
The last thing you need to do is set parallel lines. The parallel line should be 3 feet across from the original line. The purpose of this line is to create a line for both sides of the fence. Follow all the strings from the above markings to create your parallel lines.
What Is the Proper Distance Between Fence Posts?
The proper distance between the fence posts is between 8–12 feet apart. This is a general criterion, though. You will need to match the distance to the purpose of your fence and your ideal fence.
How Do You Set Fence Posts at the Same Height?
The string is the secret to keeping a fence post in line, but it’s also the secret for setting the posts at the same height. If you run a string from one post to the next, you will have a straight line. Use a leveler to determine if the posts are the same height. Adjust the posts as needed if they’re not.
Final Thoughts
By following the nine tips and tricks above, you will be able to lay out a fence post like a pro. Remember to go slow and take your time to make sure the fence post layout looks perfect. Don’t be afraid to redo any of the markings and work if you need to.
Featured Image Credit: No-longer-here, Pixabay
Contents
