
If you can make renewable energy effective, there are several significant reasons to take advantage of it. Solar power is environmentally friendly and can help keep your monthly electric bills down.
The prospect of building a solar panel can seem confusing and overwhelming. Connecting an entire home to solar power is indeed more trouble than the average DIYer could safely and affordably manage. But for small projects such as powering outdoor sheds or supplying electricity to an RV, simple components and basic steps are all you need to take advantage of solar panels.
To help you get started on your solar power project, we’ll walk you through how to build a solar panel in nine easy steps.

Preparation
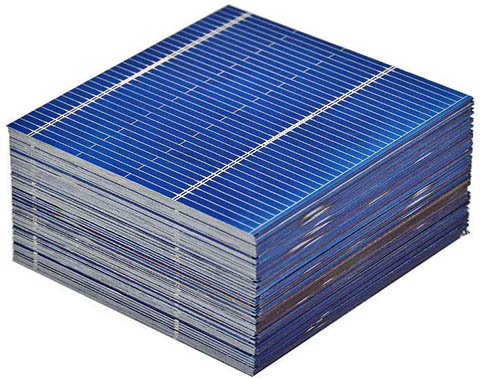
Before building your solar panel, you need to purchase solar cells, which can be the most challenging part of preparation. Solar cells are manufactured across the globe, but some of the most reliable are American or Japanese-made.
Solar cells are available in monocrystalline and polycrystalline varieties, as well as a newer technology called thin-film. Each has its tradeoffs in performance and cost, with monocrystalline being both the most expensive and the most energy-efficient.
The number of cells you buy will depend on the amount of power you wish to generate. Each model will have specs to indicate the expected energy output. It’s important to always shop around for pricing and guarantees to get the best value. No matter which technology you choose, always buy extra solar cells for your project should you damage any during the build.
How to Build a Solar Panel (9 Steps)
1. Build a Backing Board
Your solar panels need to be secured in a frame to prevent damage and movement while they’re out in the elements.
To start the frame, you will need to cut a backing board made of a non-conductive material such as glass, plywood, or plastic. Wood is usually the easiest to use when cutting holes to thread the wiring.
Cut your backing board to fit the number of cells you want to use. Leave an extra 1–2 inches around the edge to leave room for wires.
2. Attach Tabbing Wire to the Front of the Solar Cells
Each solar cell has two large lines running parallel to each other across it on the side that faces the sun. This is the negative side. You need to apply tabbing wire to the two lines on this side to connect each cell in the system.
Measure a run of tabbing wire twice as long as the cell’s width. For example, if the two lines running parallel are 4 inches long, you need to cut two 8-inch pieces of tabbing wire.
Run a flux pen down the length of both solar cell lines to cover them with flux. Doing so cleans the surfaces and prevents beading and oxidation, allowing for a stronger, more durable bond.
Lay a tabbing wire strip over the first line on the cell, and have the other half run off the edge of the cell. Solder the tabbing wire to the cell. Repeat this on the other line.
You now have a solar cell with two pieces of tabbing wire sticking out of one side like prongs.
Repeat this process on all of your solar cells so you can connect them in a series.
- Note: To save time, you can buy cells with pre-soldered tabbing. It’s more expensive, but it is more accurate, quicker to use, and uses less solder.
3. Connect the Cells
To connect the cells, the overhanging tabbing wire on the first cell will slide under the cell next to it. There are three connection points for each of the two wires on the back (positive side) of the cell.
Solder the tabbing wire from the first cells to these points, using a flux pen to prep each point. For example, if you have a 4-inch wide panel and an 8-inch long piece of tabbing wire, 4 inches of wire will be soldered to the top line on the negative side of one cell, and the other 4 inches will be soldered to the underside (positive side) of the cell next to it.
You should now have two cells connected in a louvered fashion. Repeat this process with each successive cell until you have completed the line.
4. Finish the First Row
On the first cell in the line, solder two 1-inch lengths of tabbing wire to the negative side so they extend past the edge, reaching toward the edge of the backing board.
Cut a piece of bus wire to span the distance between the two tabs. For example, if the two lines were 5 inches apart, cut a 5-inch piece of wire to connect them. Solder the bus wire to the two pieces of tabbing wire.
5. Glue the First Row
When you complete the first row of cells, you can affix it on the backing board. Put a drop of glue or silicone caulk in the middle of each cell on the back and put it in place on the board.
6. Complete and Connect Additional Rows
If you have several cells, you’ll likely want to stack a couple of rows so you don’t have one long line of cells. To connect one row to the next, you’ll need to attach two 1-inch pieces of tabbing wire to the ends of one row and the beginning of the next row (similar to step 4). You then connect all four bits of tabbing wire with a bus wire.
The rows should snake back and forth. For example, if you have rows of five cells, the fifth cell of the first row will connect with the first cell of the second row, which runs in the opposite direction on the board. At the end of the last row, use a piece of bus wire to connect the two lines of the final cell.
Glue the additional rows in place on the backing board.
7. Build the Box
The solar cells need to be encased behind plexiglass to prevent damage and wear. You can do this in different ways. In general, you want short 1-inch walls and a piece of plexiglass to go over it and protect the cells.
Before adhering the glass to seal the cells, you need to finish wiring the panel.
8. Add a Junction Box
Connect a junction box to the back of the board with silicone. You can do this with a chase nipple, drilling a ¾-inch hole to fit it.
9. Finish Wiring the Panel
Pass two low gauge wires through the junction box and backing board so the ends meet the bus wires of the last solar cells. Solder your black wire to the negative bus wire on the first cell. Solder your red wire to the positive bus wire on the last cell.
You can then run wires from your junction box to the charge controller and on to the battery. After testing your solar setup in the sunlight with a multimeter, you can seal the plexiglass over the case and complete the panel.
- See Also: 9 Solar Energy Myths and Misconceptions
Conclusion
Building a solar panel is an excellent opportunity to learn a new and practical skill that could potentially save you time and money. Always be careful when working with electrical and soldering equipment, making sure to wear protective gear and testing the panel before completing the encasement.
As you can see, building a solar panel from scratch is a straightforward and rewarding project. Follow these nine simple steps to start taking advantage of solar energy today!
See Also:
- Can You Put Solar Panels On a Metal Roof? What You Need To Know!
- What is Solar Array? What You Need To Know!
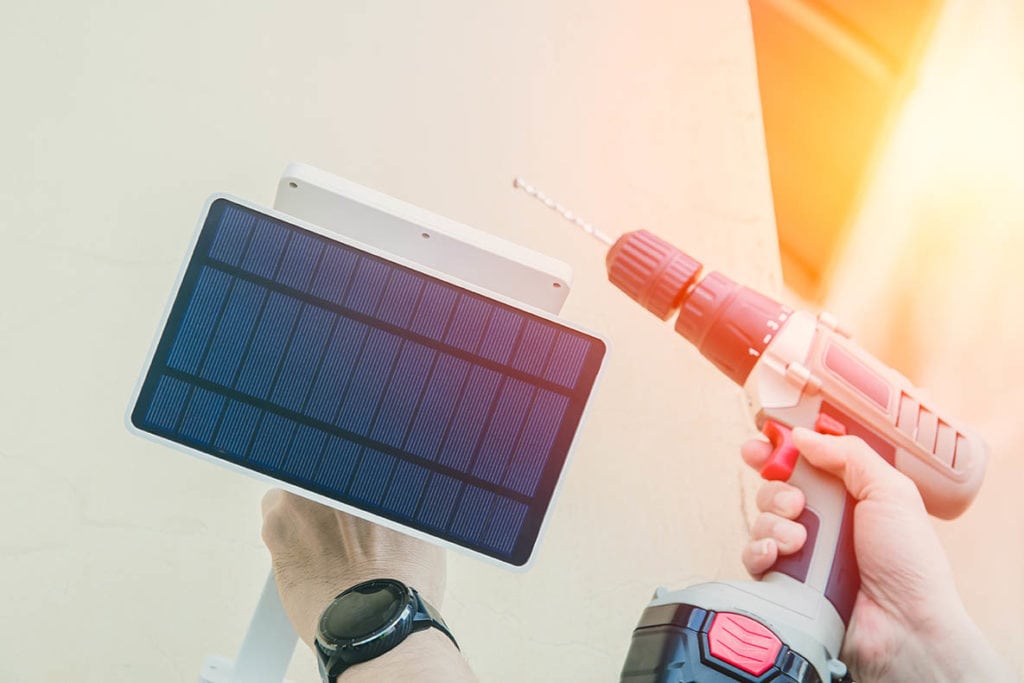
Featured Image Credit: Quality Stock Arts, Shutterstock
Contents
