

Whether you’re looking to transform your kid’s furniture into something that they can play with, or you just want to add extra flair to one of your rooms, chalk paint is an easy way to get it done.
But chalk paint isn’t just like other paints, so it’s natural to have a ton of questions about how to apply it to various furniture. That’s why we created this guide, to walk you through everything that you need to know to turn your ordinary furniture into chalk paint masterpieces in no time!

What You Need
The last thing that you want is to get halfway through a job only to realize that you don’t have the tools to finish the job. Get everything on this list before you start, and you can finish the job without worry!
- Painter’s tape
- Two paintbrushes
- Sandpaper
- Screwdriver
- Rag
- Tarp
Preparing Your Area
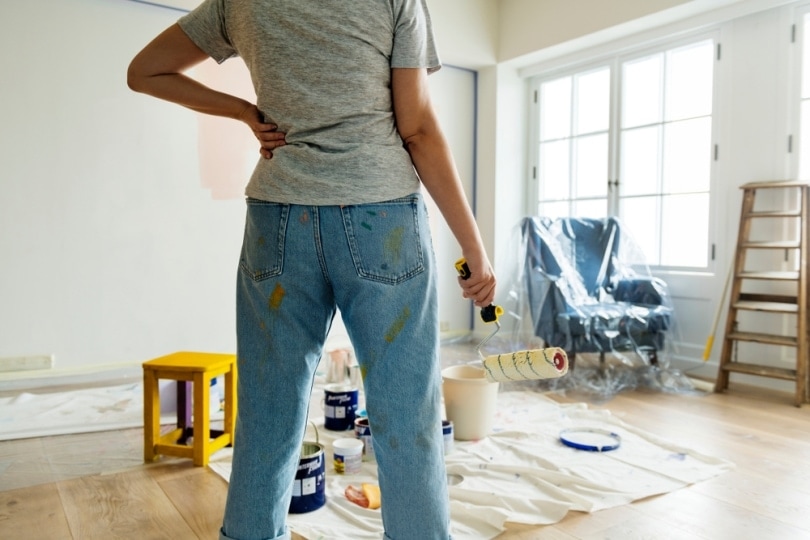
When you’re painting a piece of furniture, it’s essential that you take the time to prepare the area before you start. Otherwise, you’ll find that paint drips all over the place and you’re bumping elbows against other pieces of furniture.
To prepare the area, start by laying down a tarp underneath the furniture and the paint that you’re using. Ensure that there’s plenty of space around your working area and that there’s nothing on the tarp that you don’t mind getting paint on.
Once you have a tarp down and enough space to work, it’s time to start painting your furniture with chalk paint!

How to Chalk Paint Furniture: The Process
When it comes to applying chalk paint to your furniture, it’s not as complicated as you might think. Here are five easy steps to follow to get a flawless chalk paint finish.
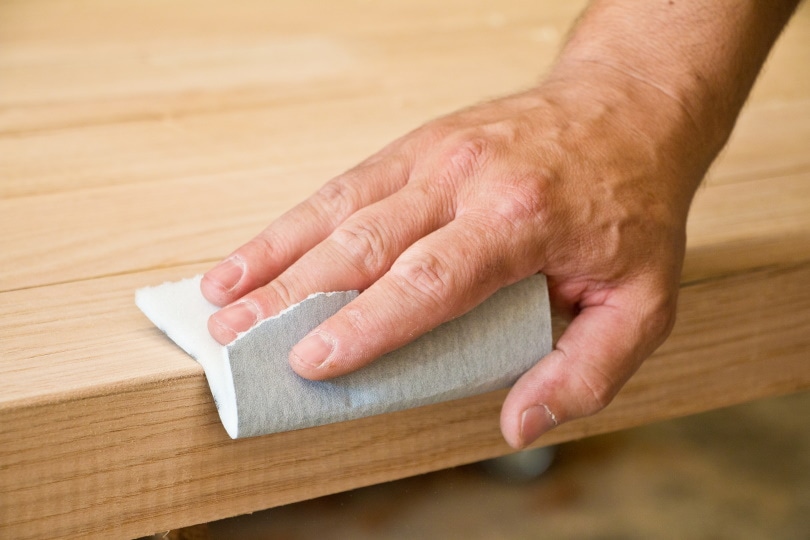
1. Prepare the Surface
Before you start doing anything, you need to have a clean surface to work on. This means you need to wipe it down to remove any dirt or debris. From there, you need to use your sandpaper to smooth out any surfaces and remove any finish that might be on the furniture.
It might take a bit of time, but it’s this step that will make the most notable difference in your final product. If you skip this step, you might not like the final look — and then it’s even more work to go back and do it right.
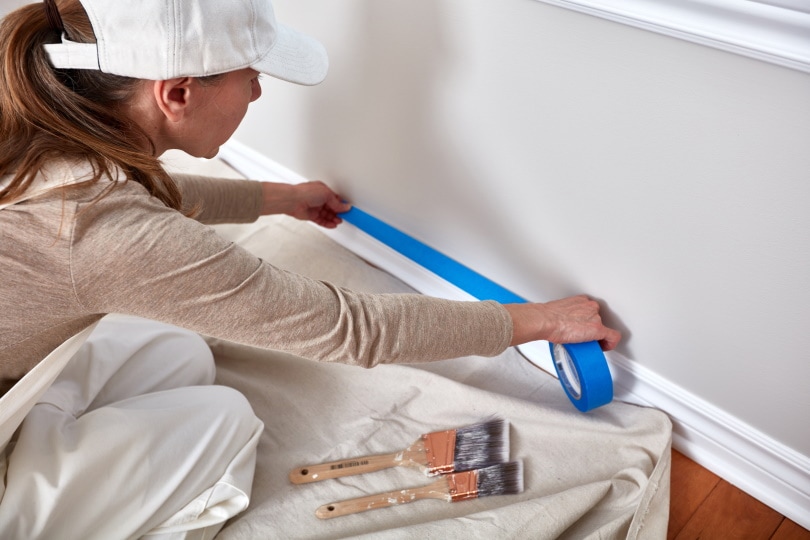
2. Tape the Area
Once you’ve finished preparing the surface, it’s time to start taping everything. Taping isn’t something that you need to do every time, but it is something that you’ll need to do if you don’t want to paint all your furniture.
If you only want to paint certain areas and don’t want it to bleed over, tape is essential. We highly recommend painter’s tape. It comes off working surfaces easier, making it easier to work with when you’re painting.
3. Add the Primer
Depending on the surface that you’re painting on, primer can be a great way to get a smooth finish. Primer helps the chalk paint cover in fewer coats, and it helps the color shine through.
Some chalk paints have primer mixed in, and if this is the case, you can move right into painting. However, if there’s no primer in the paint, we always recommend priming first.
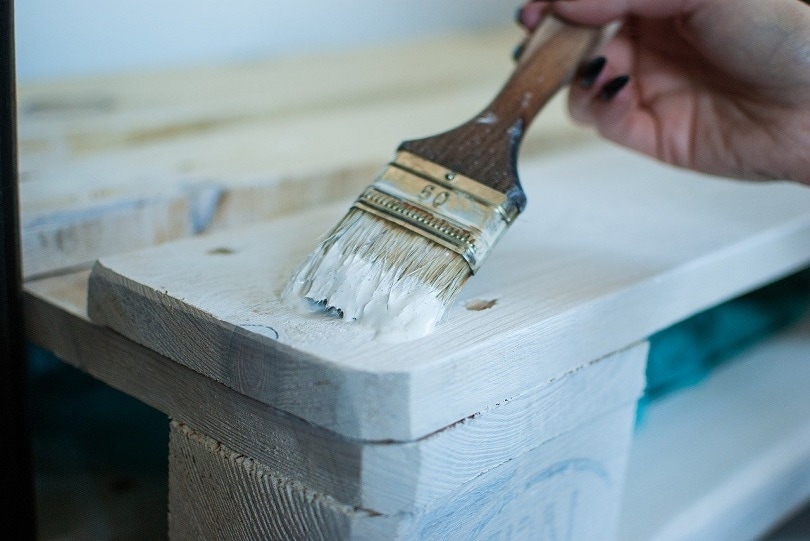
4. Paint!
After the primer dries, it’s time to move on to painting! You want to work your way up from the bottom of the furniture and try to apply nice, even strokes of paint. Don’t glob it on, but don’t let it stay too streaky either.
Find that balance, and if you need to apply a second coat, first let it dry and then paint again. Doing the job right takes time, so don’t think that you can just rush through the painting process just because it’s a small piece of furniture.
5. Apply Additional Coats as Needed
Even if you don’t think that the furniture needs a second coat while you’re painting it, let it dry for 24 hours, then look at it again. If you notice any streaks or inconsistencies in the paint, apply another coat. Feel free to touch up small areas if you see that they need a little work, too!
Do You Have to Sand Before Using Chalk Paint?
It depends on the surface that you’re working on and the type of chalk paint that you’re using, but you often don’t need to sand before using chalk paint. Most chalk paint has a rougher texture by design, so having an un-sanded surface isn’t a big deal.
However, if the surface is thoroughly unfinished, that is a different situation. Feel the surface of whatever you’re painting, and if it’s semi-smooth to the touch, you should be good to go.
If you’re looking for a super-smooth chalk paint finish, you’ll need to sand the area to get exactly what you want.
What Kind of Brush Do You Need for Chalk Paint?
When you’re painting, it’s essential to have the right tools to get the job done with the highest-quality results. With chalk paint, it all starts with the brush.
When you’re selecting a brush for chalk paint, look for long bristles with a medium finish. It’s best when the ends of the brushes are flat, round, or oval. For finer detail work, it’s best to have all three options at your disposal.
You want a paintbrush that is stiff enough to apply the paint evenly, but the bristles should remain soft enough that the paint can easily soak through all the bristles. For large pieces of furniture, it’s fine to use a big brush for the broad sections, but for any intricate work, you want to go with a small brush option.
Conclusion
Chalk paint is a unique product that you can use to transform any piece of furniture into an interactive piece of art, but only if you apply it the right way. Hopefully, after reading through this guide, you have the confidence that you need to get started and successfully cover your furniture with chalk paint in no time! We promise that it’s not as daunting as it might seem, and we’re confident that with a guide like this and a little elbow grease, you can wind up with a product that you’re proud of!
- See also: How to Paint Furniture in 13 Easy Steps
Featured Image Credit: Hydr Ercn, Shutterstock
Contents
