
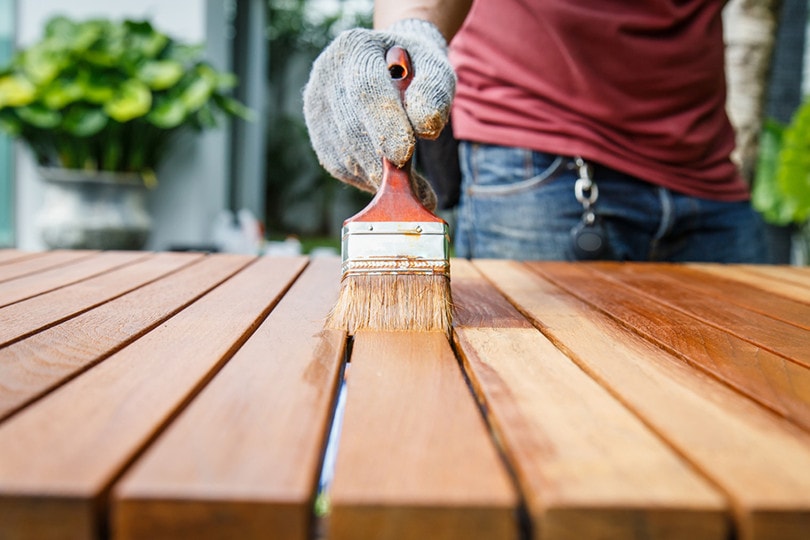
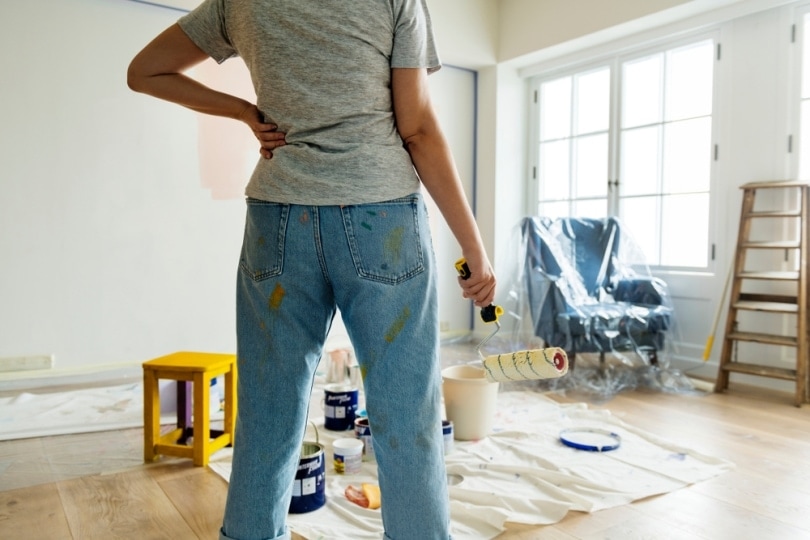
Furniture can take a great deal of abuse, especially if you have children and pets. Even the highest quality finishes can start to deteriorate after a few years. Painting your furniture can be a great way to improve its appearance, and it’s easier than staining because it usually doesn’t require as much preparation. If you are considering painting your furniture and would like to know the best way to get started, keep reading as we provide you with a step-by-step guide that walks you through everything from preparation to clean-up.

Painting Your Furniture in 13 Easy Steps
Preparation
Preparation is the key to success. Gathering the parts and accessories that you need before you get started will help you get finished quicker, as you won’t need to stop unexpectedly.
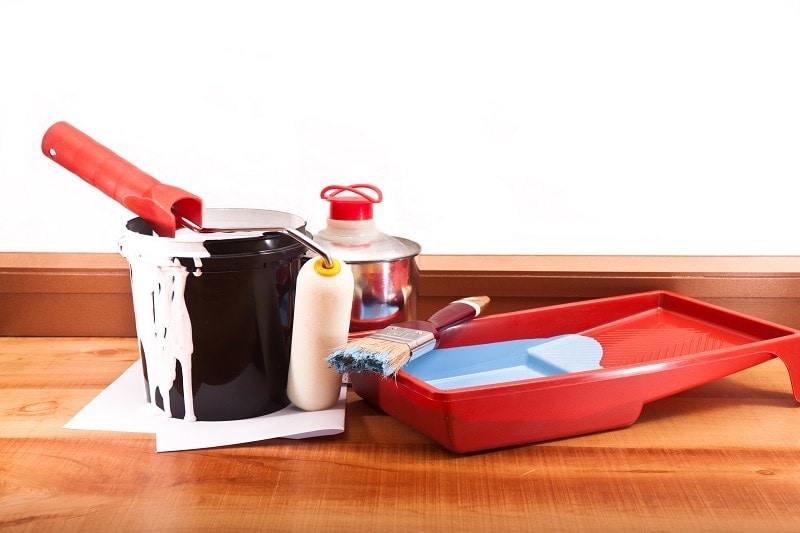
Tools and Materials
- 180-grit and 220-grit sandpaper or sponge
- Putty knife
- Paintbrush
- Paint
- 4-inch foam roller
- Wood filler
- Primmer
- Painter’s tape
- Safety mask
- Wood glue
1. Remove Any Drawers and Doors
Once you have the tools and materials, you are ready to get started. First, remove any drawers and doors, as this allows better access to the entire surface. Also, remove any legs or stands. You can paint these sections separately.
2. Repair Loose Joints
If you notice bent or broken hinges, it’s a good time to replace them. You can also add glue to loose joints, tighten screws, and perform any other maintenance.
3. Fill Any Holes or Dents With Wood Filler
With the maintenance finished, look over the furniture and fill any holes and dents with wood filler. You will need to wait several hours, usually until the next day, to allow it to dry before you can continue.
4. Sand
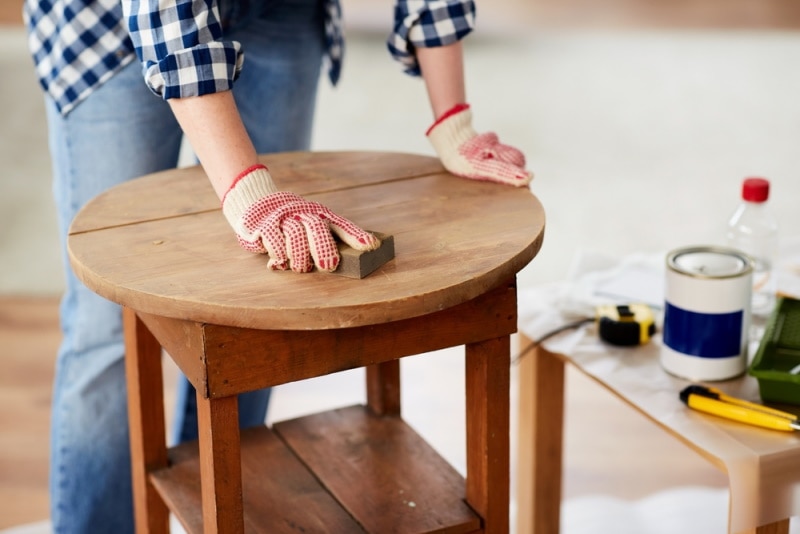
If you need to remove wood filler or smooth a rough surface, use 180-grit sandpaper to help get it finished quickly. Use 220-grit to remove an old finish and prepare the surface for painting. When sanding, always wear a safety mask to protect your lungs from dust particles.
5. Clean
When the surface is smooth, use a damp cloth to wipe it down to remove any dust particles, and give it 1 hour or 2 to dry.
 Painting the Furniture
6. Choose Your Work Area
Now that the furniture is ready to paint, it’s important to choose an area large enough that you can walk around the entire project. It should have plenty of ventilation, and there should not be too much sunshine, which can cause the paint to dry too quickly.
7. Add Artificial Lighting
Add plenty of artificial lighting to your work environment so you can see any flaws or problems quickly and clearly. For example, light coming from only one source can create harsh shadows that make it difficult to paint effectively.
8. Make a Strategy
No matter the size of the furniture you are painting, you will need a strategy. Most things will need to be flipped to paint the other side, and creating a plan will help you set aside enough time for each coat to dry. In our experience, people without a plan tend to move too quickly, creating blemishes.
9. Apply the Primer
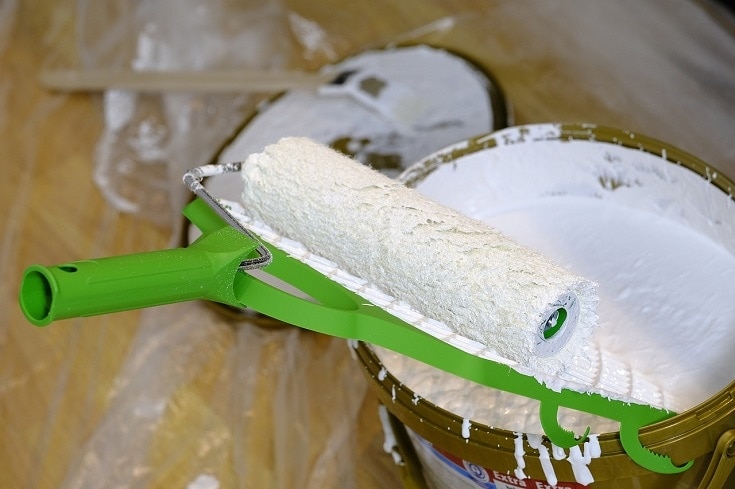
Some people may choose not to use a primer, but it can help create a much better finish because it provides a better surface for the paint, which will help it stick. It also helps cover previous finishes, so they don’t show through your new color, and it will help prevent the paint from being absorbed into new wood. Apply the primer slowly and carefully, making sure not to miss any spots. Use a brush on round surfaces and hard-to-reach areas and a roller on flat surfaces.
10. Apply the Paint
Once the primer is applied and dry, you can begin painting. Move slowly, and use a paintbrush for round surfaces and hard-to-reach areas and a small roller on flat surfaces. Be careful not to apply too much paint, or it will drip. Don’t worry about brush marks, as the paint will naturally level itself as it dries. Follow your plan, and as the paint dries, turn the furniture to access new areas.
11. Inspect

Once you have applied your first coat and let it dry, you can inspect the furniture carefully. If you notice any drips, you can carefully use sandpaper or razor blades to remove them without damaging the surrounding paint. You can then touch up these areas with a small amount of fresh paint.
12. Additional Coats
Inspecting the furniture will also tell you if it needs additional coats of paint. If you can see the previous color or anything that you don’t like showing through, you will need to apply additional coats to cover it. Stick to your strategy, so you don’t miss any spots, and the paint will stay even, producing a high-quality, professional-looking finish.
Related Read: How to Paint a Dresser in 6 Easy Steps
Summary
While several steps are required for painting furniture, many of them are quite simple. It can be a little difficult to complete the sanding if it’s a large piece of furniture, but it will be easier if you don’t try to work too fast. Primer and paint only require attention to detail so you don’t get drips, uneven surfaces, or missed spots. Proper lighting helps too.
Featured Image Credit: Piyawat Nandeenopparit, Shutterstock
Contents
