

If you live in a house that has hard water, you will likely notice soap scum on your shower walls and that it can be difficult to create a thick lather with your soap. Hard water can also leave mineral deposits in your shower head that can clog it up over time, reducing water flow. Fortunately, you can clean up the shower head with CLR, a commercial product that helps dissolve calcium, the main component of hard water. Keep reading as we provide several tips for removing hard water minerals from your shower head using CLR.

What Is CLR?
CLR is a powerful calcium, lime, and rust remover. It uses weak acids like lactic acid, gluconic acid, glycolic acid, and others to break up the hard minerals without damaging the surrounding materials.
Before You Get Started
Before you start cleaning your shower head with CLR we recommend getting your tools and supplies together so you can finish the project in one go. To complete this project, you will need CLR, water, a large container to submerge the shower head, an old toothbrush, pliers or wrench, and protective gloves.
- CLR
- Water
- Large bowl
- Pliers or wrench
- Old toothbrush
- Protective gloves
Clean the Shower Head Without Removing It
1. Create the Cleaning Solution
The first step is to create your cleaning solution using CLR and water. Mix equal quantities of each into a large bowl while wearing gloves, and make sure not to get any of the CLR on your skin.
2. Soak the Shower Head
With the mixture created in the large bowl, stand in the shower, and hold it up to submerge the shower head for at least 2 minutes. Get someone to help you if the bowl gets too heavy before the time is up. Don’t soak the showerhead for longer than 2 minutes, or you risk damaging and tarnishing the material it’s made of.
3. Scrub the Shower Head
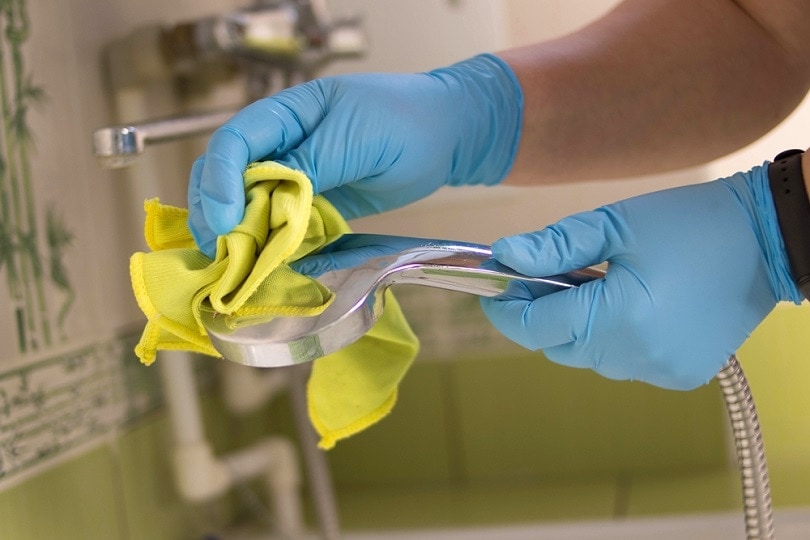
Once you remove the showerhead from the CLR solution, place the solution in a safe location, and scrub the showerhead with an old toothbrush. Use the bristles on the toothbrush to get into the crevices and scrub away the hard minerals.
4. Rinse the Shower Head
After you’ve scrubbed away the mineral deposit, we recommend rinsing the showerhead by turning on the water and letting it run for a minute or so.
5. Repeat
Repeat the previous steps until the water flows freely from the shower head. Then, do this process once per month to prevent the minerals from building up again.

Clean the Shower Head After Removing It
6. Remove the Shower Head
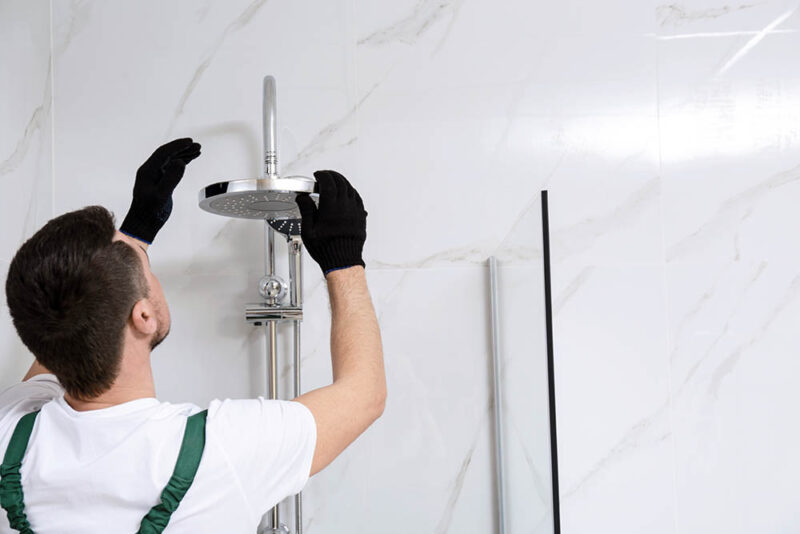
Carefully remove your shower head using a wrench or pair of pliers.
7. Create the Cleaning Solution
Mix equal parts water and CLR into a large bowl while wearing gloves to ensure that none of the CLR gets on your skin, especially before you dilute it.
8. Place the Shower Head in the Cleaning Solution
Once you create the cleaning solution, submerge the showerhead in the bowl so the water covers it completely. Allow it to sit in the solution for 2 minutes before moving on to the next step.
9. Scrub the Shower Head
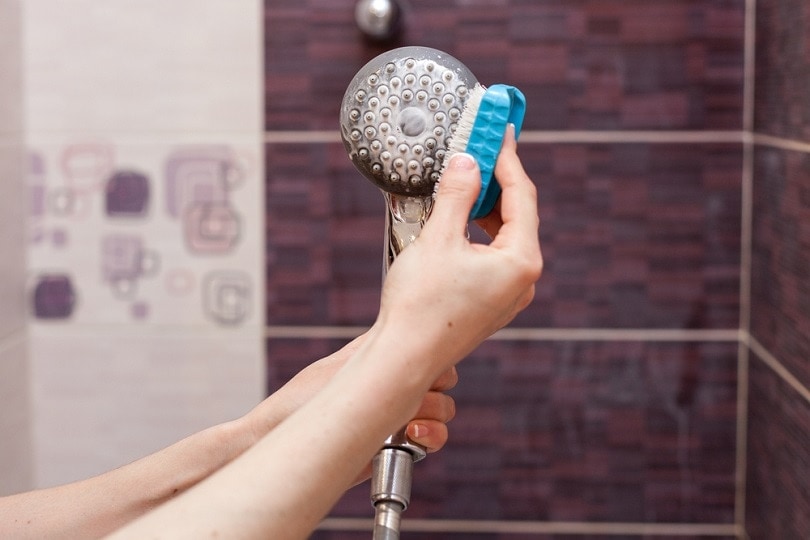
Remove the shower head from the solution, and use an old toothbrush to clean it and remove the heavy crust.
10. Rinse
Once you scrub away the hard water minerals with your toothbrush, rinse the shower head under cold water while you continue to scrub it with a toothbrush until you are sure that all the minerals and CLR are gone.
11. Reattach the Shower Head
Reverse the steps that you took to remove the shower head to reattach it, and test it with cold water to ensure that it flows freely.
12. Repeat
Repeat the previous steps every month to prevent the minerals from building up and reducing water flow.
 FAQ’s on CLR on Shower Heads
 FAQ’s on CLR on Shower Heads
Is CLR supposed to bubble?
Yes. The CLR and water solution that you create will likely bubble when you place the shower head inside if there is mineral buildup on it. The creation of bubbles means the solution is working.
Can I use CLR on other objects?
Yes. You can use CLR on metal objects with a hard mineral buildup. Other objects in the home that might need attention include kitchen and bathroom faucets and garden hose sprayer nozzles.
Can I soften the water in my home?
Yes. Several commercial water-softening systems will help remove hard minerals from your water, which will help reduce the amount of buildup that occurs in your shower head and other objects. Some systems will soften the water throughout the house, while others will soften the water at a specific point.

Summary
Cleaning a shower head with CLR is not difficult, and you don’t even need to remove it to clean it, though it will be a bit easier. CLR is effective and works fast, so you will likely complete the project with your showerhead running strong in under 5 minutes. Repeat the cleaning once per month to help prevent the hard minerals from building up so you can continue to enjoy your shower.
Featured Image Credit: absolutimages, Shutterstock
Contents
