

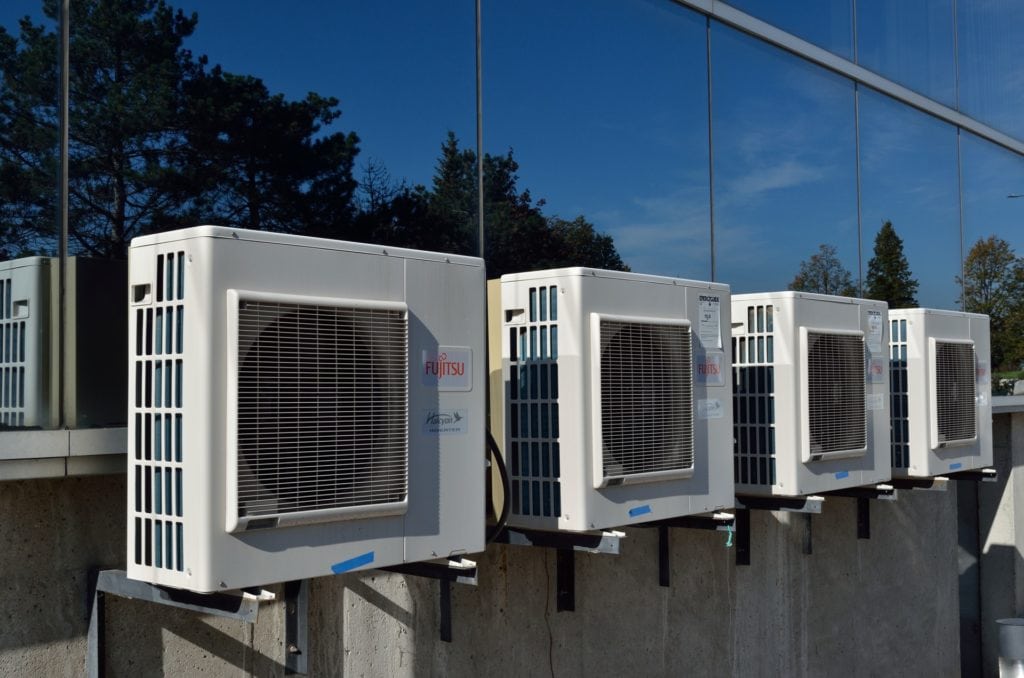
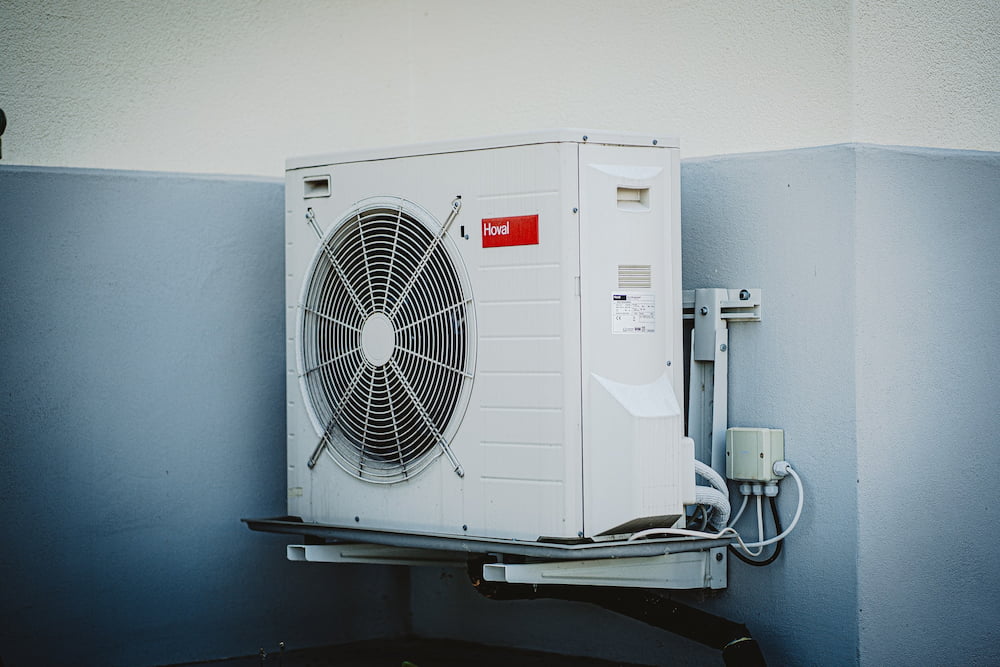
A heat pump is an integral part of any HVAC system. When it’s cold outside, it keeps the house warm; it keeps the temps down when it’s hot. Essentially, a heat pump is a redistribution system, and it relies heavily on its coils to operate. They ensure steady airflow to set the right temperature. However, with all that air coming in and out, over time, the coils get clogged.
Dust, debris, and pollen are pulled in and clutter them. Fortunately, there is a quick, simple, and cheap way of cleaning the coils. You won’t have to pay an HVAC expert or buy expensive hardware. Just follow every single step from this guide closely, and you’ll be able to get the heat pump looking like it’s brand-new!
| Time Needed | An hour (or even less) |
| Estimated Cost | $30–$50 for the materials |
| Complexity | Beginner level |

What You’ll Need for the Job
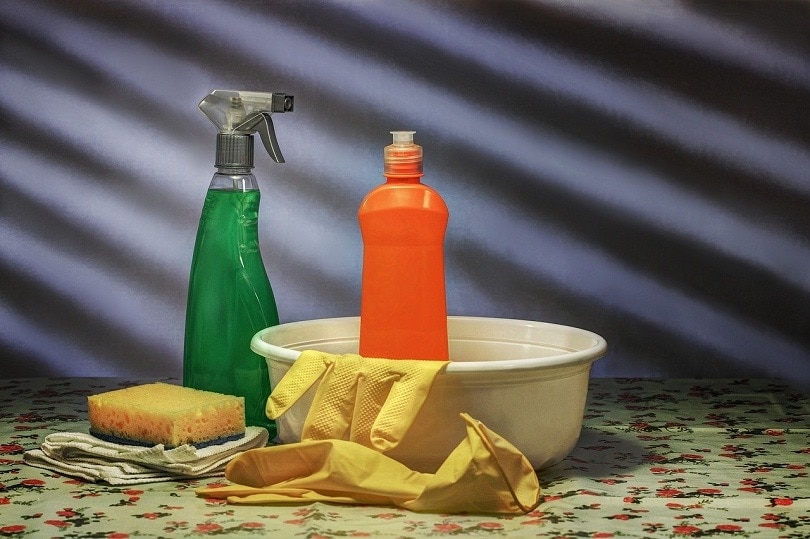
Do you have a garden hose to deal with the grime buildup? And maybe also a soft brush to handle the most stubborn stains? That’s pretty much all you’ll need to get this done, as long as there’s a bucket full of soap and water and a standard-issue screwdriver. Here’s a closer look:
| Tools Required | Materials/Products Needed |
| Protective gloves | Soft brush/sponge |
| Phillips screwdriver | Set of screws |
| Garden hose | Soap and lukewarm water |
| Spray bottle | Regular bucket |
| Fin comb | Condenser cleaning solution |
The 7 Quick & Easy Steps for Cleaning Heat Pump Coils
1. Turn the Power Off
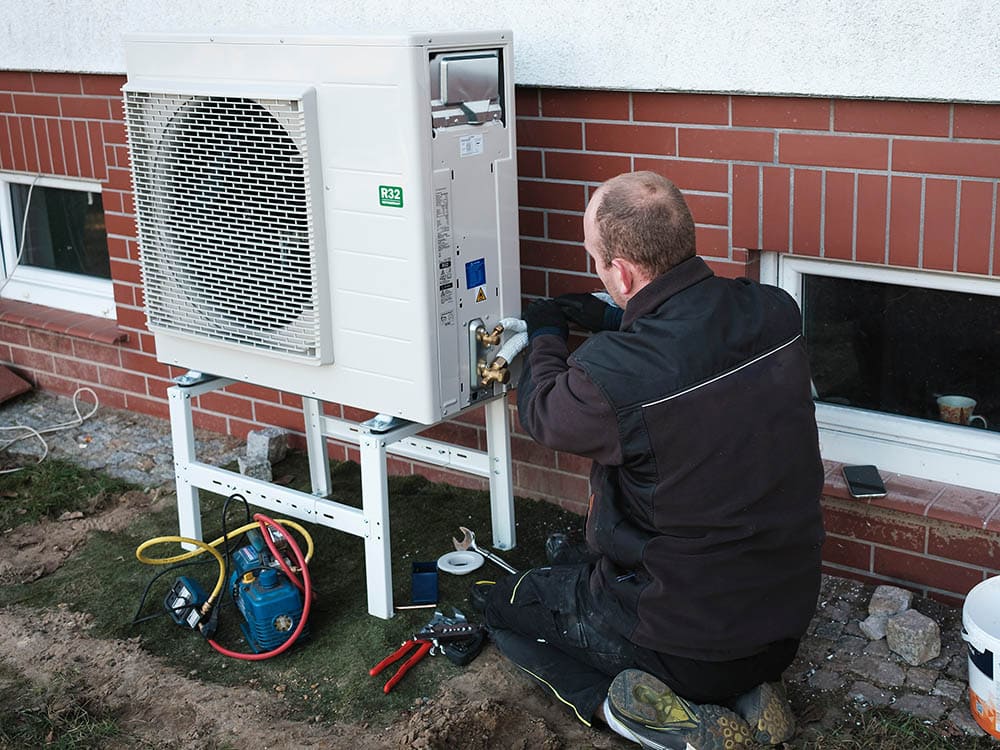
The very first step in this heat pump coil cleaning routine is switching off the power to the house. The shutoff box is usually located right next to the heat pump (attached to an exterior wall). These come in different shapes and sizes but operate the same way. Just flip the switch, and that should do the trick. If you live in an old house, you might have to remove a fuse to turn the power off.
Can’t find a shutoff box anywhere? Then use the main breaker box to shut the whole house down. To be 100% sure there’s no electricity running in the heat pump anymore, try switching it on/off. A quick note—it’s best to clean the coils in early spring when it’s not too cold outside, and you can afford to have the heat pump off for an hour or two.
2. Prepare the Area
Since we’re doing this in spring, it’s only fair that we do some outdoor trimming and clipping. The goal is for the area around the pump to be free of branches and leaves. It’s all about making sure the airflow isn’t affected in any way. So, see that there are 2–3 feet of clearance from all three sides. We know it can be hard to cut a shrub or bush that you’ve planted yourself.
However, if it’s invading the heat pump’s “personal area”, trimming is necessary. Also, move any tools, equipment, or garden design elements blocking the condenser unit. Before accessing the actual coils, check on the shut off/breaker box once again to see that it is, indeed, off.
3. Remove the Grille
The grille is the only thing between you and the coils. It will be secured with a set of screws. With a Phillips screwdriver, this should only take a minute or two. Make sure to store the factory screws somewhere safe and within reach. Or, if they’re worn out and rusty, replace them (you can buy a brand-new kit at a home improvement store for $15–$20).
Do you see the fan? It should also be easy to remove (watch out for the electrical connections, though). If it’s not removable, just leave it there but be very careful not to get it wet.
4. Get Rid of the Buildup
This step is easy: use a soft brush or regular sponge to remove the dirt/grime. Water is quite great at dealing with stubborn stains, but we’d still recommend mixing it with soap. Don’t have the time for that? Then buy a condenser cleaning solution ($25–$30). It will do an even better job of cleaning the coils.
You can either dip the sponge or brush into the solution (mix it in a bucket) or use a spray bottle instead. Next, grab the garden hose, set it to “medium”, and fire away! Hold it steadily in front of the coils and keep spraying until all the grime/dirt is gone. Be very careful not to damage the coil fins: aim directly at the fins—don’t hit them from the sides.
5. Fix the Fins (If Necessary)
Got some damaged fins on the coils? An HVAC fin comb will help you fix that. Again, you can get it at an improvement store (a pack of five will cost you $15–$20). This is important: don’t use any knives, blades, forks, or any other sharp objects for this, as that will damage the fins, not fix them. Now, straightening them with a comb is a rather intuitive process.
However, depending on how old they are, it might be a bit harder to handle them. In that case, get in contact with an HVAC specialist. They might decide to replace them instead of repairing them. Sometimes, the wind, the air flowing through the coil, and the dirt can damage the fins beyond repairs. When left untreated, the fins will slow down the airflow, significantly lowering the efficiency of the entire system.
6. Put the Grille Back On
Now that the coils are nice and clean, it’s time to put the grille back on and secure it. As mentioned, the factory screws might be corroded or worn out. Take a second to check this, and if they are, indeed, a bit rusty, use a set of new screws instead.
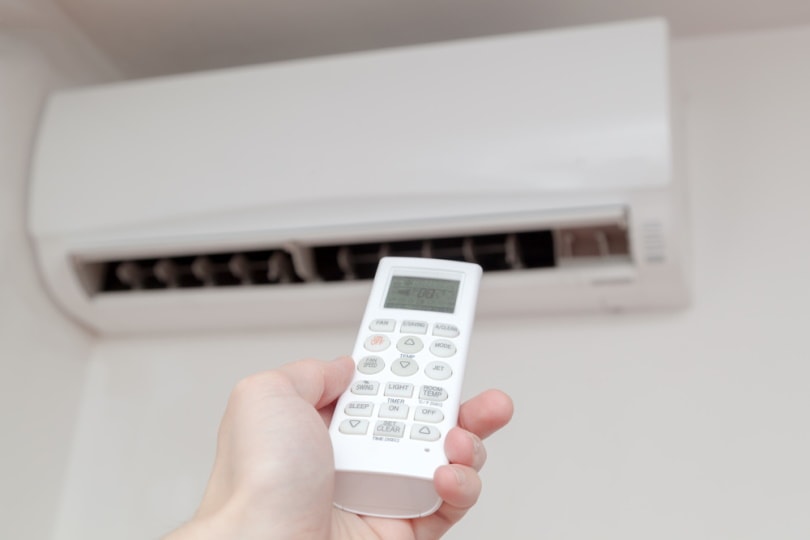
7. Turn the Heat Pump On
Finally, turn the power back on using the shutoff box or the main breaker box for the entire house. Next, turn the heat pump on and let it run for 5–10 minutes to make sure it’s working flawlessly. Depending on how dirty the coils were, you may notice that the pump is making less noise.
That’s a clear indication that the coils are much cleaner now and that the air is rushing through the pump without meeting any obstacles. Before calling it a day, use the thermostat to set different temperatures and see how the HVAC system reacts. Alright, that’s about it!

Are Dirty Coils Really a Problem?
Yes, they are. Unless the coils are squeaky-clean, they won’t be able to deliver their strongest performance. Heat pump coils that are overwhelmed by dirt and grime lose their effectiveness. In the worst-case scenario, the energy efficiency will degrade by up to 60%, and that means a steeper bill for you to pay. The cooling capacity will also drop dramatically (by 35–40%).
Furthermore, the entire system will have to work under pressure which can lead to a shorter lifespan. By keeping the coils clean, you’ll allow the system to deliver its A-game without compromising on the air quality, indoor comfort levels, or putting unnecessary strain on your wallet.
What Else Can You Do?
Annual checks and tune-ups by an HVAC specialist are very important if you want the heat pump to have a long lifespan. Even if you’re 100% happy with cleaning the coils yourself, you should still let a pro check the system for signs of leaks. Next, loud noises coming from the heat pump shouldn’t be taken lightly. As mentioned, the cleaner the coils, the less noise they make.
Make a habit of replacing the heat pump filter at least once in 2–3 months (or as often as once a month during the hot summer days).
Conclusion
When was the last time you cleaned the heat pump? Unfortunately, most people don’t even realize that the coils require regular maintenance. It will only take 30–60 minutes, though, and the result will make all the effort worth it. By using our 7-step guide, you can get rid of the most stubborn stains and get the HVAC system back on its feet for $50 or even less!
Also, don’t forget to check the official instructions and follow safety precautions. All those leaves, grass clippings, bugs, and dust will make the heat pump work slower and become less efficient at cooling and heating. But if you clean it at least twice a year, you’ll be amazed by how big of a difference that makes!
Featured Image Credit: ElasticComputeFarm, Pixabay
Contents
