

Of all the home DIY projects, drilling through porcelain is one of the most difficult. We often need to do so to hang fixtures in our bathrooms and kitchens but doing it wrong can result in costly retiling expenses, and in many cases, it’s hard to replace the tile with something that matches. If you need to drill through porcelain tile, keep reading while we explain what tools you need and how to go about it in an easy-to-follow, step-by-step tutorial.
What is Porcelain?
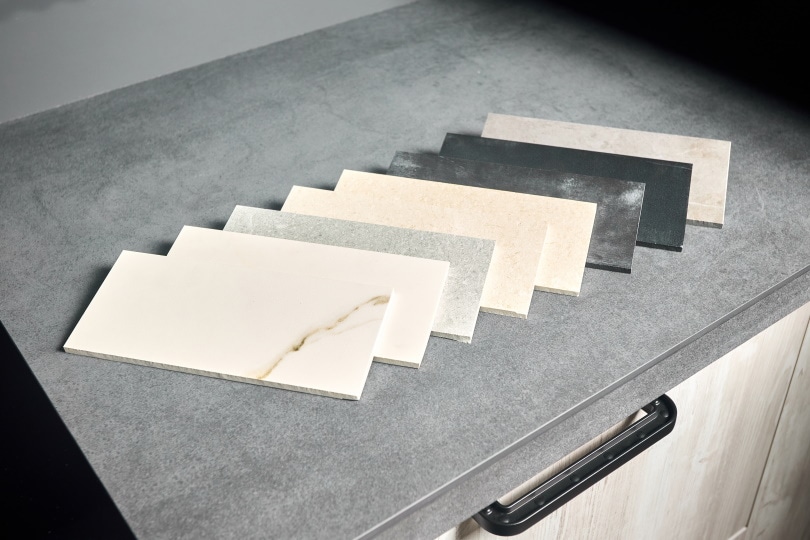
Porcelain is an extremely hard ceramic material that you bake in a kiln at high temperatures. It’s similar to china and other types of pottery and nearly as hard as granite. Its surface is resistant to weathering and is impermeable even without glazing and is very durable. Like iron, it cracks easily due to its hardness and is somewhat brittle. Porcelain is white, and you paint it or add glaze to change its color or make it more decorative.
Steps to Drill Through Porcelain
1. Gather Your Tools

Having the right tools is critical to your success when cutting porcelain tile to go over what you will need first.
- Drill
It may seem obvious that you will need a drill to complete your task, but while any old drill will work to put a hole in a door frame or a wall stud, you will need something a little more specialized to make a hole in porcelain. We recommend using a drill that allows for multiple speed settings and a soft start mechanism, which will enable you to vary the speed by how hard you squeeze the trigger. We also recommend a brand that has LED headlights that will illuminate the surface you are drilling into. The Wonder Master Cordless Drill is a perfect example of a tool that has everything you need.
- Multiple speed settings
- Variable speed trigger
- LED headlight
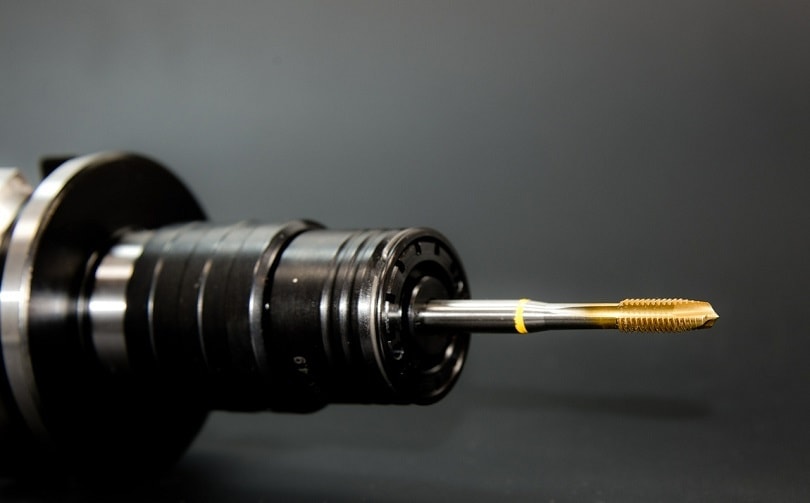
- Drill Bit
The drill bit is the most critical part of your project and the reason behind most cracked porcelain. To make a clean hole, you will need a bit that’s harder than porcelain, which means most of the ones you probably have lying around the house won’t work, especially those found in large budget sets. We recommend using only diamond or tungsten carbide tipped drill bits to tackle this job. Diamond-tipped drill bits have a different shape than a standard bit, so they are easily recognizable. You can find diamond bits from companies like BGTEC. Carbide bits will also look different but are usually closer in appearance to a standard bit. You can find tungsten carbide bits from companies like Bosch. Both will work fine, but we prefer the diamond-tipped option.
- Diamond tipped drill bit
- Tungsten carbide tipped drill bit
- Lubricant
You will also need a lubricant to reduce high surface temperatures, leading to a crack in the tile or a prematurely worn bit. If you are only drilling one or two small holes, you can probably get away with a spray bottle filled with water. However, if you need to make several holes, you may want to use mineral oil or a drilling lubricant like the type made by Tap Magic to minimize the risk of high temperatures.
- Spray bottle of water
- Mineral oil
- Tap Magic
- Sponge
- Dust Mask
Porcelain tile has a lot of silica in it that can be dangerous to your health when it becomes airborne due to the drilling process. Even if you are only making one or two holes, we highly recommend wearing a dust mask while you are drilling and until the dust settles.
2. Mark the Tile

When you have gathered your tool, you can get started by marking the tile with masking tape where you intend to drill. We recommend using a double layer much larger than the hole you intend to create to absorb some vibration and prevent the bit from slipping as you make your hole. Use a pencil or marker to place a dot exactly where you want to start.
3. Begin Drilling

Put your drill on the lowest speed setting and place it against the surface at a 90-degree angle to the tile. Slowly squeeze the trigger to turn on the LED headlight and start the chuck spinning. As you create a small indent to prevent bit walking, you can squeeze the trigger more for additional speed. Keep a light touch and let the bit do the work. Applying too much force will crack the tile.
- Have patience
- Do not use high speeds
- Do not apply excessive force
4. Stop and Lubricate!

After about 15 seconds, it’s important to stop drilling and dip the bit in the lubricant or spray it down with water and allow it a few seconds to cool. Wipe the bit clean and begin drilling again for another 15 seconds before stopping again to dip the bit and allow it to cool.
5. Repeat
Repeat the drilling and the cooling steps until you successfully make it through the tile.
 Summary
Besides the proper tools, patience is the critical component to successfully making a hole in porcelain tile. Trying to speed up the process by using higher RPM, adding pressure, skipping the cooling and lubrication step, drilling too long, or using the wrong tools will result in a broken tile and possibly a burned-out drill. Never use a drill with hammer action, or it will smash the tile and move at an even slower pace when working near the edge of a tile.
We hope you have enjoyed reading and were able to create the holes you needed without difficulty. If you think it can benefit others, please share this guide to drilling through porcelain tile without breaking it on Facebook and Twitter.
Featured Image Credit: djiraj, Pixabay
Contents
