
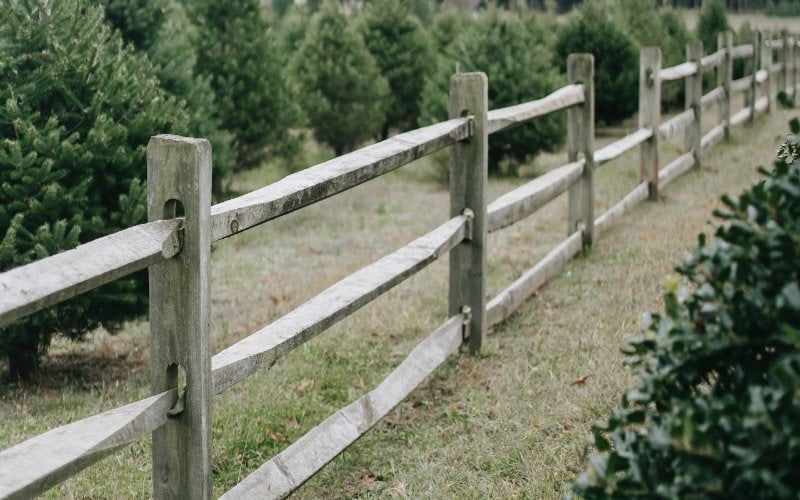
Are you dealing with a broken fence post? Whether due to age, decay, or damage, repairing or replacing a broken fence post is a necessary repair that every homeowner will eventually have to deal with.
But don’t worry, it’s not as difficult as it may seem. With the right tools and a little know-how, you can easily fix a broken fence post on your own.
In this article, we’ll walk you through everything you need to know about fixing a broken fence post, step by step. So whether you’re dealing with a minor repair or a complete replacement, we’ve got you covered.

Before You Start
It’s always best to have all your tools and materials ready beforehand. This will make the process go smoothly and quickly. The following are the tools and materials you will need for this project:
- Fence post repair kit
- Concrete mix
- Gravel
- Level
- Tape measure
- Shovel
- Wheelbarrow
- Trowel
Step-by-Step Guide to Fix a Broken Fence Post
1. Assess the Damage and Choose a Repair Method

The first step is to assess the damage to your fence post and decide on the best repair method. If the damage is minor, you might be able to get away with a quick fix using a fence post repair kit.
However, if the damage is significant, you will most likely need to replace the fence post entirely. Once you’ve determined the extent of the damage, you can then choose the most suitable repair method.
2. Remove the Fence Post
Once you’ve decided on a repair method, the next step is to remove the fence post from the ground. If you’re dealing with a minor repair, you may only need to remove the damaged section of the post.
But if you find that a minor repair won’t suffice, you’ll need to remove the entire post from the ground. To remove a fence post, start by digging around the base of the post with a shovel.
Once you’ve loosened the soil, you should be able to pull the post out of the ground relatively easily. If the post is stuck, you may need to use a pry bar or a come-along to loosen it.
3. Prepare the Base for the New Fence Post
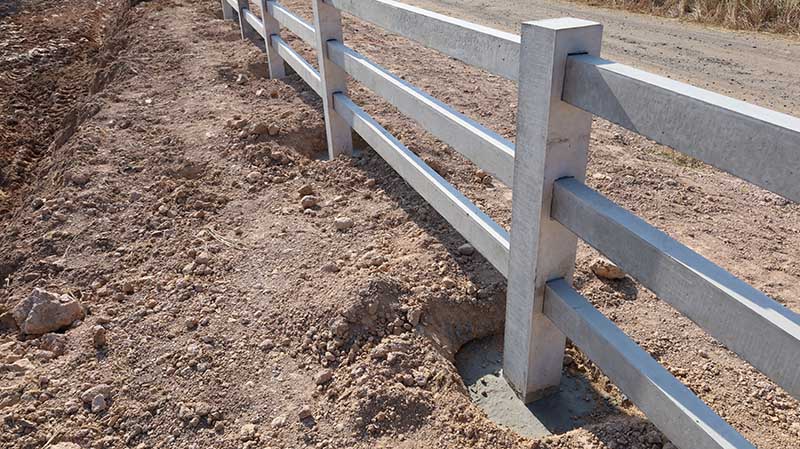
After removing the old fence post, the next step is to prepare the base for the new one. The first order of business is to excavate a hole that’s slightly wider and deeper than the new fence post.
Now, add a layer of gravel to the bottom of the hole. This will help with drainage and prevent the post from sinking into the ground over time. Then, add a few inches of concrete mix to the hole and tamp it down with a shovel. This will help secure the post in place.
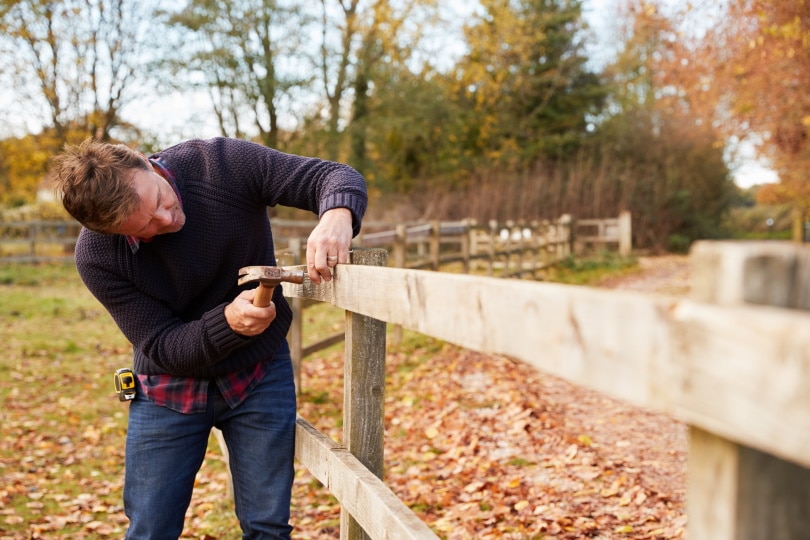
4. Install the New Fence Post
With the base prepared, you may install the new fence post. Begin by setting the post in the hole and making sure it’s level. When it’s in position, use your shovel again to backfill the hole with concrete mix. Use a trowel to smooth out the surface and make sure there are no air pockets.
Finally, allow the concrete to set for 24 hours before attaching the fence panels. Attempting to do so before the concrete has had a chance to set may cause the post to move.
5. Attach the Fence Panels
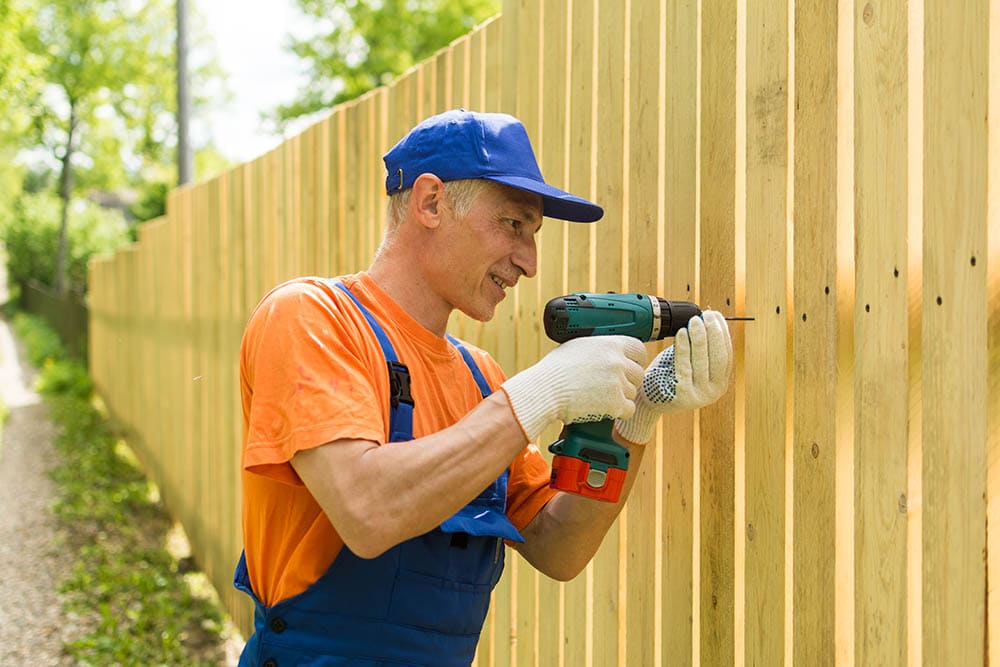
You may choose to use either nails or screws to attach the fence panels to the post. If you’re using nails, we recommend using galvanized ones to prevent rusting.
If you’re using screws, make sure they’re long enough to penetrate through the fence panel and into the post. Screws will provide more security, so if nails were used in the original panels, consider upgrading to screws.

What Is the Easiest Way to Replace a Fence Post?
The most straightforward way to replace a fence post is to dig up the old post and set a new one in its place. This method is simple, but it can be very time-consuming and labor-intensive, especially if your fence posts are set in concrete.
If you’re looking for a quicker, easier way to replace your fence posts, you can use the Post Buddy system. Post Buddy is a fence post repair kit that allows you to simply slide new fence posts into place without having to dig up the old ones.
How Do You Secure a Rotten Fence Post?
There are a few ways that you can go about securing a rotten fence post.
- One way is to simply replace the post. This is obviously the best option, but it may not be feasible if the posts are set in concrete or otherwise too difficult for you to remove.
- Another option is to use some type of support system to prop up the post and keep it from falling over. This could be done by using a metal bracket or by attaching the post to another object, like a tree or a pole.
- If the post is only slightly rotted, you may be able to get away with just repairing the damage. This can be done by using a wood filler or epoxy to fill in any cracks or holes. Once the filler is dry, you can sand it down and paint or stain over it to match the rest of the fence.
No matter what method you choose, be sure to take extra precautionary measures to keep your fence post from rotting again in the future. This could include using rot-resistant wood or treating the wood with a preservative before installing it.

Conclusion
Repairing a broken fence post might seem like a daunting task, but it’s actually quite simple. With the right tools and a coordinated, safe approach, you can have your fence looking good as new in no time.
Don’t forget to take safety precautions while working on your fence, and always consult with a professional if you’re unsure about any part of the process.
Featured Image Credit: PublicDomainArchive, Pixabay
Contents
