
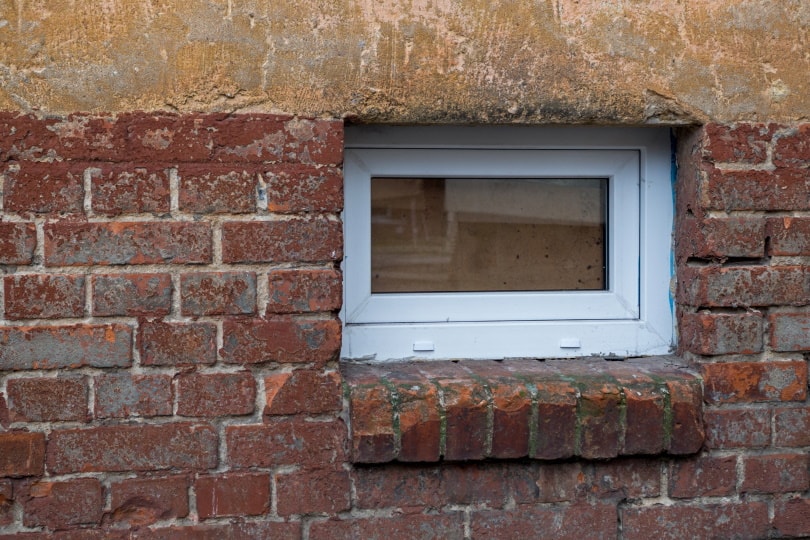
Crank handle windows are extremely popular in basements, attics, and other places where there isn’t enough room to slide them open and closed. However, since these windows are often in areas with high humidity and extreme weather, they tend to break down and repeatedly need repairs. If the handle on your window keeps spinning, but the window doesn’t open and close, keep reading this step-by-step guide to making repairs to crank windows so you can keep them operating properly.
Preparation
Fortunately, there is not much preparation required when you need to make repairs to a crank window. We recommend cleaning the area to remove dust and grime, especially around the handle, since these windows are usually in out-of-the-way places. If it’s in a basement or another poorly-lit location, you may also need to bring a lamp or flashlight to see the repairs that you are making. Camping lanterns and similar devices work well for hands-free light if there are no lamps nearby.
Tools and Materials
It’s easier to gather your tools and supplies before you get started to ensure that you have everything and won’t have to stop in the middle of your project. You don’t need that many, tools and you likely have most of them around your home already.
- Screwdriver
- Pry bar
- Pliers
- Wood glue
How to Fix a Crank Window That Won’t Close (11 Easy Steps)
1. Determine the Problem
Common problems for owners of crank windows are that the handle gets old and that the teeth holding it in place wear out. The result is a handle that spins while the window remains in place. If the handle does not seem to slip, but the window is not operating properly, there’s probably a problem with the internal gears.

2. Remove the Handle
If there is a screw in the handle, remove it, and the handle will come off. Inspect both sides to see if there is any damage. In some rare cases, the damage will all be in the handle, and you will simply need to replace the handle to fix it. However, in most cases, the damage will be on the part that holds the handle, or it will involve the gears in the internal part of the mechanism, requiring you to change the entire assembly.
3. Open the Window
Sometimes, you can use a pair of pliers to turn the crank and open the window with the handle removed. Gently pushing on the window may also help get it open, as it may be difficult to remove the trim with the window shut.

4. Remove Trim
With the assembly in your possession, carefully remove the trim holding the old one in place. If there’s paint over the area, use a utility knife to score it first. Then use a hammer and a putty knife to tap under will trim so you can lift it. There are usually only a few finishing nails holding it in place, but the wood cracks easily, so don’t try to work too quickly or use too much force. Once it starts lifting out of place, you can use a pry bar to remove it completely.
5. Remove the Mounting Screws
With the trim removed, you should see the mounting screws holding the crank assembly in place. You will usually find three screws, but there can be as few as two or as many as four.
6. Remove the Assembly
After you remove the screws, the crank assembly should come off easily. The arm will be attached to the window so you can slide it to the position on the track that enables you to remove it.
7. Purchase the Replacement Assembly
If you haven’t done so already, you’ll need to purchase the replacement assembly. Most brands will have a part number stamped into the metal that you can see once you remove the assembly, so it shouldn’t be hard to find the right one. You can also take it with you to the hardware store and ask for help. When shopping for a replacement, one of the first things you’ll notice is that there is a left and a right model. Most people think that you determine this by looking at the arm from the inside of the house, but actually, you need to look at it from the outside. So, if you are standing inside the house and your window opens to the left, you need a right-handed crank assembly.

8. Install the New Assembly
You will install your new assembly by doing everything that you’ve already done but in reverse. Put the arm on the track in the window, and then position the assembly so you can screw in the three mounting screws to hold it in place.
9. Replace the Trim
With the mounting screws in place, you can replace the trim by hammering in the small finishing nails. If the old nails are in bad shape, you may need to use new ones, and the trim may not sit against the windowsill the way that it did before.

10. Replace the Handle and Test
Once the trimmers are in place, you can install the handle and try it. If you were patient and followed these steps closely, your window should be working fine, and it should continue to do so for several years.
11. Paint
Lifting the trim from the windowsill can scratch up the paint, especially if it’s been a long time since there was a problem with the window and the paint has had a chance to build up over the years. With the new crank assembly successfully installed, you can repaint the surface to make it look new again and complete your project.


Summary
While it may seem like there are quite a few steps to complete to repair your crank window, each one is relatively simple and doesn’t take more than a few minutes. The crank assembly is arguably the worst part because it can often cost more than $30 for the replacement unit. Old and flimsy trim covered with thick paint can also be difficult to remove. However, most people are back in control of their windows within a single afternoon, so there’s no need to hesitate if your window needs repairs.
Featured Image Credit: Pixel-Shot, ShutterstockPixel-Shot, Shutterstock
Contents
