

If you’re tired of trying to get a window up or down when it has a stripped window crank, you’ve come to the right place. While it can be a little challenging to figure out what you need to do on your own, after reading the steps in this article, you’ll find that it’s not as difficult as you might think.
So, just keep reading, as we walk you through everything that you need to do to replace the window crank and get your window back on track!

The 9 Steps to Fix a Stripped Window Crank
Fixing a stripped window crank can seem like a daunting task, but if you take a deep breath and follow the nine steps here, you’ll have it replaced and working like new in no time!
1. Remove the Original Crank Handle
While we’d love to give you ultra-specific steps on how to remove the original crank handle, the truth is that it depends on the specific make of the window that you’re trying to repair. Typically, you can use a prybar to pop off the crank handle, but sometimes, there’s a retaining clip that you need to remove first.
Give your crank handle a good once over before going at it with a pry bar, so you don’t accidentally break anything!

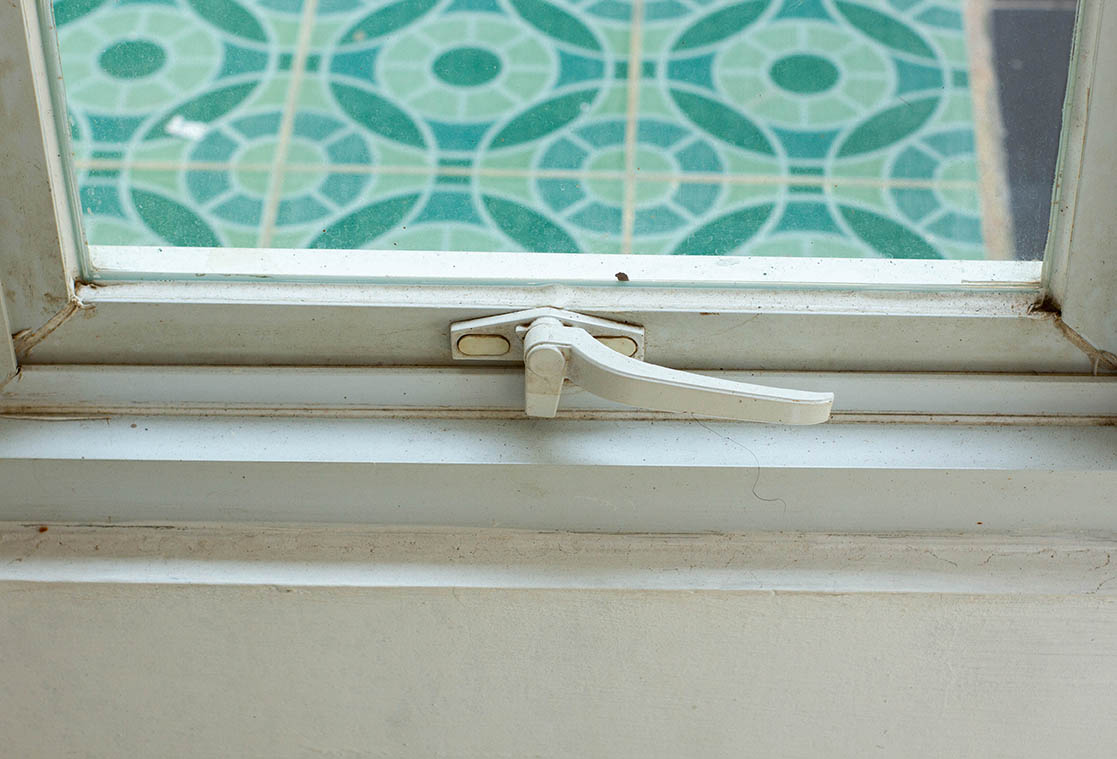
2. Open the Window
While this is the second step on our list, you should do it first if you can get the window down with the crank handle still on. But if your window crank is completely stripped, you won’t be able to do it until you remove the crank handle.
Once the handle is gone, turn the crank knob while pushing down on the window. You might need to get a bit creative if you can’t generate enough force while pushing the window, but either a second set of hands or a tool like a screwdriver or pliers (depending on the style of the window) should allow you to get it down.
3. Pop the Wheel Out of the Track
Once the window is down, you can pop the wheel out of the track that it rides along. You can usually do this by simply pulling down on the crank arm.
4. Remove Window Casement Trim Board
After you get the wheel out of the track, it’s time to take off the window casement. While this is likely a step that you’d like to skip, you won’t be able to get the old crank out of the window unless you do it.
The trim board can either have screws or nails holding it in place, which changes how you’ll have to take it out. Use a screwdriver for screws, and if yours uses nails, use a pry bar. Be especially careful with a prybar because it’s easy to break the trim board if you don’t walk the pry bar down.
5. Remove the Original Crank
Once you have the window casement off, you need to take off the crank. Typically, there’s at least one screw holding the crank in place, so ensure that you remove this before pulling off the crank. Depending on the age and condition of the crank, you might need to pry it off gently.
6. Install the New Crank
Now, it’s all about reinstalling the new parts! Put the new crank in place, and install the screws to start the process. Match up the openings with the wall so you don’t have to drill any new holes.
7. Line Everything Up
Next, you need to reinstall the wheel to get the window in place. To get it into the track, gently push up after you line up the wheel with the center notch on the window.
8. Test It!
The window and new crank are in place now, so all you need to do is see if it’s all working! Roll the window up and down completely to ensure that it works at every point before moving on to the next step.
9. Replace the Trim Board
Now that the new window crank is installed and working as it should, it’s time to put the finishing touches on things. The last piece that you need to install is the trim board along the window casement. Use either nails or screws to finish the process.
If you want, you can either paint over the nails/screws or install a small wood fitting to hide the hardware. However, this is completely for aesthetics, and you don’t need to do it to keep the window in working order.
Final Thoughts
When you’re dealing with a stripped window crank, it can be a frustrating endeavor to even think about opening or closing the window, and as a result, it often stays closed or open when it shouldn’t. But hopefully, after reading through this guide, you have the confidence to fix that stripped window crank for good and get your window working like new again!
See Also:
Featured Image Credit: Edward Wihardja, Shutterstock
Contents
