

One of the most common home improvement projects is replacing a window. However, doing so can be terrifying for many new homeowners because if you’ve never done it, you likely have no idea where to begin. Here, we provide you with a step-by-step guide that will walk you through the process so you can complete your window replacement project without any problems.

How to Replace a Window
1. Window Replacement Preparation
Many older windows can deteriorate over time and develop drafts. Older windows can also be difficult to open and close, and the thin glass doesn’t do much to keep the cold out. If you’ve decided that it’s time to change out a window, get started by wiping down the area to remove any dust and dirt. Doing so can help you diagnose any problems, and it will also help you become more familiar with the frame and how it fits into the wall.
- Caution: Most homes built before 1978 used lead paint, which can be hazardous to your health, especially when working on projects like this that might break pieces free and cause you to be in direct contact with old paint. In these cases, it might be better to hire a professional who has the experience and equipment needed to complete the project safely.
2. Choose Replacement Options
Insert Replacement Windows
An insert replacement window is an easier and less expensive option for replacing a window. It’s DIY-friendly, and as the name suggests, you replace the window with an insert in the same frame as the original. The result is a high-quality replacement window that’s slightly smaller than the original but is more durable, prevents drafts, and allows less cold and heat to transfer through the glass to the other side. Our step-by-step guide will focus on this type of replacement window but do know that the frame needs to be in good shape for it to be successful. If it’s old and deteriorating, you will need to look into a full-frame replacement window.
Full-Frame Replacement Windows
A full-frame replacement window is a much larger and more complex project that requires you to remove the window and the frame that holds it in place. If your home has siding, you may need to remove that too. This type of project is not DIY friendly, and we recommend hiring a professional to do this kind of work.
3. Measure for Replacement Windows
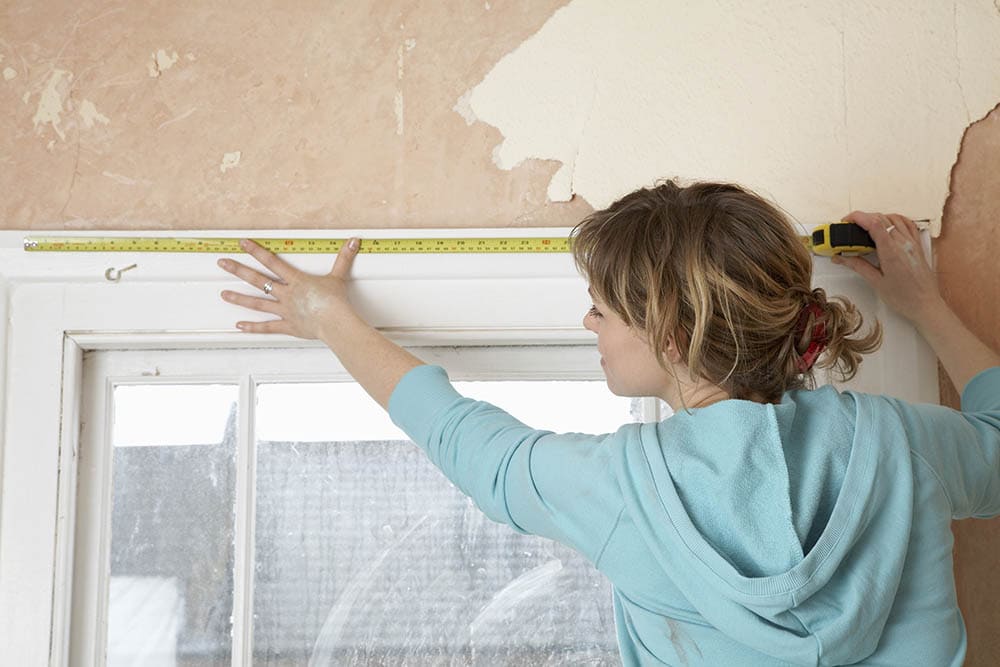
If you feel that the window frame is in good shape, you can use an insert replacement window for this project. The first thing that you’ll need to do is take accurate measurements of the current window pocket using the tape measure. To get the proper size, open the lower sash, and measure inside the window frame instead of the stops holding the sashes in place.
- Measure the height three times: at the left, middle, and right of your window. You should get the same number in each, but doing it three times will help make sure your measurement is accurate.
- You also need to measure the width of your window three times at the top, middle, and bottom. Just like the height, you should get the same measurement three times, but always choose the smallest numbers for each when you’re ordering your replacement window. The new window should be 1/2 to 3/4 of an inch smaller than the opening.
- Please wait for your replacement window to arrive so you can measure it to make sure it will fit before you move on with the project.
4. Remove the Storm Window
If you are using a storm window, you will need to remove it before continuing. Many of these windows will lift out of their channels with no tools required, but some will require you to remove a few screws the keep the window in place. You may also need to carefully score around the edge of the window using a utility knife to help get it out if there is a large amount of paint.
5. Pry Out the Frame
With the storm window out of the way, it’s time to remove the sashes and pry out the frame. There are many different window manufacturers, and you may need to remove the frame from inside or outside, depending on the model that you have. Use a pry bar or trim removal kit to carefully remove the frame holding the window in place. Take your time so you don’t damage the wood, and use a utility knife if you need to cut through thick paint.
6. Remove Weights and Springs
Most older windows have weights and springs that make it easier to open and shut them, and you will likely see these components when you remove the frame. If you have weights, you will likely see a long cord on the sides of the window, and all you need to do is cut the cords near the top and let the weights fall into the larger frame attached to the house. If you have springs, you need to carefully remove them by raising the sash at the top of the window and removing the screw that holds it in place. Some springs will have plastic covers that might break off when you remove them. When removing springs, it’s important to remember that they are under tension, so you need to be careful that it doesn’t snap at you or the window while you are removing them. Raising the sash will help reduce spring tension.
7. Identify the Stops
If you look at the side of your window frame, you will see two channels, one for each window to slide up and down. Three strips of wood on each side of the window create these two channels, and those strips are stops. On the inside of the home, the strip of wood is the interior stop, while the one in the middle is the parting stop. The strip on the outside of the house is the exterior stop.
- If you install your window from inside the house, you should remove the interior stops.
- If you install your window from the outside, you should remove the exterior stops.
8. Remove the Stops
Remove the stops using a utility knife or trim removal can if possible. If you cannot get a smooth surface with these tools, you may need a small circular saw and even a hand sander. Once you remove the interior or exterior stops, you will also need to remove the upper and lower sashes along with the parting stop.
9. Do Surface Maintenance
With these pieces removed, you can inspect the surface to ensure that it’s smooth. Fill any small holes using wood filler, and replace any damaged or rotten wood. Use a shop vac to remove any loose debris and wipe the area down, so it’s clean and ready for your replacement window.
10. Apply Flashing Tape
You will need to apply flashing tape to the windowsill in the next step. Flashing tape helps prevent moisture buildup and provides a good seal. This type should go across the windowsill, extending up the window’s bottom leg on the interior sides. Make sure to work it into the corners for a better seal.
11. Make Sure the Windowsill Is Level
Use a level to inspect the windowsill, and use shims if you need to get it in the proper position. Secure them with screws and finishing tape to ensure that they don’t move.
12. Dry-fit the Window Glass Replacement
With the surface level and primed, it’s time to dry-fit the window glass replacement. Get help because many replacement windows can be quite heavy. The new window should fit snugly, but you should notice a small gap around it. If it looks good, take it back out and set it aside for now.
13. Apply Caulk
You will need to place a 3/8-inch bead of silicone caulk at the interior head at the interior top of the frame. You will also need to place one along the stops and the windowsill.
14. Install the Window
Place the window in position just like you did in Step 12. Press it against the interior or exterior stops so it rests firmly against the caulk to create a good seal.
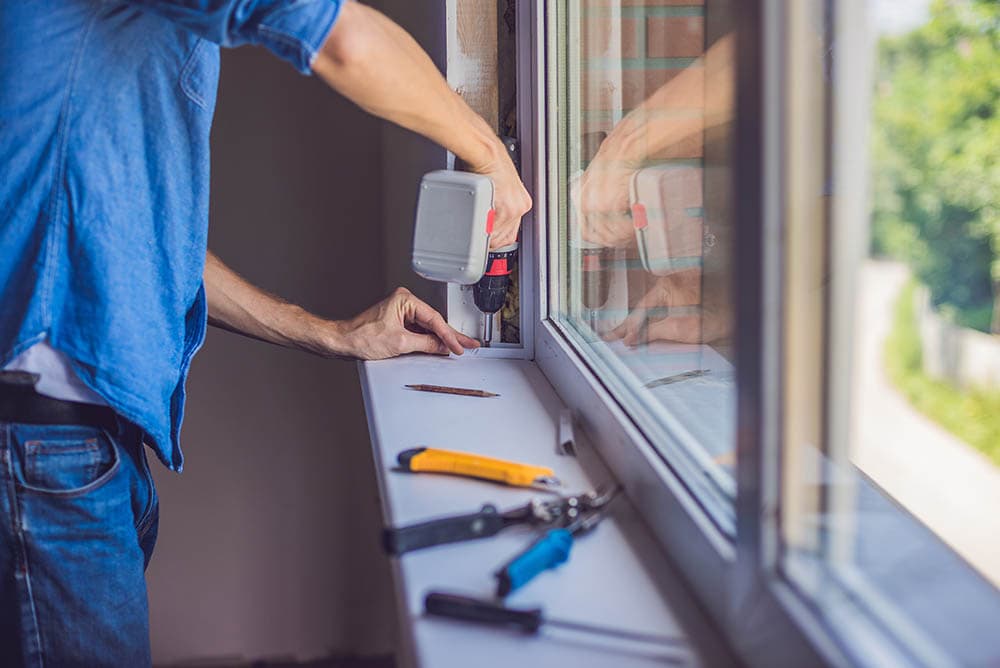
15. Secure the Window
Use wood shims to secure the window by placing them at pre-drilled holes in the frame. Use an electric screwdriver to drive the screws through the frame holes and wood shims.
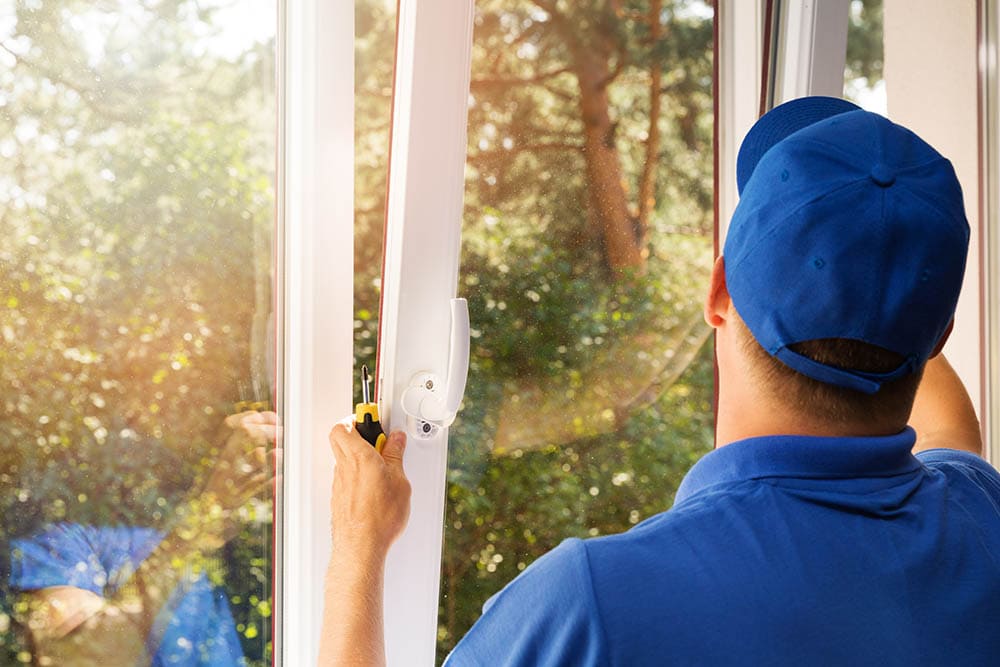
16. Check the Sashes
Check that the sash is evenly in the frame and moves freely. Use additional wood shims if you need to get them into the proper position by using them at the meeting rails, which are the horizontal elements of the sashes that meet when the window is closed.
17. Fill Any Gaps
From the outside of the home, use the spray insulation to fill any gaps remaining in the window frame, but make sure you follow the instructions on the can because it’s easy to use too much.
18. Measure and Cut the Sill Adapter
Measure the height from the bottom of your window to the sill to get the size that you need for the sill adapter, and use a utility knife to cut it to the right size.
19. Create Weep Holes
Your sill adapter needs weep holes to enable any water and moisture to drain out. Use a small drill to create two weep holes on the bottom of the sill adapter before locking it onto your window. Use a piece of wood to protect the sill adapter, and use a hammer to tap it into place.
20. Install Exterior Trim
Install the exterior trim using finishing nails for a better appearance. Using a nail set can help prevent any damage to the trimming. Seal the edges with the latex caulk, but don’t seal the weeping holes accidentally.
21. Apply Interior Caulking
Apply latex caulking to the interior trim to complete your window replacement project.
- Related Read: 10 Best Caulk Removers: Reviews & Top Picks
Summary
Replacing a window requires many steps, but with patience, it’s not too difficult to complete, even if you are inexperienced. Naturally, the first window will be the most challenging, but if you need to do several of the windows in your house, you will eventually find it quite easy. Getting your measurements right is one of the most important parts, so you don’t have to send things back and wait for replacements. It can also be challenging to remove the stops and have a smooth surface when you finish, but hand sanders and circular saws can make it quite a bit easier.
Featured Image Credit: Africa Studio, Shutterstock
Contents
