How to Fix a Gouge in Vinyl Plank Flooring in 4 Simple Steps (With Pictures)
-
Kristin Hitchcock
- Last updated:

Vinyl flooring is becoming increasingly popular. It can be made to look like just about anything, though most vinyl resembles hardwood. It’s less expensive and more durable than most other types of flooring; it requires little maintenance and can last for years at a time. However, no floor is completely invulnerable to scratches and gouges. If you live in your home and use the floors, they will eventually get scratched.
Luckily, most scratches and gouges are fixable, though some require more TLC than others. Below, we’ll go through the general steps for fixing a scratch in vinyl plank flooring.
Determining the Severity
The severity of the scratch will determine how you will fix it. Very fine scratches are easy to fix and can typically be removed with deep cleaning. However, other scratches may need to be repaired.
Deep scratches may need to be filled in with wax or similar materials. While most scratches can be fixed, some are so extreme that you may just need to replace a piece of your floor. Either way, fixing a deep scratch is not as easy as dealing with a small one.
The 4 Steps For Fixing a Gouge in Vinyl Plank Flooring
1. Clean the Floor

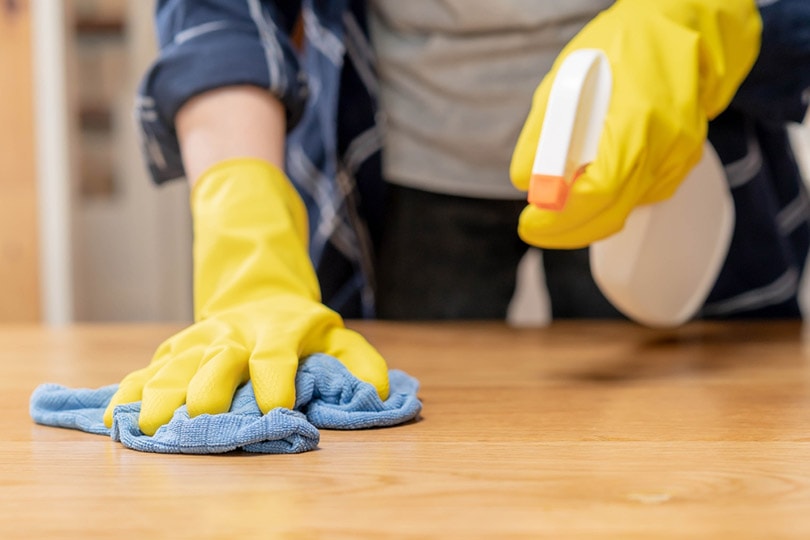
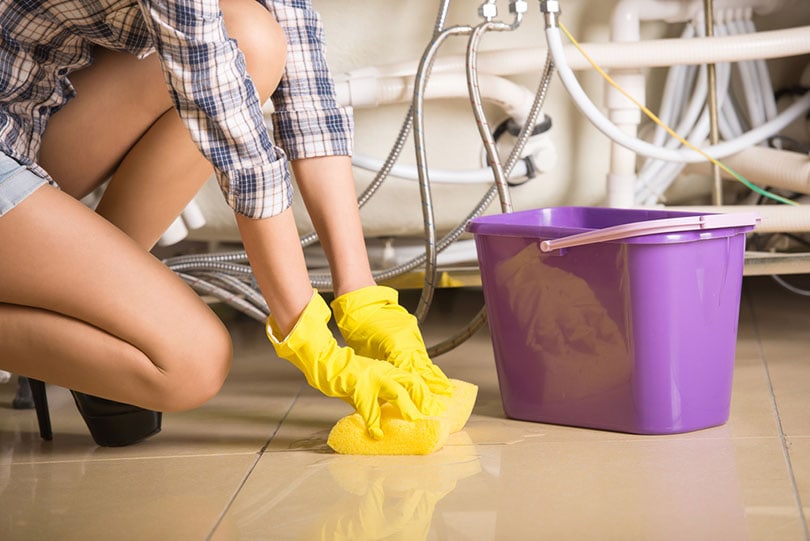
Before you get started, you’ll need to perform a deep cleaning on your floors. Any of the dust and debris left on the floor can interfere with the repairing process, so it needs to be removed. Mopping can remove most of the grime from the floor.
There is no reason to perform any special cleaning. Just clean the floors like you usually would if you really needed them cleaned. A sponge can be used on the area of the scratch just to ensure that it is thoroughly clean. You don’t want any dirt to be left behind on the scratch, or it will disrupt the repair.
2. Wax the Floors

Next, you’ll want to wax the floors of your home, especially around where the scratch is. Because only waxing half the floor may make your home look a bit strange, you’ll likely need to do the whole surface. A little bit of wax can remove most superficial scratches and even some gouges. Plus, even if it doesn’t remove them, it will make the floor look much better.
You can purchase wax made specifically for vinyl floors. Be sure to follow directions for your floor in particular since various vinyl floors may need to be waxed differently. Be sure that you pay extra attention to the damaged areas. Fill in the whole scratch with wax, but be careful to remove any excess wax from the floor around the scratch. You want just enough wax.
When you’re done waxing the floors, take a microfiber cloth and rub it over the area with the scratch to ensure that it has a smooth finish. Determine whether or not you’re happy with the repair job. While the wax will help fill in the bigger scratches, it doesn’t always work on extremely big gouges.
You’ll want to buff out the rest of the floor as well, if necessary. It depends on the overall quality of the floor, as well as the type. Some vinyl floors need to be buffed out, while others do not.
Find a flooring specialist in your area, and get free, no-commitment estimates for your project.Consult a flooring expert

3. Use PU Cleaner
If the scratch is still there, hopefully, the wax has done at least something to help cover it up. It isn’t odd for the wax to almost get the job done but not quite fill in the scratch all the way. In that case, you can come back with a PU cleaner to handle the final touchups. You’ll only need to use it on the damaged part of the floor, so you shouldn’t need much.
First, simply spray the cleaner as the bottle instructs and wait about 5 minutes. You don’t want to wipe the cleaner immediately, as it needs time to set on the crack. If it doesn’t work the first time, you can try it again. Sometimes, you just need to use more of the cleaner to cover up the crack completely.
However, if it hasn’t worked after the second or even third try, try leaving the cleaner for about 6 hours. You want to avoid any friction in the area now since it will remove the cleaner from inside the scratch. In most cases, it is best to do this overnight, but be sure to protect the area from your pets. Hopefully, this final step will help the scratch fill in all the way and appear not quite as gouged.
4. Replace The Floor
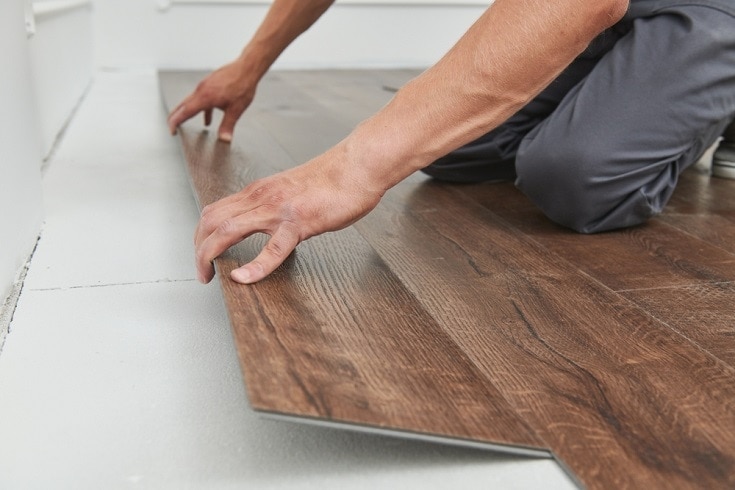
Sometimes, no matter what you do, you aren’t going to buff out the gouge in your flooring. In those cases, you’ll often need to replace the damaged piece of wood. Luckily, you can do it pretty easily as long as you have a floating floor, which means that the flooring is not directly attached to the subfloor underneath. You can easily rip up the damaged piece and replace it.
When replacing the flooring, find the wall closest to the damaged plank and begin removing it from there. You can reuse the pieces on your new floor, but they need to come out momentarily so that you can get to the damaged piece.
To do this, you’ll need to remove the molding or baseplate on the walk. Then, lift up the planks and remove them until you reach the damaged plank. Remove the damaged plank and replace it with a new one. Next, put the other planks back until you reach the wall, and then replace the baseboards.
The process is pretty simple, as long as the floors aren’t glued down. If they are, you’ll need to use something small and flat to reach under the plank and remove it. Then, scrape up all the old glue and clean the area. Apply the adhesive to the area and press the plank down.
 In Conclusion
Typically, cleaning and applying wax to damaged vinyl floors helps repair and cover the damaged areas. Sometimes, you may need to utilize a PU cleaner for extra-tough scratches and gouges. With some deep scratches, wax is ineffective. Luckily, you can replace the damaged piece pretty easily.
If you have floating floors, it is simple enough for you to do on your own without much of a problem, but if you don’t, you’ll have to peel the damaged flooring up, which can be much more difficult. We hope this article helped you fix those unsightly gouges in your vinyl flooring.
Featured Image Credit: Dmitry Kalinovsky, Shutterstock
Contents
