House Grail is reader-supported. When you buy via links on our site, we may earn an affiliate commission at no cost to you. Learn more.
How To Fix Laminate Floor Water Damage In 5 Simple Steps
Pete Ortiz
Last updated:
We were first introduced to laminate flooring in the 1970s as an affordable alternative to other more expensive flooring types. This type of flooring is incredibly unique in that it’s made of several layers of synthetic materials, specifically engineered to mimic stone and wood properties.
Affordability is not the only factor that has made it gain massive popularity over the years. A significantly large number of residential property investors also fell in love with its aesthetic style and quality, amongst other things.
Fortunately, we’re not here for a history class! As you already know, this article is all about fixing laminate flooring that has been damaged by water. So, let’s not waste any more time and get to it.
Tools & Materials
Securing tape
Silicon sealant
Tapping block
Handsaw
Underlayment
Utility knife
Laminate flooring replacement planks
Tape measure
Pencil
Rubber mallet
You should know, it’s often advised that you use the right tools and materials whenever you’re working on a DIY project. Of course, safety is the number one priority, but other than that, using the wrong tool could cause extensive damage to the thing that you’re trying to repair.
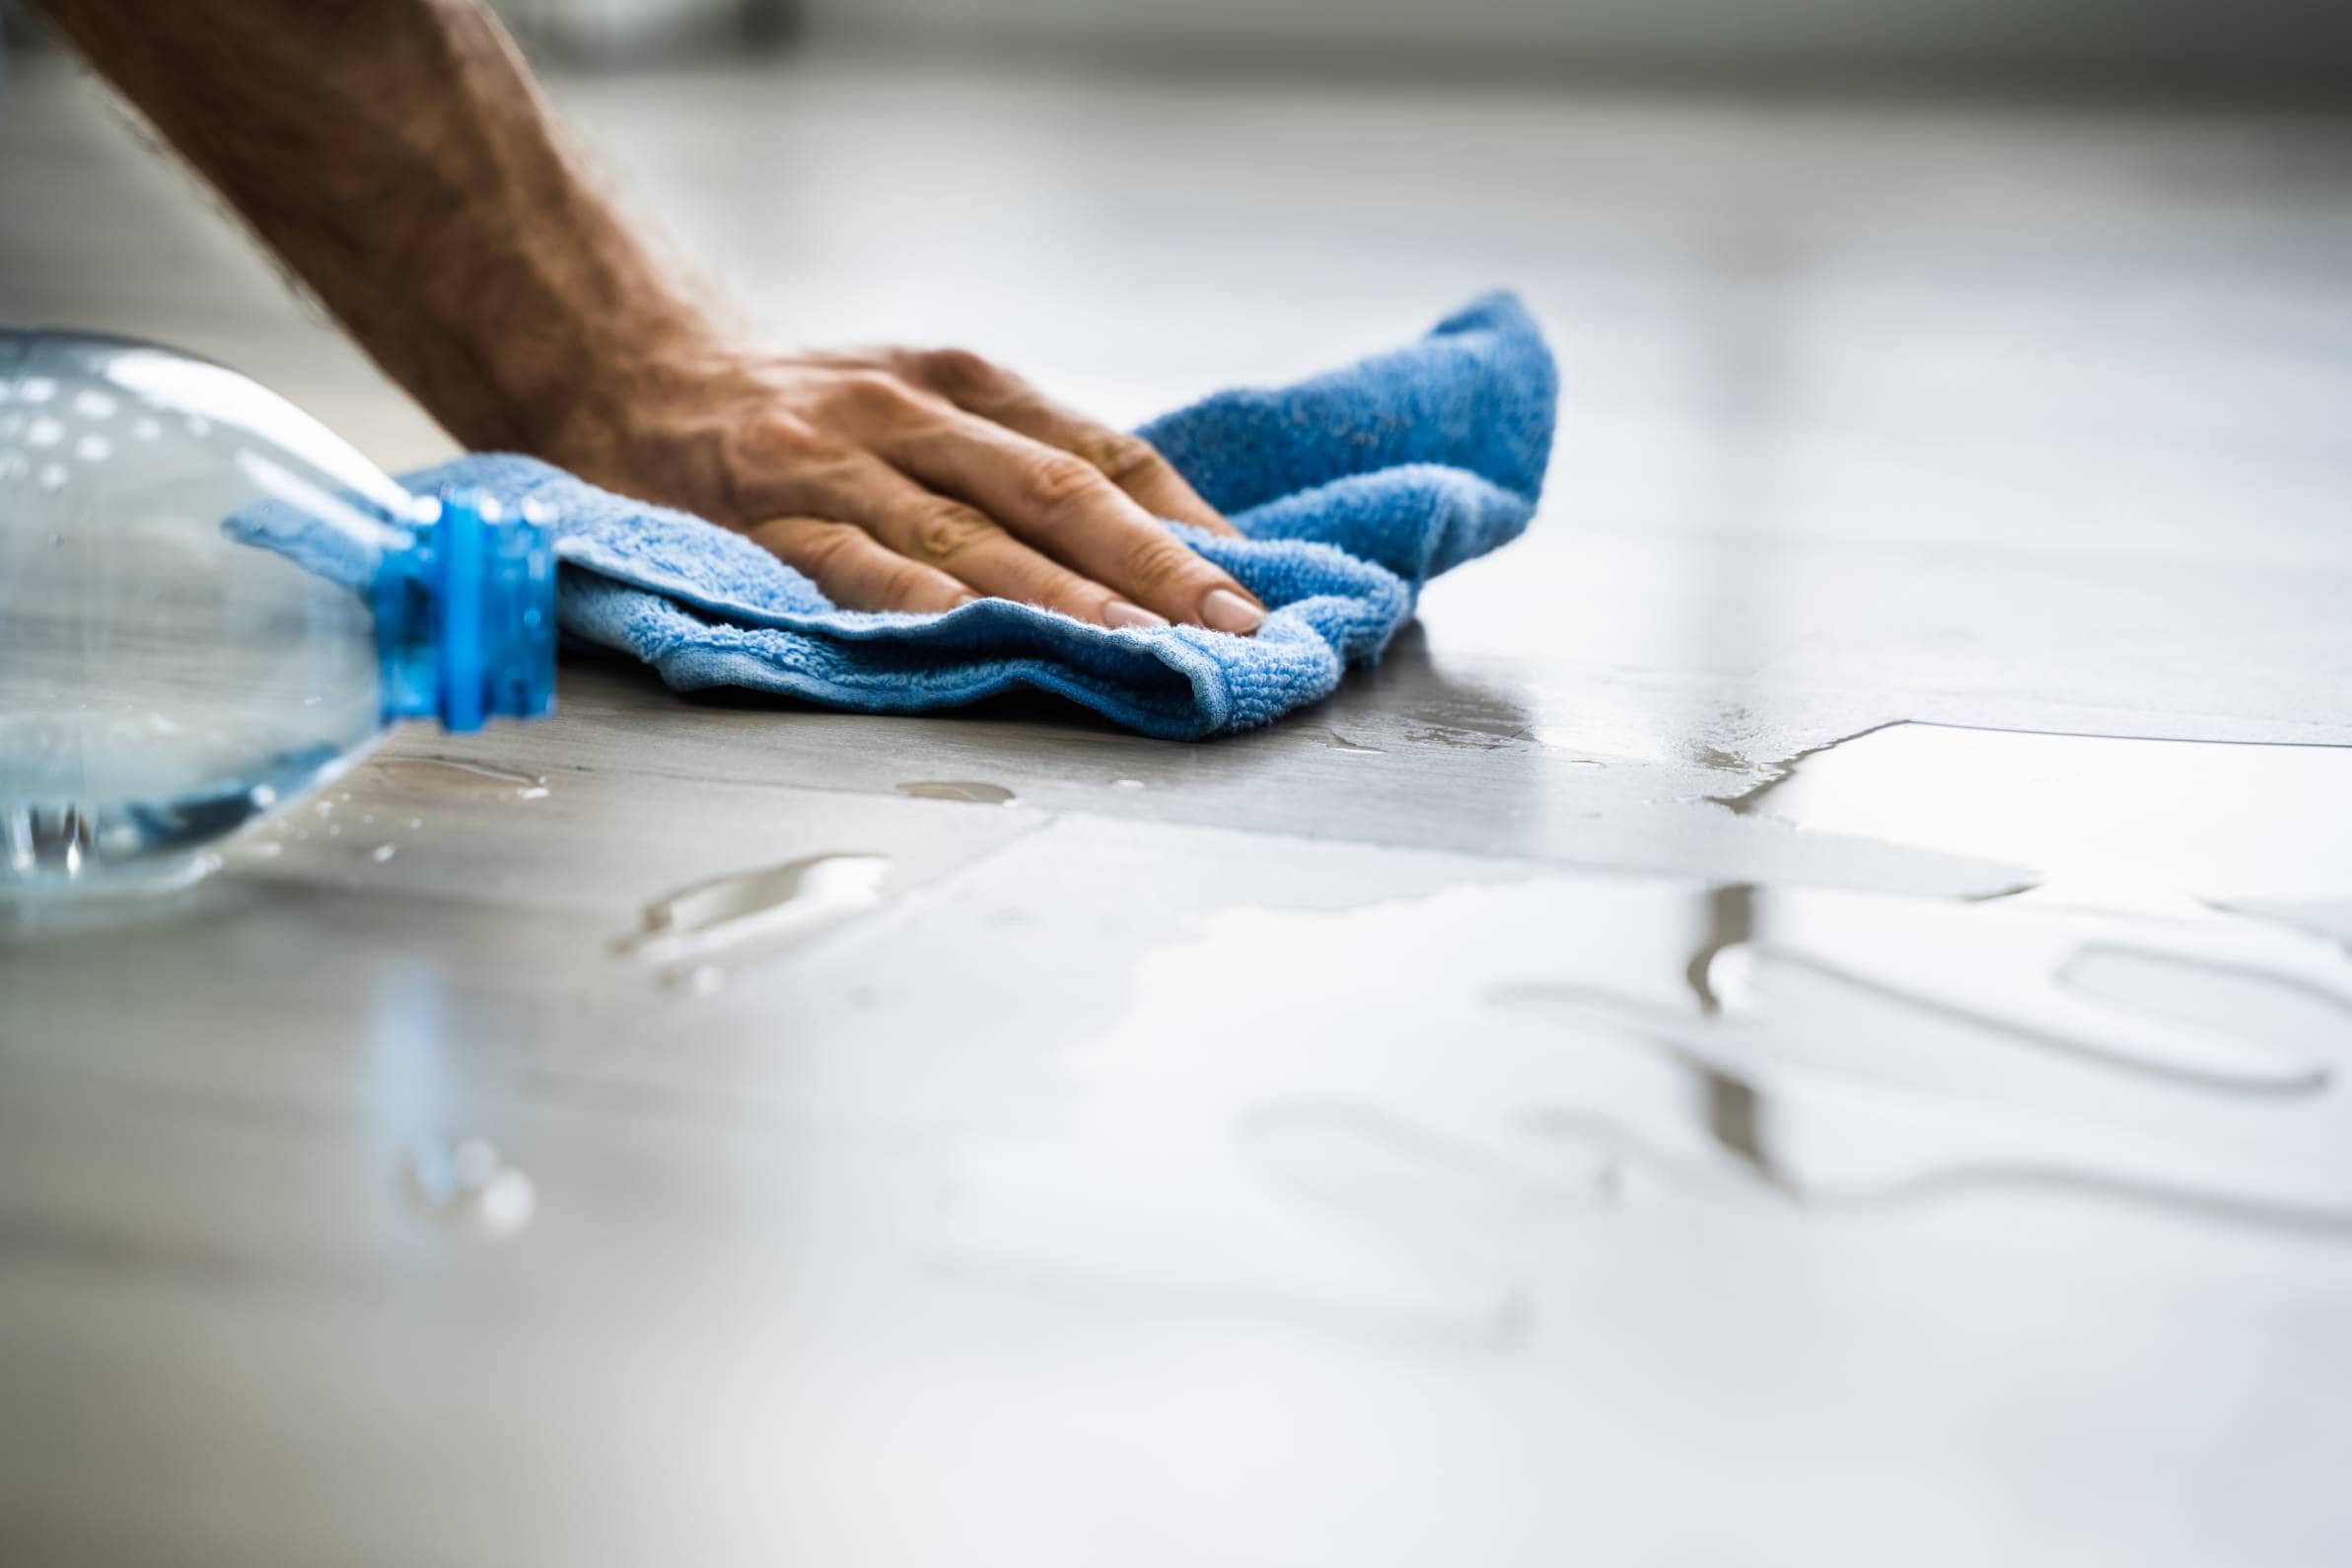
Image Credit: Andrey_Popov, Shutterstock
Step-by-Step Guide for Fixing a Laminate Floor
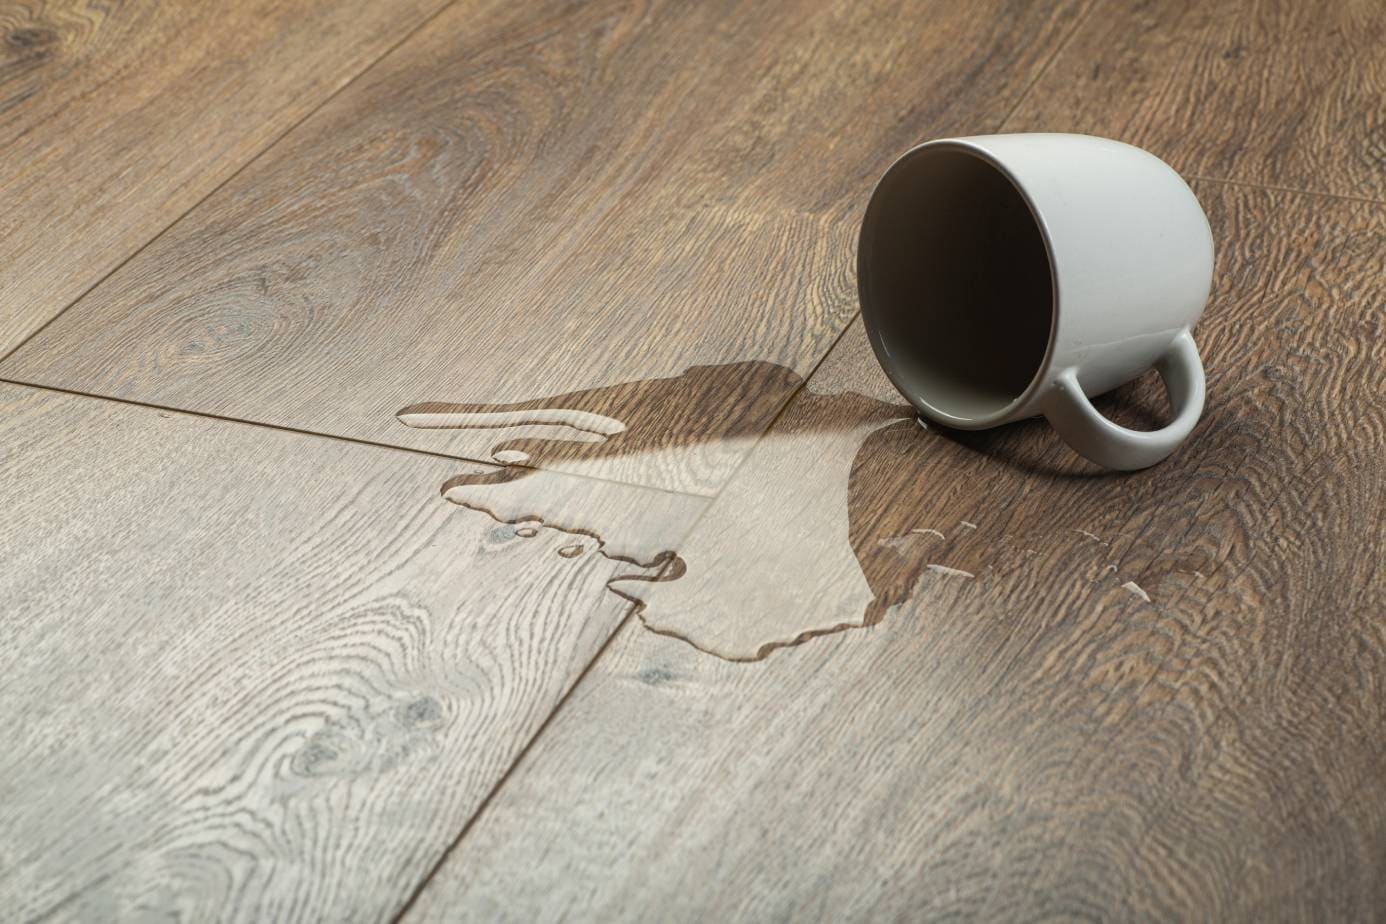
1. Search for the source of the leak
Image Credit: Vovidzha, Shutterstock
To fix the floor, you first have to identify and fix the leak. This must be the first thing you do since it’s the root cause of all your problems. If you ignore that leak, you’ll fix the floor for sure, but after some time, you’ll find yourself dealing with the same problem.
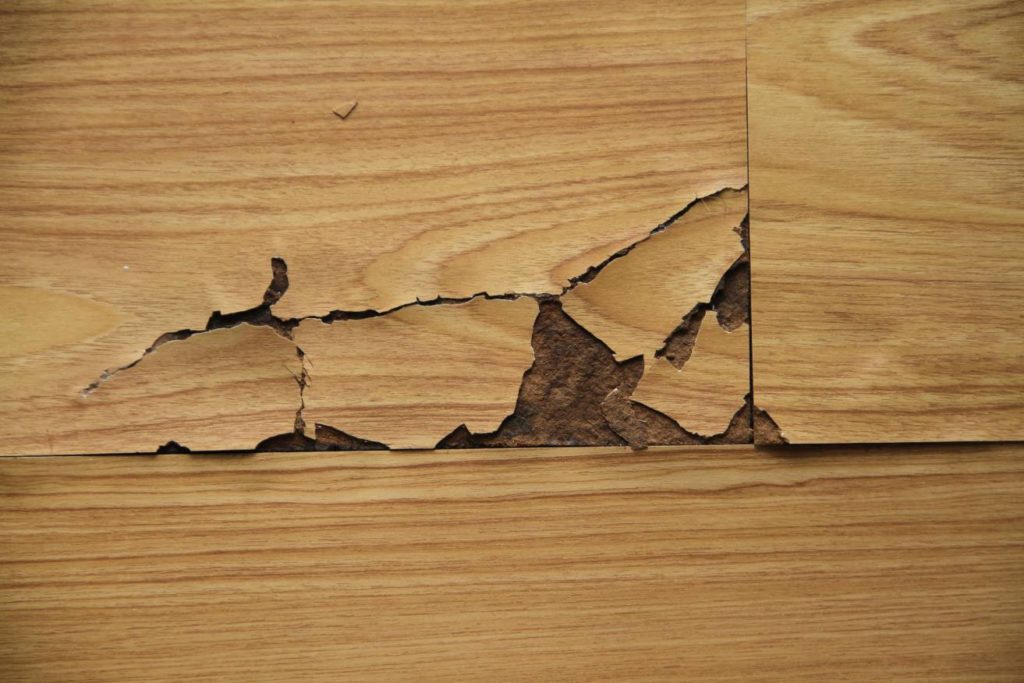
2. Identify and evaluate the extent of the damage
Image Credit: Pixabay
Okay, now that we’ve fixed what was leaking, it’s time to identify the damage and assess its severity. This step won’t be as difficult as the first step, but it will require your undivided attention. If you’re distracted, you’ll miss one or two areas and the situation might worsen.
You’ll quickly notice that some areas appear discolored, while others have visible bubbles, or are warped. The areas that have discolorations are the areas that are least affected and probably have mold. On the other hand, the bubbles and warped planks represent areas that are extensively damaged.
Don’t just use your eyes—there’s a reason why we added the pencil and measuring tape on our tool list! You should use them to mark the damaged planks, before measuring the total surface area affected.
This will give you an idea of how much time is required to complete the project, and the number of materials needed.
Consult a flooring expert
Find a flooring specialist in your area, and get free, no-commitment estimates for your project.
We’ll need you to start pulling out those marked planks, but you’ve got to be careful and gentle. The last thing that we’d want is to see you hurt or frustrated just because you damaged a section of the floor that had no issue. If a plank feels stuck, reach out for the utility knife, and try to pry it out.
Since the planks are single units working together, some of them will be affected entirely while others will be affected in parts. You’ll be tempted to leave those that aren’t entirely affected, but that’s a mistake. In fact, it’s a mistake that may come back later, seeing as there might be mildew and mold comfortably growing under your floor.
Just remove everything, make sure there’s no mold or mildew, and then replace the underlayment with a new one. Don’t forget to measure the underlayment before installing it. You have to get the correct length to avoid overlapping.
Once that’s done, go get your new planks and get ready to install them.
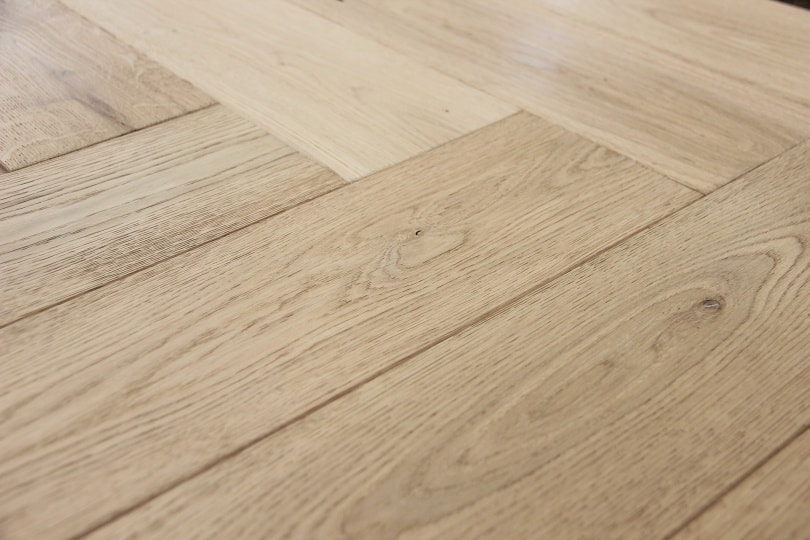
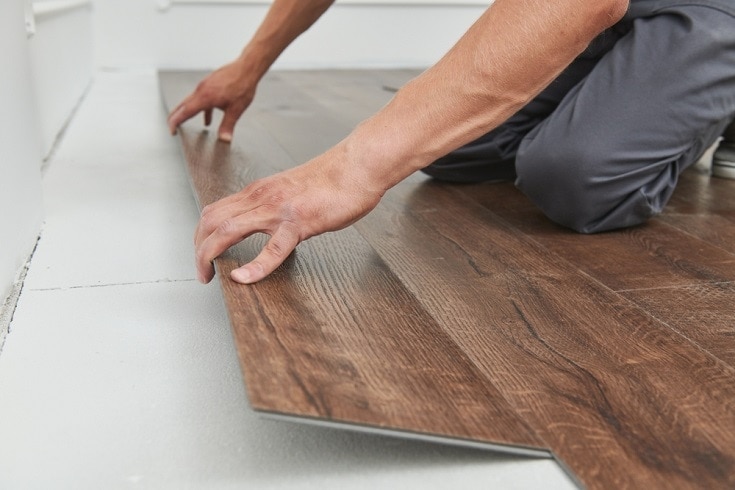
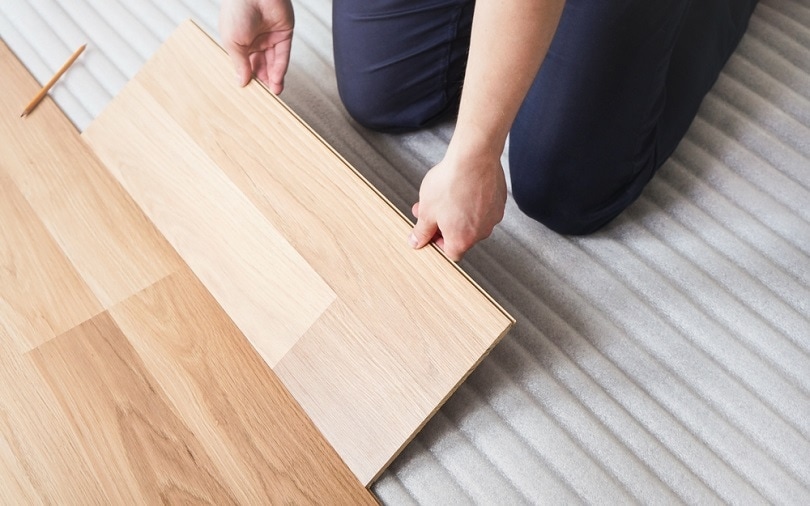
4. Replacing the planks
Image Credit: Lubo Ivanko, Shutterstock
To be honest, we often feel like reinstalling the planks is the biggest challenge on this project. And that’s primarily because you have to find the same planks that you first installed. Unless you have a few extras lying around, you’ll need to go back to your original supplier and hope they have what you’re looking for. If they don’t, you have to keep looking, until you find that same color, texture, and quality. Reinstalling something different will just make that whole space look… weird.
Because we want to make your work easier, we would advise you to start installing the planks from right to left, or from left to right. Just don’t start at the center. If you do, some of those planks might not fit when you get to the wall, forcing you to remove everything and start from scratch.
At the wall, make sure there’s a spacer between it and the laminate flooring planks. That extra room is important as it allows for expansion.
There should be no gaps or spaces between the planks. Confirm that, and then start interlocking the units. Their joints also have to be tightly connected, and that’s why you have the tapping block and rubber mallet. Keep hitting until no gap is left in between any joint.
Our work is not yet done. If we leave those edges the way they are, we’ll have to deal with this problem again in a month or two. They have to be watertight, and that’s where the silicon sealant comes in.
Once you’re done with that application, look for something large, flat, and heavy, and place it on top of that whole area—that exerted pressure will ensure everything sticks together.
Frequently Asked Questions
Can you prevent water damage to laminate floors?
That depends on the water source. If you’re talking about floods, that’s unpreventable. You’ll just have to make do with what you have. But if the cause has nothing to do with flooding, then yes, you can protect your laminate floors from water damage.
What you need to do regularly is check for leakages under your appliances, behind the toilet, and under the sinks. If you find any, fix them immediately. Also, ask your kids to not leave any spills on the floor!
What are the signs of water damage?
Spotting a damaged laminate floor isn’t as difficult as people seem to think. The signs are pretty obvious. All you have to do is look for:
Discoloration
Molds and mildews
Warped planks
Cracking
Musty odor
How long does it take mold to grow under laminate flooring?
If the conditions are favorable, the spores will quickly germinate and grow into colonies in as little as 24 hours. So in the case of laminate flooring, you should expect this fungus to speed up the growth process thanks to the warmth and moisture.
Leaving mold unattended is dangerous, as prolonged exposure could cause innumerable health problems that include skin irritation, coughing, nasal stuffiness, wheezing, and even throat irritation.
Is swollen laminate flooring fixable?
You could try, but the only way to fix this kind of damage is to disassemble the affected areas and install new planks. But don’t forget to address the leakage first because that’s the real problem. Fix that, and then start removing the swollen planks, one at a time.
Wrap Up
Just because you’ve been told this type of flooring is water-resistant and durable, doesn’t mean that you should forget to wipe spills. Take care of the floor, and it will serve you for a very long time. Ignore it, and you’ll have to hire a professional to help you with repairs or work on them yourself.
Featured Image Credit: Nidchita, Shutterstock
Contents
Writer
Pete Ortiz
Pete has been working in the trades since high school, where he first developed a passion for woodworking. Over the years, he has developed a keen interest in a wide variety of DIY projects around the home. Fascinated by all sort of tools, Pete loves reading and writing about all the latest gadgets and accessories that hit the market. His other interests include astronomy, hiking, and fishing.
As the founder of House Grail, Pete's primary goal is to help consumers make educated decisions about DIY projects at home, in the garage, and in the garden.