
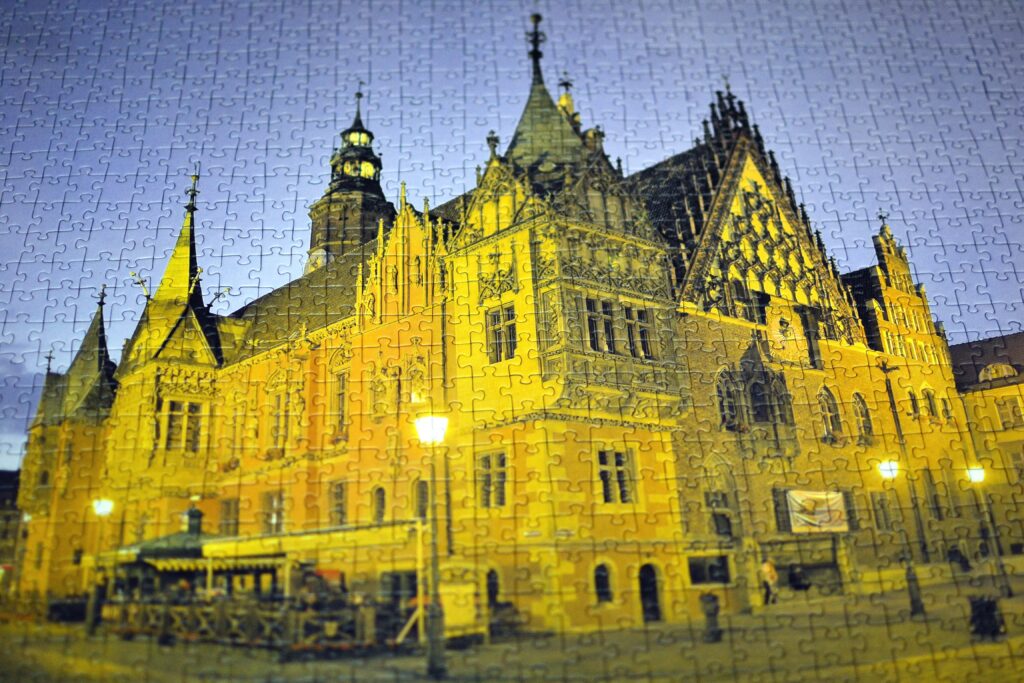
Assembling a jigsaw puzzle successfully is quite a fulfilling accomplishment, like completing a painting, drawing, or taking a picture. This is perhaps why most people find it difficult to part ways with their completed puzzle.
Fortunately, instead of undoing and storing away your hard work, you can always frame and display your puzzle to flaunt your accomplishment. All you must do is use a puzzle adhesive or tape to hold the pieces in place. Then, get a frame that your jigsaw puzzle can fit in and hang it on your wall space as décor.
It might sound tasking and overwhelming, but don’t fret. In this article, we will highlight several tips on the puzzle framing process, starting from the preparations to hanging the finished puzzle in your home. Read on to learn more.
The 4-Step Preparation Guide
Preparation is one of the most important aspects of the puzzle-framing process. If you don’t start the process in the right environment, you will probably end up with a lackluster piece of art. Worse yet, damage your furniture with spilled adhesive substances.
1. Find a Conducive Work Space
To frame puzzles, you need to find an area that allows you to work for long periods. The space should have adequate lighting, quiet surroundings, comfortable seating, and not often used by others. In addition to the time spent building a puzzle, you must wait for the glue to dry. So, the work area needs to remain undisturbed for a long time.
2. Choose the Correct Puzzle Measurements
Before you purchase custom-made puzzles, it is crucial to consider the exact dimensions1 for your jigsaw puzzle.
Usually, most puzzlers glance at the measurements provided in the puzzle box and assume they are accurate representations. However, this couldn’t be further from the truth. Common puzzle pieces retailing in today’s market measure up to a quarter-inch sealer or larger than the specifications provided by the manufacturer.
3. Consider the Puzzle Thickness
This is also a common mistake that people make while framing puzzles. Not all jigsaw puzzle picture frames use paper materials. Most picture frames are designed to accommodate a print or photograph on a flat paper sheet. These puzzles usually have an average thickness of around 1/10th of a millimeter1(3/1000th of an inch). However, some puzzles can be as thick as ¼ inch, with premium brands rolling out thicker puzzles. So, you need a frame that can accommodate the thickness of your jigsaw puzzle.
4. Clean the Puzzle & Add a Cover between the Puzzle & Surface
Brush the jigsaw puzzle surface to remove any traces of dirt1 and lint. You can do this with a dry piece of cloth or tissue paper. Add a cover between the surface and the puzzle pieces, thus ensuring that it extends at least a few inches on either side. The cover prevents the puzzle from sticking to the surface during the gluing process. For cover materials, Parchment and wax materials always work best.
The 7 Steps on How to Frame a Puzzle
1. Ensure Your Puzzle Is Flat
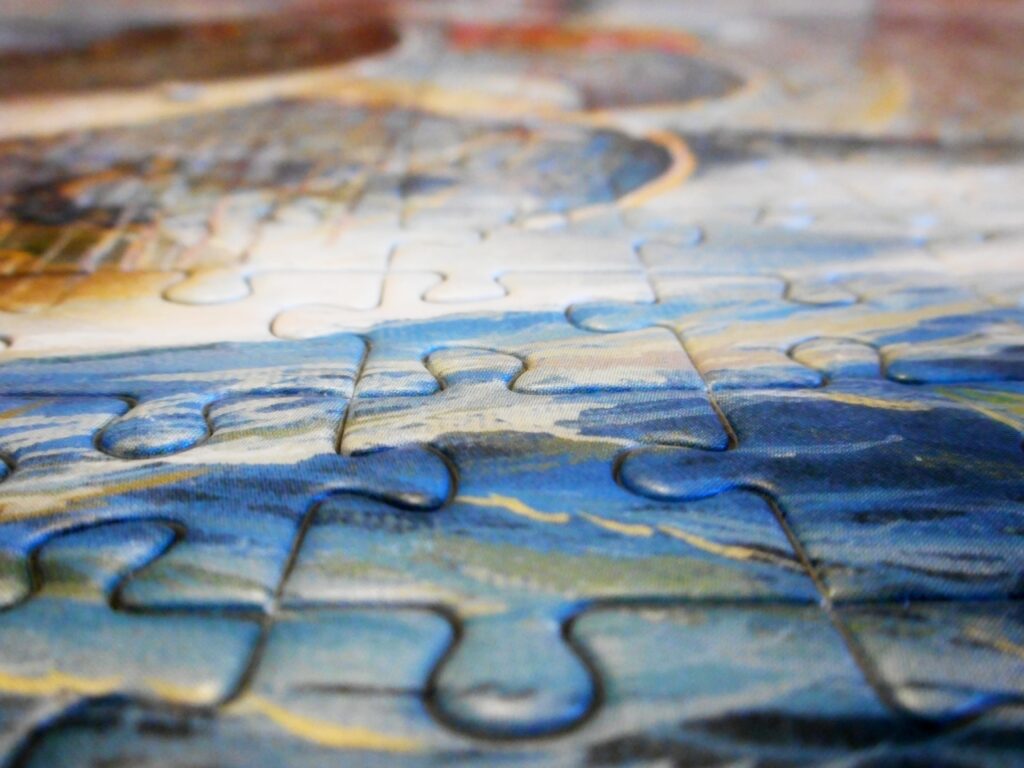
Before you figure out how to keep the puzzle pieces together for framing, ensure that it is completely flat. Sometimes a piece can easily pop out of place, and when you try to return it, the other pieces will rise. This can not only be frustrating but also time-wasting.
Flatten the puzzle to avoid any blemishes on the finished product by running a rolling pin on the surface. This is a simple yet effective way of ensuring that your puzzle pieces are level and ready for framing.
2. Don’t Glue as You Go
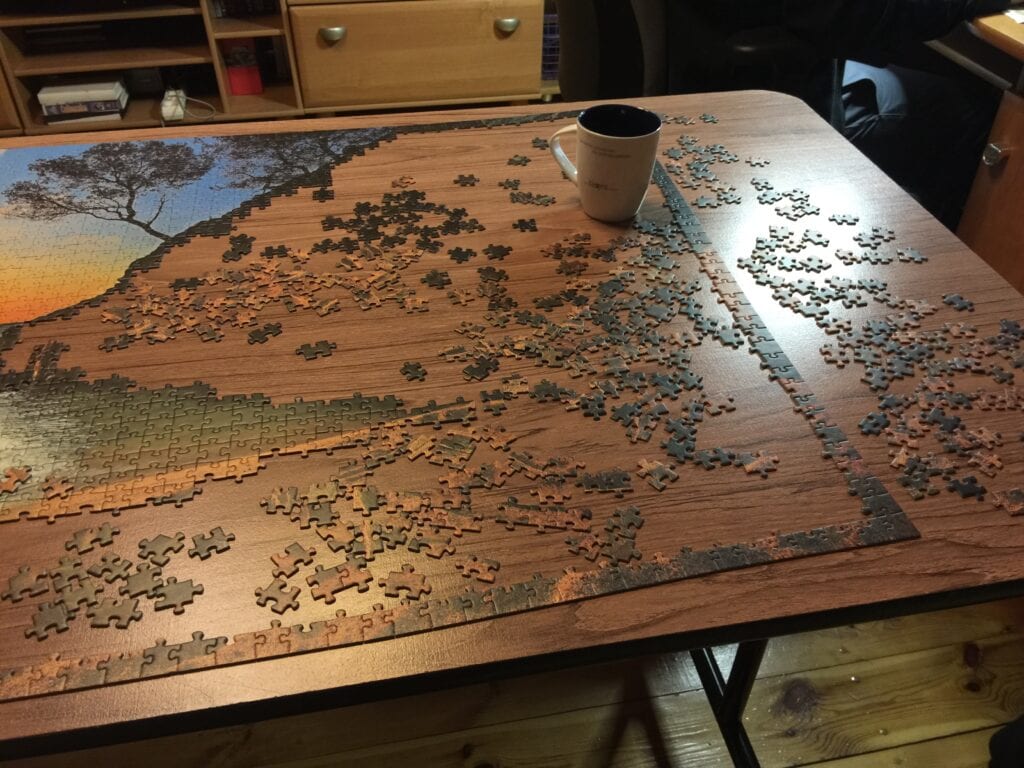
After getting the exact and correct dimensions, you can then purchase your jigsaw puzzle of choice and proceed to solve it. Some people opt to glue the puzzle as they go. However, you should first complete it before you glue the pieces. Solving puzzles is usually a relaxing experience, and if you try to glue each piece as you go, the experience will be boring and frustrating.
If you are looking for a jigsaw puzzle to while away the time with, choose one with a type and theme that appeals to your personality. Furthermore, go for a puzzle piece that isn’t easy to crack to help increase that sense of accomplishment associated with finishing a herculean task. 1500-piece puzzles are usually the most difficult and worthy of being displayed on a wall.
3. Hold the Puzzle Pieces Together
Once you have completed your jigsaw puzzle and it is perfectly flat, the next logical step is figuring out how to hold the pieces together before sliding the puzzle into a frame. There are different ways you permanently stick the pieces together. However, experts recommend using the puzzle glue that comes with the packaging.
Glue
Glue is the most used adhesive option for securing puzzle pieces. However, you must get the right glue type because there are a lot of options on the market. The best puzzle glue should have low moisture content to prevent the puzzle pieces from peeling or swelling. Moreover, it should have low acidity (preferably acid-free) to help preserve the jigsaw puzzle for posterity. Too much glue could easily cause yellowing on the surface.
Also, try to use the least amount of glue necessary for your jigsaw puzzle. Too much of it will cause the pieces to peel and swell as well. Use a foam brush or anything with a straight edge, like a credit card, to gently spread the glue on the puzzle pieces.
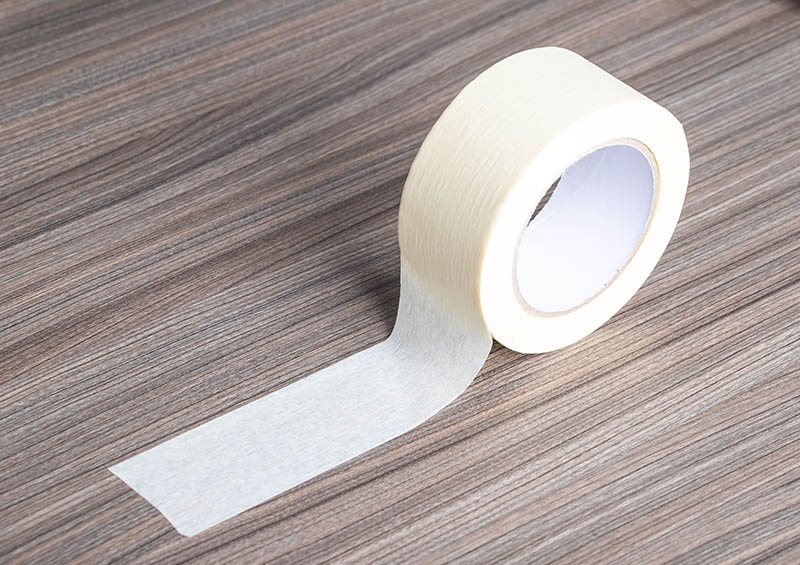
Use a Tape Backing
If you want to avoid issues such as warping or you don’t want to risk altering the appearance of your puzzle, another suitable option to keep the puzzle together is to use acid-free tape. With two pieces of sturdy poster board or cardboard, gently sandwich the finished puzzle and flip it over. Then apply the strips of the specially formulated adhesive tape across the back while creating overlaps to ensure that the pieces are secured into position.
Use a Wax Paper Backing
Sometimes the glue used to hold the puzzle together may not be adhesive enough to stand the test of time. You may need to reinforce it with an acid-free wax paper backing or a foam core backing. To use this method, simply apply the wax paper with the same glue as you initially used on the puzzle. Remember, the additional wax tape will increase your puzzle’s thickness, so you might want to revise your dimensions when shopping for a new frame.
4. Spread the Glue With a Silicone Squeegee
The silicone squeegee is one of the best tools to spread glue evenly on the surface of the puzzle pieces. If you don’t have this tool handy at home, you can use anything with a straight edge, like expired credit cards or business cards. If you use the standard brush with bristles, chances are high that you will leave unwanted stroke marks on your puzzle pieces. A foam brush would be a better alternative.
5. Frame the Puzzle With a Cardboard Box
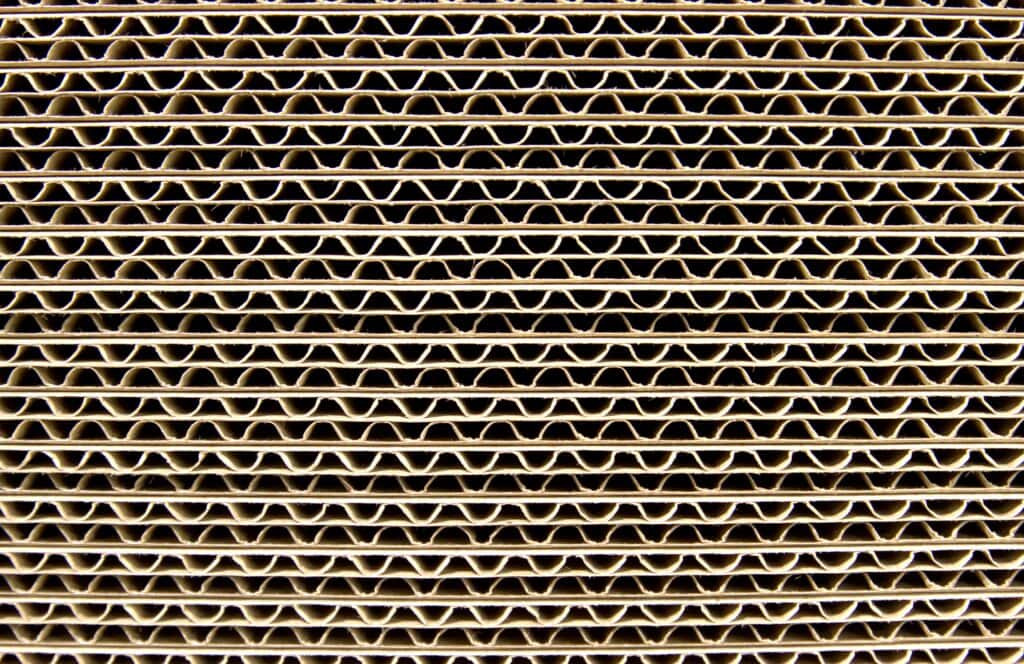
Did you know that you can frame a jigsaw puzzle without using any type of adhesive backing? Yes, indeed, you can. To do this, position a cardboard box on a flat surface and solve your jigsaw puzzle on it. After you have completed the puzzle, take the measurements and shop for the frame that would be a perfect fit for the puzzle. However, you must be extra cautious when sliding the puzzle into the frame because some pieces might fall off along the way.
6. Mount the Puzzle on a Foam Board Before Framing
After adding an adhesive backing, your jigsaw puzzle should be in one solid piece. You just need to mount the complete puzzle on a foam board before framing it. Sure, you might be tempted to skip this process, but your puzzle is likely to warp or fall apart after some time.
Before mounting your complete puzzle, you must choose a suitable frame first. Some frames are inset and can only cover parts of the outer area of the jigsaw puzzle if you don’t stretch the mounting board past the edges. If using this type of mounting board, ensure that you measure how far you would want to extend the board and the size of the board required.
7. Slide the Puzzle Into the Frame of Choice After Drying
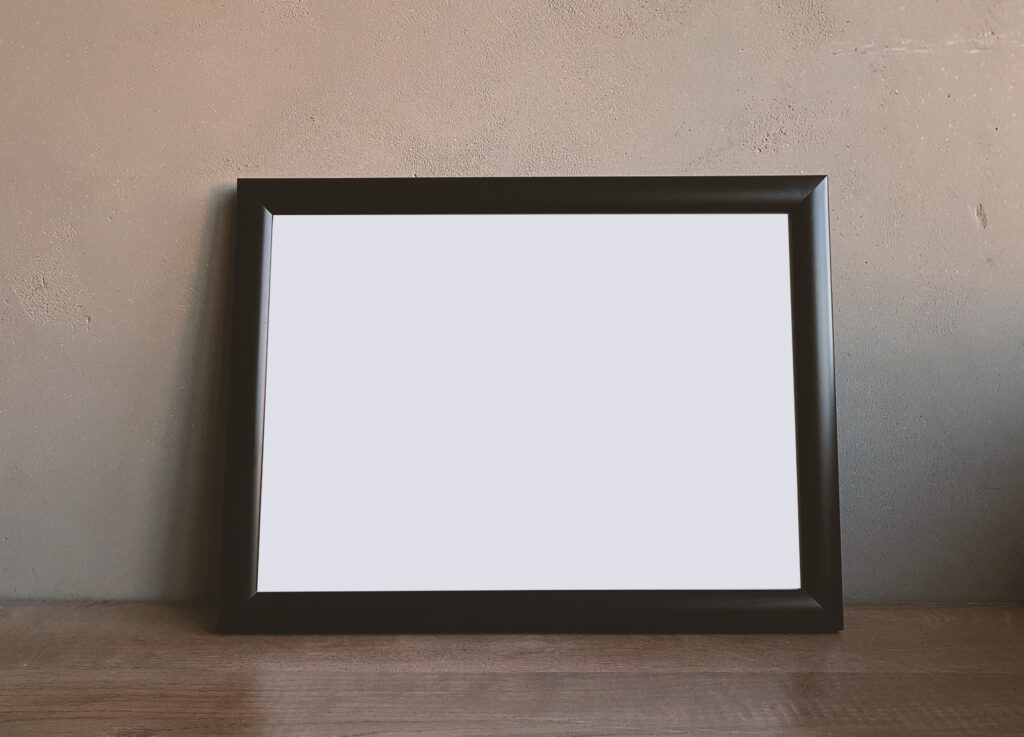
This is by far the easiest stage of the framing process. After letting the puzzle completely dry and sealed on the mounting board for 24 hours, you can carefully slide the jigsaw puzzle into your frame of choice. The type of frame you use depends entirely on your preference. However, patternless designs and simple material frames allow the puzzle to stand out. So, a typical wood or metal frame would suffice.
Experts recommend that you treat the puzzle as any other piece of art. So, you can consider matting or any other frame that helps complement the imagery1 of your puzzle. Once you have selected the appropriate frame, secure the backing using the instructions provided with the frame. You can then proceed to hang your framed puzzle, displaying it in your living room to appreciate your creation and flaunt your achievements.

Conclusion
Complete puzzles are a testament to the time and dedication put into solving them. Framing complete puzzles display your dexterity in sifting through and assembling hundreds, if not thousands, of little pieces. They can also make unique additions to a home’s home décor.
As you may have gathered by now, framing puzzles may seem like a daunting process, but once you have found the perfect frame and mounted it, you are ready to display it anywhere you want. We hope this guide has given you tips and ideas on how to frame your puzzle. Happy framing!
Featured Image Credit: Jumpstory
Contents
