

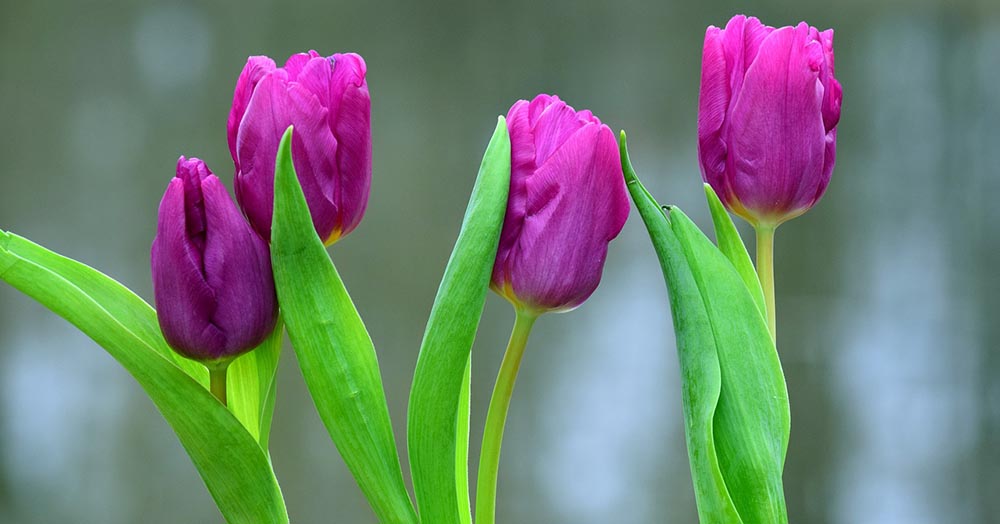
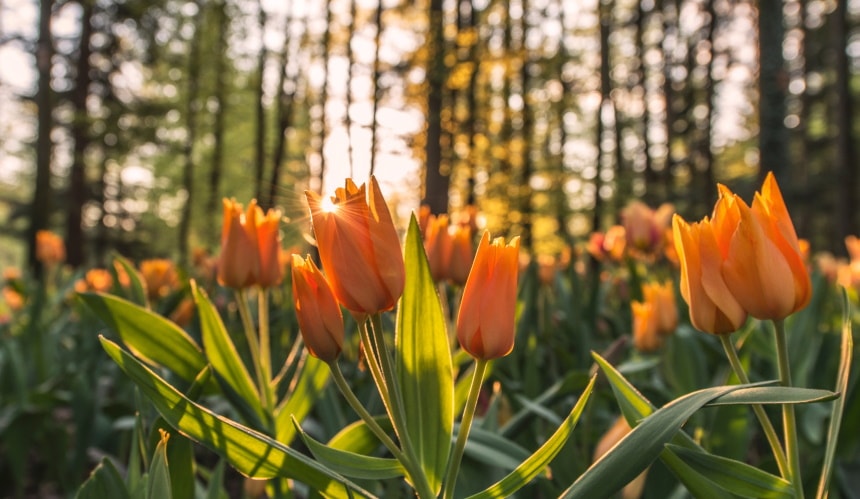
Tulips are a beloved springtime flower. People enjoy their colorful blooms and the unique shape of the flower itself. They are a popular feature around Easter and a symbol of fading winter and the imminent arrival of better and warmer weather. However, buying tulips during peak season can be expensive and difficult. The good news is that you can grow tulips indoors at home.
This comprehensive guide will give you step-by-step instructions on the best way to start tulips inside, tips to get them to sprout, and tricks to achieve nursery quality blooms from your own kitchen.

Preparation
Growing tulips indoors takes a little bit of patience and a lot of time. The key to getting great flowers to bloom in the spring is to start early and prepare properly.
- Tulip bulbs
- A cold place to store the bulbs
- A vase or pot
- Water
- Potting soil
- Several months
Starting tulips indoors will take 16 weeks, so plan ahead. Luckily, tulips do not need a lot of gardening experience or expertise to grow properly. Gather your materials in advance and prepare for a long wait. Following the next steps will give you the best chance of getting a great crop of vibrant flowers just in time for your favorite spring and summer events.
How to Grow Tulips Indoors (Step-by-Step Guide)
1. Obtain Tulip Bulbs

The first step is to obtain viable tulip bulbs. Many nurseries and local home improvement stores will carry tulip bulbs at certain times of the year. Some experts suggest finding the largest bulbs in the bunch for the best results.
Bulbs are often bought in sets. Buying a large number of bulbs can give you the best chance of success in the long run. Some nurseries sell sets that contain as many as 50 bulbs. The cost of a tulip bulb can run anywhere from $1 to $5. The more bulbs you acquire in advance, the better chance you have of getting the desired number of flowers in the end. There is always a chance that some bulbs won’t sprout or won’t be viable, so the more, the merrier.
2. Chill Bulbs

The next step is to chill your bulbs. Tulip bulbs need at least 12 weeks of cool temperatures in order to sprout. Tulip bulbs will need to stay chilled for 12 to 16 weeks. Many tulips start to sprout around 14 weeks.
Temperatures should remain in the 40s Fahrenheit, but the bulbs should not be subjected to freezing temperatures or frost. Freezing the bulbs could kill them, so do not keep them in a freezer. A refrigerator is an ideal place to store your bulbs.
An uninsulated garage is also a good spot to store bulbs in the winter as long as the garage does not freeze or frequently get above 50 degrees F during the winter. Bulbs should be stored in paper bags for the best results. Some gardeners plant their bulbs in loose, damp soil before chilling but pre-planting the bulbs will reduce their visibility which can hamper results.
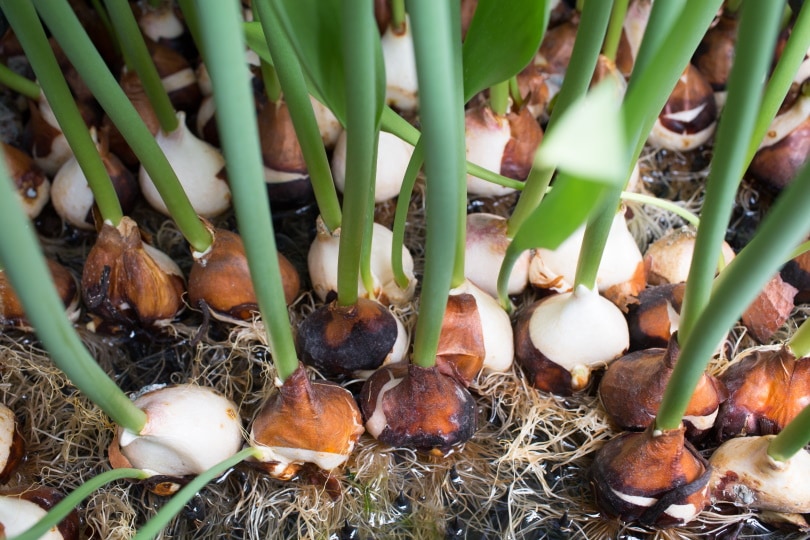
3. Wait For Bulbs To Sprout
After 12 weeks of cool temperatures, tulips will begin to sprout. After 12 weeks, it is a good idea to start checking on your bulbs so you do not miss when they sprout. Tulip bulbs will begin to send out small green shoots when they are ready to plant. Once your tulip bulbs sprout it is time to get ready to transfer them to their pots.
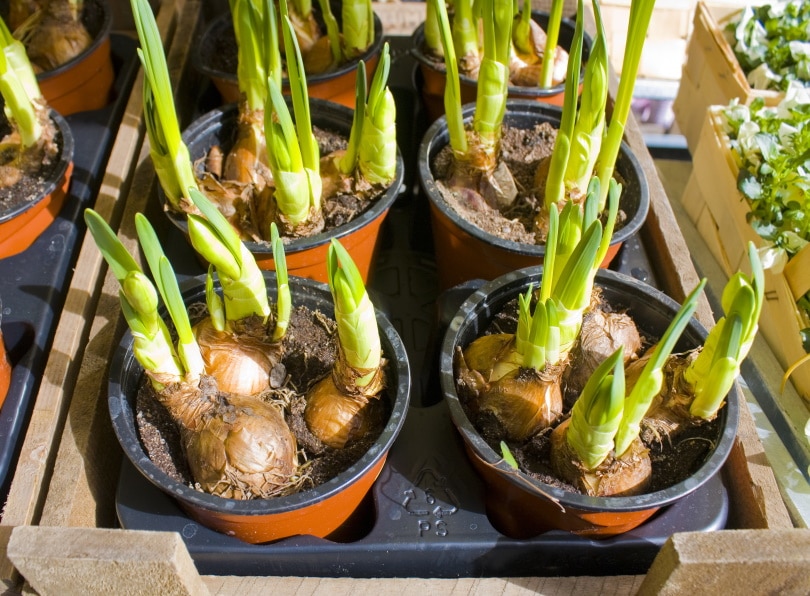
4. Plant Bulbs
Planting the bulbs is simple. Take your pot and fill it with potting soil leaving four inches from the top of the soil to the rim. Place the bulbs in the soil with the pointy ends facing upwards. Plant bulbs two inches apart from one another. Cover the rest of the bulb with soil and water. Make sure your pots have good drainage and do not water too heavily.
Until the bulbs sprout leaves, it is a good idea to leave the plants in a cool dark place. After the first leaves appear, move the pots to a brightly lit room, ideally in direct sunlight. Water the flowers about once a week, just enough to keep the soil damp but do not overwater the tulips.
5. Wait For The Flowers To Bloom
After the bulbs have sprouted and are planted, the tulips should take two to three weeks to bloom. Larger bulbs should produce larger flowers, so if you start with the biggest bulbs, you could find you should have large, beautiful flowers to enjoy. Keep the flowers in direct sunlight and continue to keep them watered while they are blooming.
6. Optional: Transfer Tulips to The Garden
Some people enjoy having tulips indoors full-time, but some people like to transfer the tulips to an outdoor garden. If the weather is no longer at risk of freezing, then tulips will be happy in your outdoor garden bed.
Carefully remove the soil and the roots from your pot and put them in a shallow hole in your garden bed, and fill them with soil—water the flowers so that they are in damp soil that is even and uniform.
The tulips should bloom until early summer when the flowers start to wilt and drop before the plant itself yellows and fades. This is a normal process in the tulip life cycle.
What Does “Forcing” Tulips Mean?
You will often hear the term “forcing” when referring to starting tulips indoors. The term forcing is an official term for chilling bulbs and “forcing” them to sprout indoors. The terms forcing, chilling, and starting tulips are all interchangeable. The term comes from the fact that you are recreating natural conditions that a tulip bulb would have experienced on its own in the wild and forcing the bulb to sprout in your time frame rather than a natural time frame. Forcing tulips does not hurt the plant or affect it in any adverse way.
Getting Your Own Tulip Bulbs
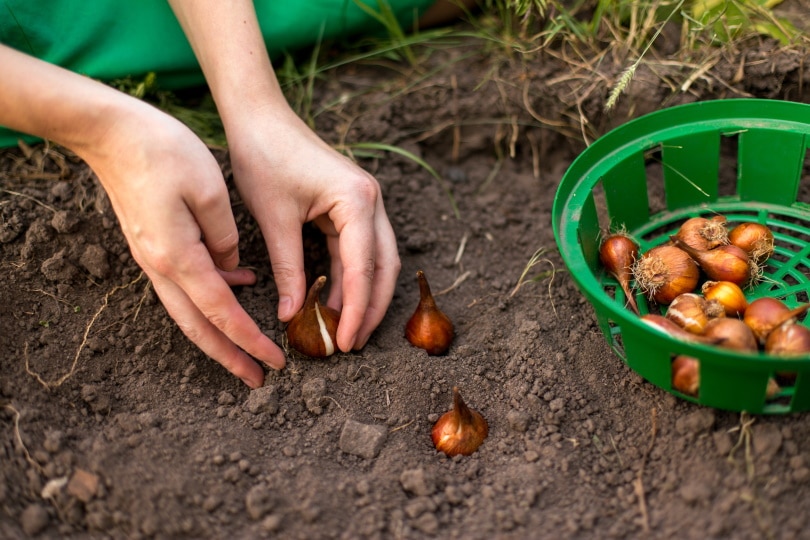
Once you get one healthy crop of tulips, you can harvest your own bulbs for the following year. This will prevent you from having to buy fresh tulips year after year. After a tulip is done blooming, the plant will gradually die. Once the flowers are gone and the leaves have browned, you can dig up your tulip and find a fresh bulb under the soil.
Carefully dig up the flower. If your tulips are in a pot, you can gently dump out the soil and sift through until you find the bulb.
Next, take the bulbs and put them in a box filled with loose sand or peat. Store the box in a warm dark area. The bulbs should be stored until autumn when they are ready to be chilled.
This process recreates the conditions that tulip bulbs experience in the wild.
Successfully digging up the bulbs, curing them, and then chilling them will give you a fresh crop of viable tulips for the next year without having to spend any more money.

When to Start Growing Tulips
Tulips bloom in the spring, so circle any date in spring that you want to see your flowers bloom and then work backward 16 weeks. If you wanted to ensure you had beautiful Easter blooms, you would want to start chilling your bulbs around late December. Chilling your bulbs in mid-January will give you a blooming period of late April to early May.
You can start chilling bulbs at any point during the autumn months. Areas where the winters are colder will likely prompt later start times than places where the winter and spring are milder. People living in the upper Midwest might not want to start chilling their bulbs until after the new year, while people living in Florida might want to start chilling their bulbs around Thanksgiving.
Tulips cannot freeze, so your window should aim for a time after the final frost or freeze of the season. Tulips living entirely indoors have a little bit more leeway than tulips that are going to be transferred outside.
The USDA keeps growing maps with different zones that time out the best times to plant flowers like tulips.
Best Pots to Plant Tulips In
Tulips can be planted in a variety of different containers. The best tulip pots have wide bases with good drainage. Some tulips can grow very tall with heavy flowers, so you do not want to plant tulips in light or skinny pots because it could cause them to tip over when they are in full bloom.
Tulips also do well in vases as long as you do not plant too many in the vase. Again, you want to make sure the vase is weighted and balanced properly to avoid any tipping mishaps.
Tulips can also be grown directly in water with no soil. This is a unique way to grow tulips that some people really enjoy. Clear vases that show the bulb and root structures are very popular with some people looking for a natural aesthetic.
Water and Sunlight Requirements
Tulips require a lot of sunlight and very little water. Tulips should be kept in brightly lit rooms with full sun. Tulips thrive when exposed to six to eight hours of sunlight per day. Eight hours of sunlight is the preferred amount of sun for tulips.
Tulips kept in pots inside should be watered enough to keep the soil moist. Check the soil moisture every few days to ensure that it is not dry. Most tulips will only need a light watering once a week to be happy. Overwatering a tulip can drown the plant. Tulips planted outside will need no additional watering except in cases of drought. Outdoor tulips should get enough water naturally from the environment, and watering them will drown the root and the developing bulb.
Conclusion
With a little bit of planning and some patience, you can get beautiful tulips exactly when you want them. Springtime will bring gorgeous, colorful tulips to your windowsill. These tips will help you keep your tulips happy and healthy for the whole season. This guide can even help you start your tulips again for next year without having to go back to the store, ensuring you can have your favorite flowers in bloom year after year without breaking the bank.
Featured Image Credit: Pixabay
Contents
