

If you have a working area such as a garage or a workshop, you probably lack proper storage for your ladder or other equipment. Hanging your ladder to access some useful extra space can be done quickly and easily once you have all the necessary tools.
If you are looking for a space-efficient way to store your ladder while making it easily accessible simultaneously, then make sure to read the rest of this article.
 Before You Start
 Before You Start
Before starting any project, collecting all the tools and materials you may need is always a good idea, so your DIY project will go smoothly without any interruptions. This project will require only the essential tools and can be done in a few hours with little to no prior experience.
- Pencil
- Tape measure
- Stud finder
- Drill
- Step ladder
- Screws
- Ceiling hook
- Two corner braces
- Two 16” L x 2” W x 4” H lumber
- One 18” L x 2” W x 4” H lumber

The 5 Steps to Hang a Ladder from the Ceiling
1. Cut the Wood to Length
Once you acquire lumber that is about 2 inches wide and 4 inches high, you will need to cut three pieces to create the frame that will hold your ladder on the ceiling. The first piece needs to be 18 inches long and will be the bottom part of the frame. The two pieces which connect the bottom portion to the ceiling need to be 16 inches long. To cut the wood to length, you will need a tape measure, a pencil, and a circular saw (or a hand saw).
2. Assemble the Frame
Once you cut all the pieces to size, it is time to give your frame the final shape. Assemble the boards, with the 18-inch board lying down as the part which will hold the ladder. Using the screws and a drill, attach the two 16-inch pieces perpendicular to the longer piece. The shape of this structure should be a frame with three sides and the fourth side being the ceiling. Pair the two braces on the corners between the 16-inch piece and the ceiling. Attach them with a drill so that they are facing the ceiling.
3. Attach the Frame to the Ceiling
The braces will be the main thing holding together the frame and the ceiling. Before making any holes, use a stud finder to locate any joists in the ceiling. When you find the joist, attach the frame to it to create a firm bond. Screw the braces to the ceiling as tightly as possible. The first and most important part of your ladder holder is finished.
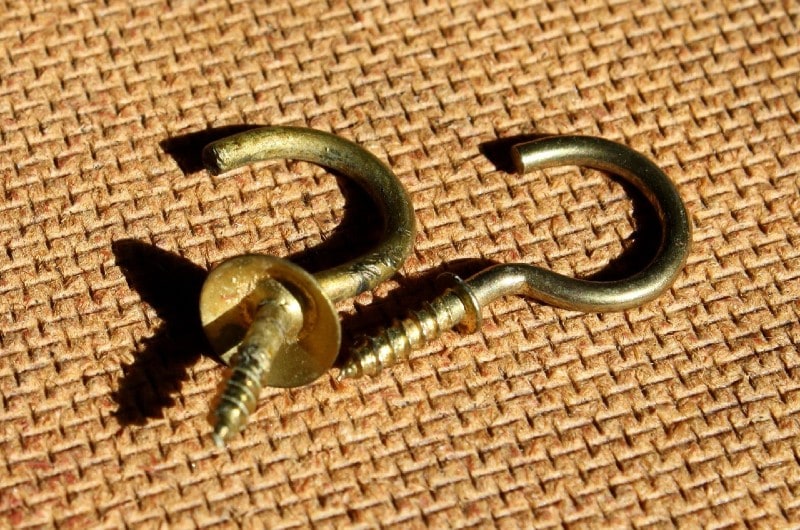
4. Install the Ceiling Hook
The second part of your ladder holder is the hook which will hold the other part of the ladder. Before installing any ceiling hooks, measuring the length of your ladder is necessary to determine the ideal position of the hook. One rule of thumb is that the distance between the frame and the hook needs to be around 12 inches shorter than the total length of the ladder. Find another parallel joist with a stud finder, and mark this position for installing the ceiling hooks.
5. Hang Your Ladder
After finding the ideal position of the ceiling hook, all that is left is to drill a hole and install the hook. Try out your new hanging system by hanging your ladder for the first time. Hanging the ladder should be done by first sliding it into the wooden frame and then mounting it on the hook.
Final Thoughts
If you enjoy crafts and DIY projects, you will surely enjoy this valuable and easy tutorial on hanging your ladder on the ceiling. Once you gather all the necessary tools and materials, you can complete this project in less than an hour. Happy DIYing!
Featured Image Credit: Malikov Aleksandr, Shutterstock
Contents
