
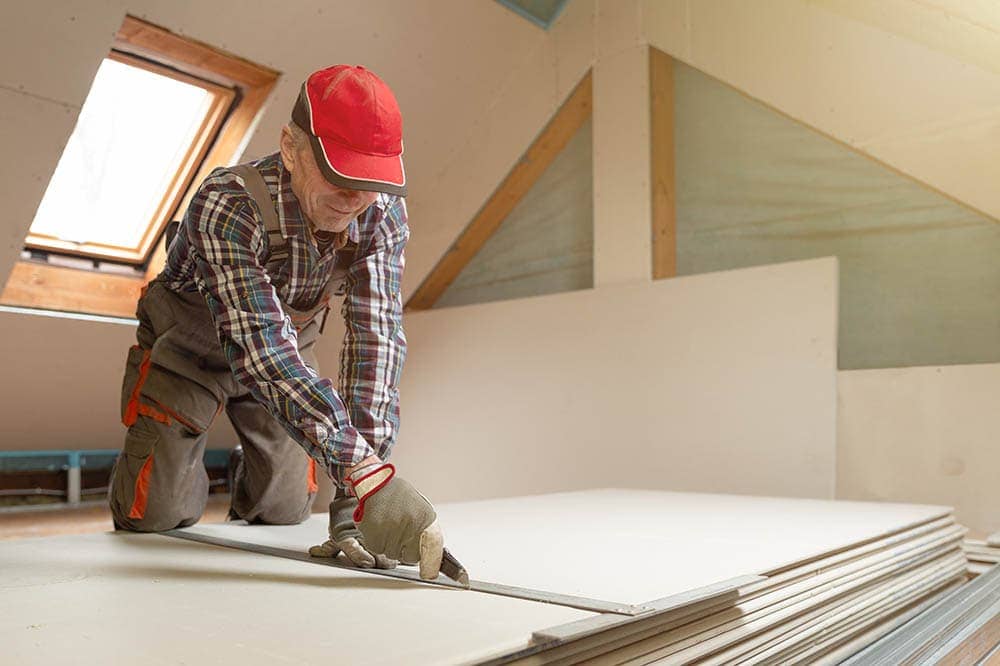
Drywall is a construction material used worldwide due to its affordability and easy installation. Another thing that makes drywall so appealing is that you can install it yourself with little effort. Hanging drywall is an excellent DIY project which will allow you to improve the look of your home and create new spaces within it easily and quickly.
Even if you make a mistake, it won’t cost a fortune, but knowing what to do to hang drywall like a professional is still beneficial.
So, how should you hang drywall? Keep reading to learn expert tips that will teach you how to hang drywall like a pro.

The 5 Expert Tips for Hanging Drywall
1. Plan Ahead and Make Measurements
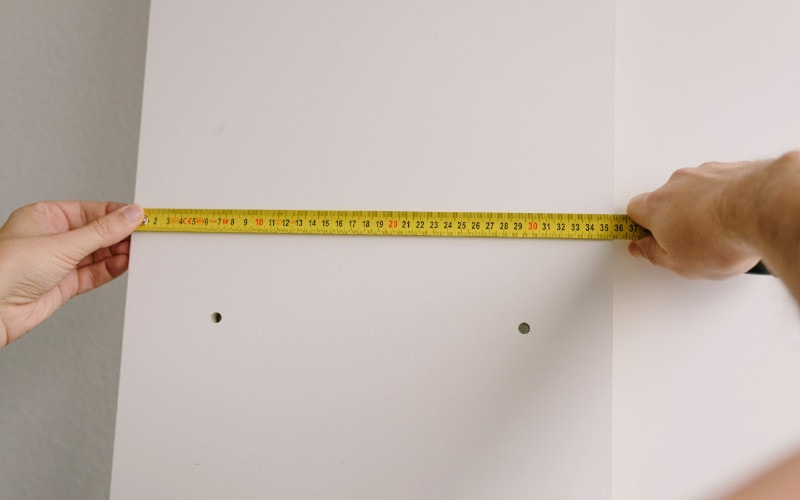
Planning ahead will allow you to easily hang the drywall. Before you gather all the required tools and materials, you must work out how much drywall you need, so you’ll need to measure the room where you’ll hang the drywall.
- If you plan to use 3 x 8 sheets, measure the square footage of the room and divide it by 32.
- If you plan to use 4 x 12 sheets, measure the square footage of the room and divide it by 48.
2. Gather All the Required Tools and Materials

To successfully hang drywall, you need to have the necessary tools and materials, including:
- Tape measure
- Drill
- Drywall saw
- Jab saw
- Drywall screw gun
- Level
- Utility knife
- Drywall square
- Screwdriver
- Drywall boards
- Drywall tape
- Drywall screws
- Drywall nails
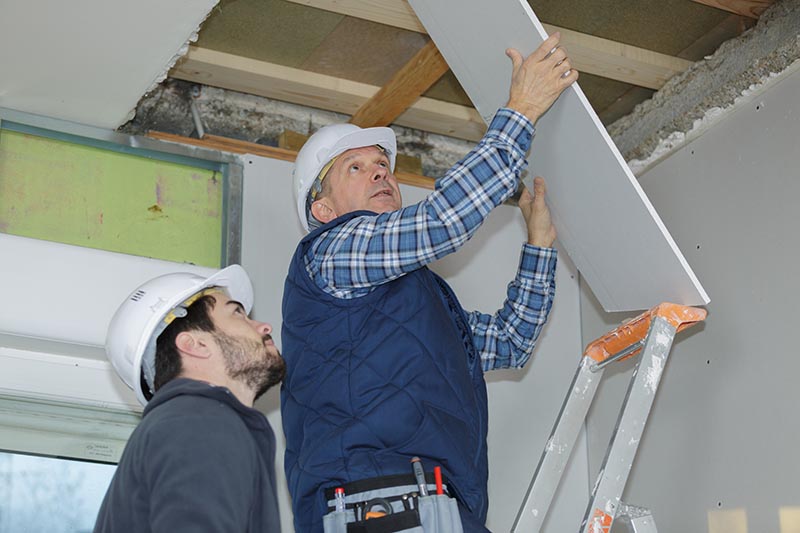
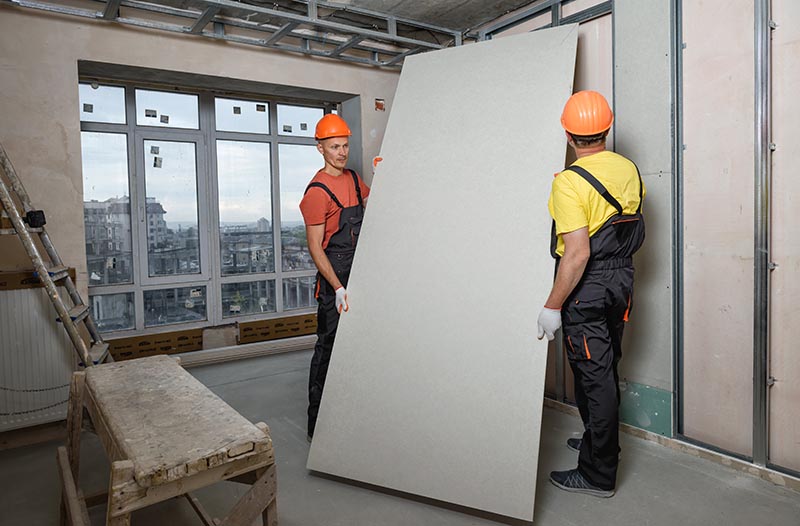
By having all of these tools and materials, your drywall hanging job will flow far more smoothly. The installation is pretty simple, but as the drywall boards can be heavy, it’s not a one-man job. You’ll probably need a hand to lift the boards and adequately hang them on the walls.
3. Prep the Ceiling and Hang the Drywall
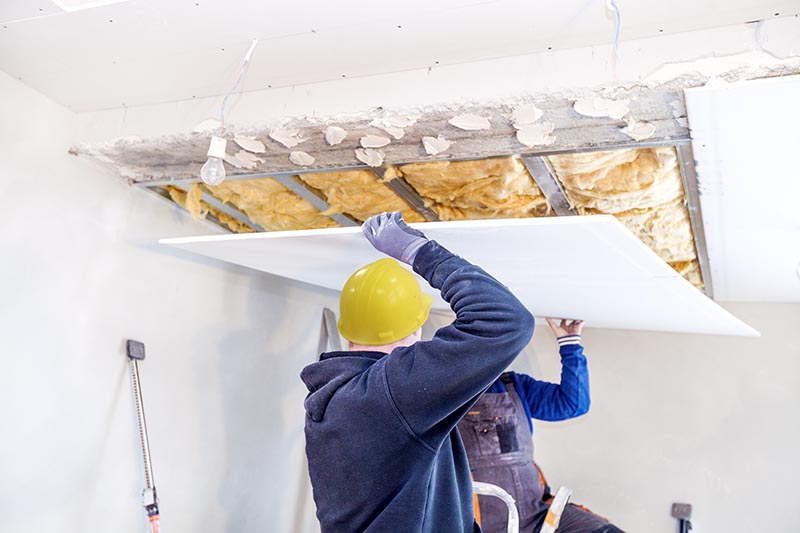
It’s best to start from the ceiling and work your way toward the walls. Before placing the drywall onto the ceiling, make your measurements and mark where the drywall will fit.
Here are some tips on how to measure and cut drywall for your ceiling:
- Measure the ceiling from a corner that makes a 90° angle with the wall joists.
- If you have a drywall board that can’t cover the whole ceiling, it has to end at the joist’s middle.
- To know the precise location for placing your drywall screws, mark spots where the wall on the top plate and the joists intersect.
Once your ceiling is ready, it’s time to hang the drywall, which you can do by following these tips:
- Have someone help you to place the drywall board against the ceiling’s top corner. One end of the drywall should be tight with the wall, while the edges must be perpendicular to the joists.
- Secure the board in place.
- Place five drywall screws in a line that spreads across the board’s middle.
- Keep the screws in line and drive them deep enough into the drywall.
- Install five screws at each joist that the drywall touches, keeping them in a straight line.
- Keep driving the screws in new rows while keeping them a few feet away from the original row.
4. Prep the Walls
When you finish covering the ceiling, it’s time to hang drywall on your walls. The first step would be to measure your boards, which you can do by following these tips:
- Measure the width of the wall and cut your boards to be a ¼ inch shorter than the measurement you make.
- Place the board in position, ensuring it fits tightly with the ceiling.
- Use a drywall square and a utility knife to make marks.
- Snap off any excess material.
Once you finish measuring, it’s time to hang the drywall on your walls. Follow these tips for successful installation:
- Before you hang the drywall, ensure that the first board ends in the middle of a stud.
- Place your drywall board against the studs, fitting one edge against the adjacent wall while placing the other edge next to the ceiling.
- Use drywall screws to secure the board at the center.
- Install more screws to keep the drywall in place, working from the middle towards the outwards.
- Ensure you drive the screws evenly and adequately space them apart.
- Hang the drywall horizontally to make the installation easier and reduce the adhesive you might need.
5. Make Cuttings for Doors, Windows, and Power Outlets
You’ll need to make cuttings for doors, windows, and power outlets. The cutting process may vary depending on whether you already have windows and doors installed.
How you make the window cuttings will vary based on whether the window is already installed. Here’s what you should know:
- The window is installed — If the window is already installed, remove the trim that goes around it and make a cutting in your drywall panel before you hang it. Make measurements for the window and cut the opening before screwing the panel in place.
- The window is not installed — If the window is not installed, cover the window opening with a drywall board and place a few screws to know where the future window corners will go. Puncture a hole in the middle of where the window should be and cut vertically until you get to the edges.
- Remove the trim around your door.
- Place the drywall onto the door opening and make markings of the stud placements.
- Draw a line that will represent the top door opening.
- Cut the door opening and screw the drywall panels in place.
- Measure and mark the height from the floor to the outlet.
- Turn off the electricity.
- Screw in drywall studs that will cover the electrical outlet.
- Use a jab saw to cut openings for each outlet you have.

Additional Tips
Before you hang drywall like a pro, there are a few additional tips that may come in handy:
- When storing drywall boards, keep them flat to prevent possible damage.
- When cutting the boards, ensure you’re doing it properly and carefully.
- If needed, measure everything multiple times to avoid mistakes.
- Ensure you screw the fasteners at a proper depth.
- Whenever possible, trim the drywall in place.
- Mark the window, door, and outlet openings, as well as the places for light fixtures, before you hang the drywall.
- If you don’t have a drywall lift, get someone to help you with the heavy boards.
Final Thoughts
Hanging drywall may seem like a hard task, but the whole process is relatively straightforward if you know what to do. Carefully check out the tips in our article and try to hang drywall yourself, but if it seems overwhelming, hiring a professional may be the best option.
Featured Image Credit: ALPA PROD, Shutterstock
Contents
