

Creating a gallery wall can be a great way to display your favorite works of art or your happiest photo memories. They can also be laid out in various ways to suit your home aesthetic and add an eye-catching space to your living room or entranceway.
The idea may seem easy when you imagine it, but when you are faced with all your pictures and an empty wall, it may suddenly become overwhelming and confusing, but we are here to help!
Whether you are hanging artwork or photos, we have put together some tips to help you design your gallery.
Click on the topic you would like to review first:
- Before Your Start
- How to Hang a Gallery Wall
- Gallery Wall Design Tips
- How to Hang Wall Art Without Nails

Before Your Start
First, and above all else, don’t panic! Before you start hanging your gallery wall, it’s important to remember that it doesn’t need to be perfect. Most of the time, the flaws you notice are only obvious to your critical eye. The variation and seemingly imperfect wall design give it a more relaxed and natural feel.
Gather Your Supplies
Before you begin, Gather all of your gallery pieces and supplies. You may need the following:
- Your gallery art pieces
- Roll of paper
- Pencil
- Painter’s tape
- Scissors
- Measuring tape or ruler
- Level
- Screws or nails
- Anchors
- Hammer
- Drill
The 11 Tips on How to Hang a Gallery Wall
1. Gather Your Art
Start by collecting the paintings or photographs that you would like to display in your gallery. The pieces do not need to match, but they should complement each other and create harmony. If you have high ceilings, you can use larger items that will fill more of your wall.
2. Prep the Wall
The wall may need a new coat of paint or a good cleaning. Remove any old nails or screws and fill the holes so that you have a fresh canvas to design your gallery. If you have furniture in front of the wall, it may help to move it out of the way while you figure out your design.
Think about the color of the wall and how it will complement your overall design. White frames can blend in with a white wall or lighter color, or maybe you want a dark color to add some contrast.
3. Make Templates
The most challenging part of hanging a gallery wall is deciding where to hang the pictures. It’s essential to have it well-planned before you start nailing holes in the wall. Start by making templates with inexpensive paper or cardboard; you can trace around the frame and mark the hanger placement with an X. You can then cut them out and label each art piece or picture to avoid confusion about which template corresponds to which image.

4. Lay Out the Templates
Start laying the templates on the wall, starting with the largest one at eye level. If you’re making your gallery wall on an empty wall, aim for the center of your entire arrangement to hang about 57 inches above the floor. Design the rest of the templates around that piece, leaving an even gap between each one.
Your ceiling height and furniture may also determine how high to hang your pieces. You will need to adjust the size if you are hanging a gallery above a sofa or large piece of furniture. Plan for the bottom of your lowest frame to hang 7–10 inches above the top of your furniture. After you’ve decided where and how high to hang your art, rearrange your templates until you find a design you like.
It may be helpful to arrange your templates on the floor first, then tape them to the wall in the same order.
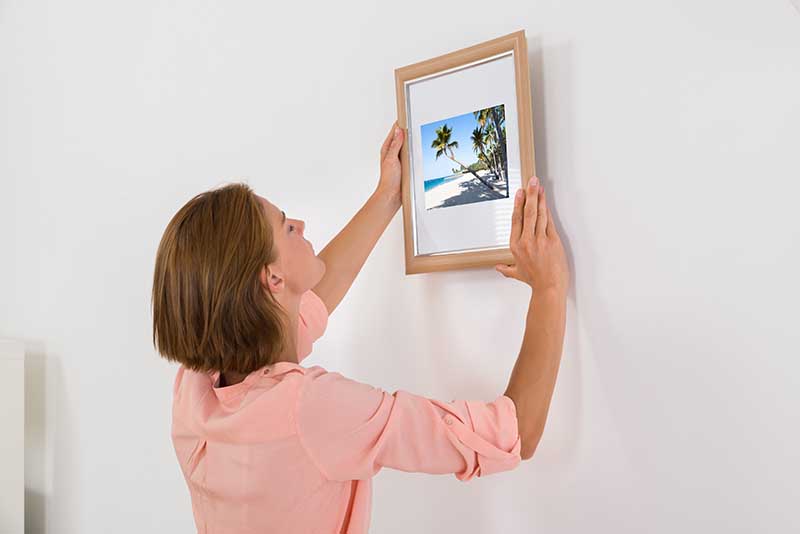
5. Replace Templates with Art
Once you have decided on your final layout, you can hammer a nail through the X where you marked each template. Use anchors for heavy items and nails for lighter items. One by one, remove the templates and replace them with their corresponding painting or photo.
Once you have hung all your frames, take a step back before straightening and leveling them. Make sure you are satisfied with the layout and go back to your wall to level them out. Take a final step back and admire your gallery!
Gallery Wall Design Tips
6. Wall Color
White walls are a great color choice for a gallery wall. They provide a sense of space and do not compete with the colors in the art or photos. It’s kind of like a clean canvas to display your pieces.
However, color can work well too, depending on the style you want, the images you want to display, and the frames. If your art or photos have a large amount of white or light colors, a darker color could help it stand out. If you have a collection of prints in a similar tone, you can choose a softer, paler version of that color for the wall. For example, if the images you are displaying are mostly shades of green, use the lightest shade of green for the color of your walls.
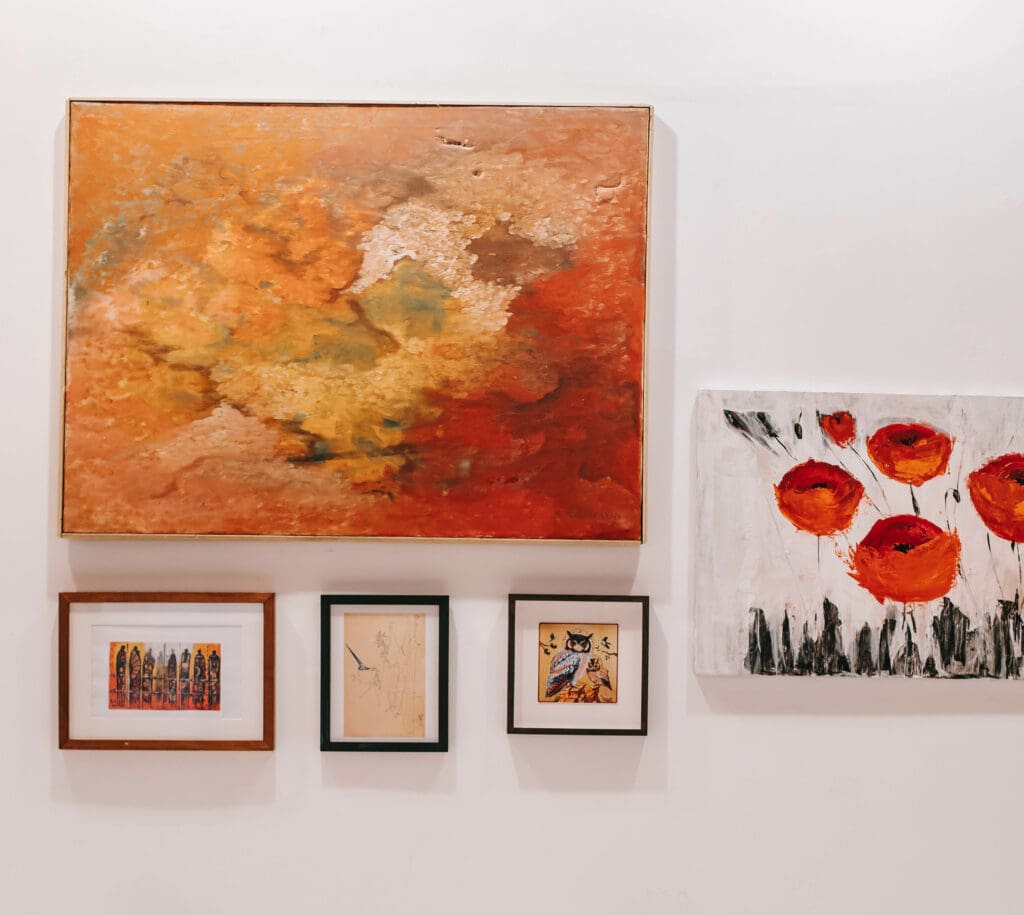
7. Choose a Hero Piece
A hero piece is like a centerpiece that immediately catches the eye and creates the base for which your gallery is designed. It is usually the largest piece, but depending on what you choose to display in your gallery, it could be the brightest, most engaging, or unique compared to the rest of your pieces.
8. Consider Adding Mirrors
Consider incorporating mirrors into your gallery. They make the space appear larger, and the artwork looks more engaging.
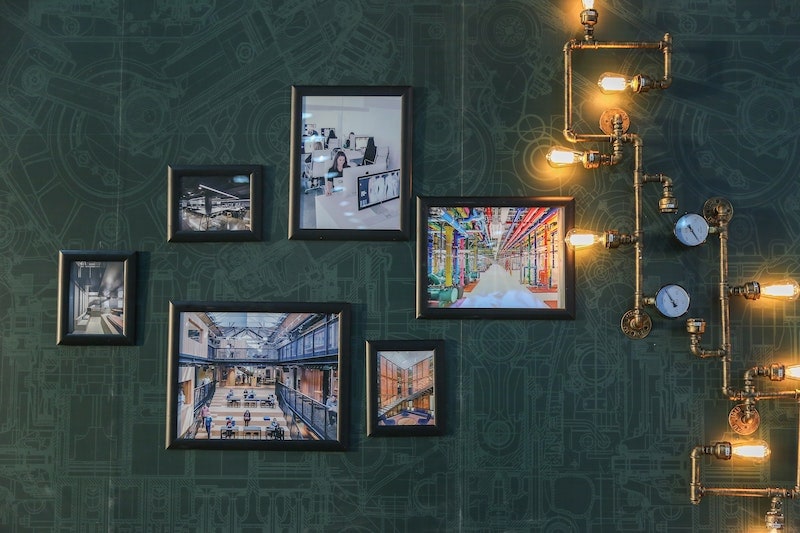
9. Choose Mismatched Frames
The great thing about being creative is that you can break the rules, so to speak. You can opt for mismatching frames for a more eclectic and unique look. This can help you save money on buying new frames.
10. Leave Some Pieces Unframed
Frames can be expensive, so if you want your gallery to stand out from the usual look, consider mixing frames or leaving some pieces, like canvases, unframed. The different textures can be eye-catching and help other works stand out.
11. Try a Corner Gallery
If you don’t have a large wall space available, the corner of a room can provide an excellent space for a gallery. It does not have to the entire wall but can be a collection at eye level that carries from one wall to the next, creating movement and flow.
How to Hang Wall Art Without Nails
While a gallery of art or family photos can make it feel homier and more personal when you’re renting your property, the fear of causing damage and having to repair holes when you leave may leave you with bare walls. Some landlords have rules prohibiting renters from drilling or hammering into the walls.
- Use adhesive command strips for lighter items, such as smaller frames. They come in various sizes to support different weights, and you can use multiple pieces on a frame to add extra support.
- Command hooks are available in sizes that can support up to 7.5 pounds and are ideal for heavier pieces of art.
Conclusion
Creating a gallery wall doesn’t have to be a daunting experience. These tips are a surefire way to help you make your dream gallery at home with minimal mistakes or regret. Don’t be afraid to get creative but take your time and ensure you are confident about the layout before hammering nails or painting walls. If you are apprehensive about using nails, command strips and hooks can do the trick too!
Featured Image Credit: Kate Kraverska, Pixabay
Contents
