
Painting is an easy way to transform any space, add character, and make it feel fresh, and can be a fun process that the whole family can join in on. Painting might seem like a hard thing to do, but the truth is that painting is not very difficult. It’s always easier if you have some tips and tricks up your sleeve, and that’s why we’re here.
Below, you’ll find a step-by-step guide for how to paint rooms and walls. This article will help you overcome obstacles people encounter when painting rooms and walls and do the job quicker and more efficiently.

How to Paint Rooms and Walls (16 Steps)
1. Make a plan
Making a plan before you start painting will help you be better organized and boost your productivity. First of all, decide which rooms and walls you will paint. Once you’ve chosen where the paint will go, think about what you want to achieve once you finish the project.
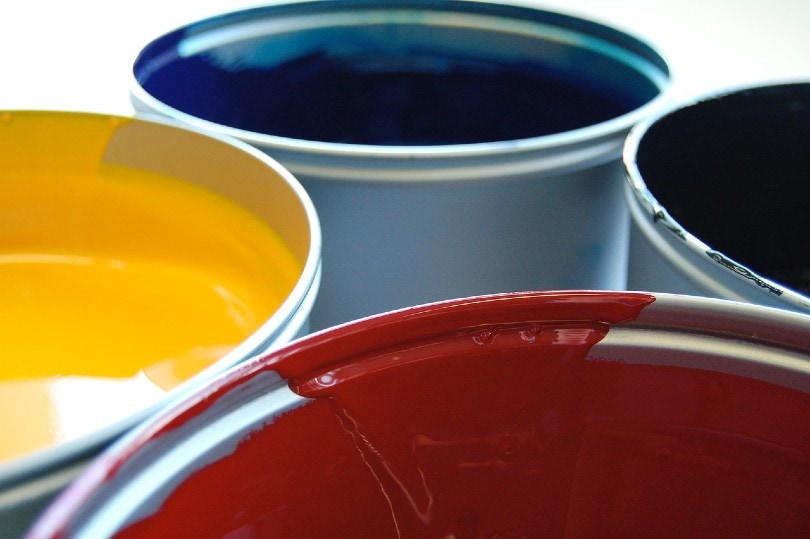
2. Choose a color
The next big step is deciding the color of the walls. You can consider some of the new trends on the market like choosing bright, bold colors, or you can go for lighter, natural shades that add coziness to the room. You can play with colors, or mix different shades to achieve the look you want. Accent walls are making a comeback, so that might be another creative idea for your home. Paint stores will provide you with samples you pre-order so that you can try them out. That should give you a better sense of how the color fits the room.
3. Choose a finish
After choosing the color, you need to select a finish for the walls. Depending on which finish you choose, the wall will have a different look in the end. There are five different finishes you can choose from:
Matte finish
Matte finish is non-reflective and absorbs light. It’s suitable for low-traffic rooms, like bedrooms. You can also use a matte finish on any uneven walls to cover imperfections. It might not be the best option for families with kids and pets because you’ll need to re-paint the whole area if one part of the paint gets damaged.
Satin finish
Satin finish has a slight sheen and can withstand dirt and dust, which makes it easy to clean. That’s why it’s great for areas like the kitchen, living room, entryway, or any other high-traffic place in your home.
Semi-gloss finish
Semi-gloss finish has gloss and is reflective, so it’s easy to maintain. Still, applying a semi-gloss finish to a wall can be tricky. If not applied correctly, it can show all the imperfections on your wall. It might be wise to contact a professional painter for painting rooms with a semi-gloss finish.
Gloss finish
Gloss finish is the shiniest and the most reflective paint finish. It’s resistant to dirt and stains, making it perfect for kitchens and bathrooms. You can also use a gloss finish for cabinetry, doors, or trims.
Eggshell finish
An eggshell finish has a low, light sheen that appears soft, resembling an actual eggshell. It slightly reflects light, and due to its glossy effect, it handles dirt better than a matte finish. It’s an excellent option for entryway, hallway, or living room areas.
4. Materials and tools
Gather the tools and materials you will use during the project. Here is a list of the most commonly used tools and materials for painting:
- Paint
- Finish
- Paint roller
- Roller tray
- Bucket
- Extension pole for the paint roller
- Masking paper
- Paintbrush
- Sponge
- Paint stir sticks
- Tape
- Primer
- Stepladder
- Sandpaper
- Putty knife
- Drop cloths
5. Determine the amount of paint you’ll need
To determine the amount of paint you need you can follow a simple math trick that will give you an estimate. Begin by adding together the length of all walls that you will paint. Once you have that written down, measure the height of the walls, from the floor to the ceiling. Multiply the length of walls with the height you measured. That way, you will calculate the square footage of the area that you plan to paint. To finish, divide the number by the approximate paint coverage from one gallon of paint (around 400 square feet per gallon) giving you the number of gallons of paint you need for painting. If you need to do a second coat, buy double to have enough for the whole job.
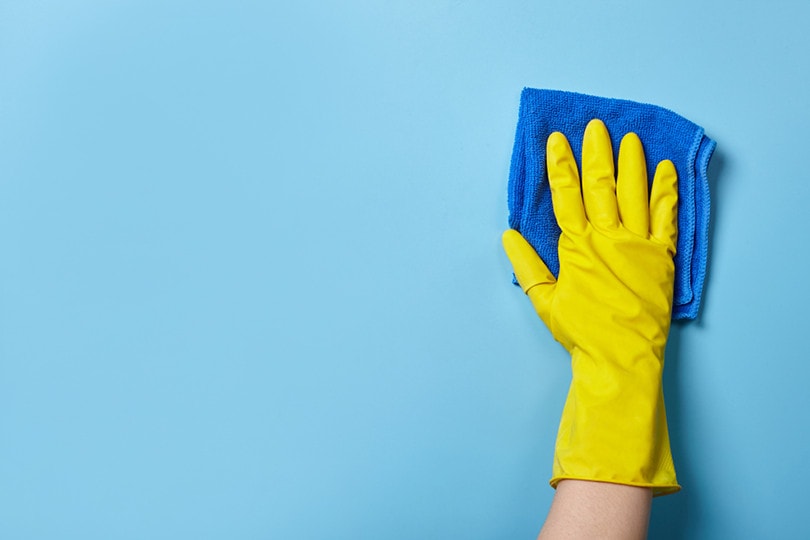
6. Protect furniture and floors
You should protect furniture and floors to avoid getting dirty or damaged while painting. To protect the floors from spills and splashes, you can tape down masking paper. For furniture protection, use a drop cloth to cover all furniture pieces in the room.
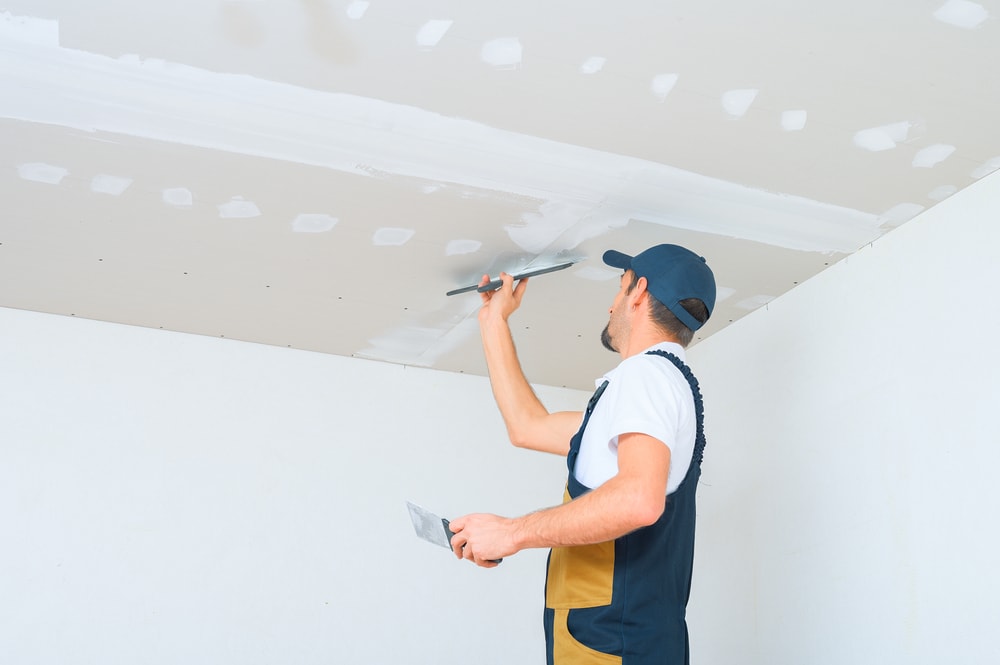
7. Prep the trim and the walls
The walls and the trim should be prepped before you start painting. It’s good to wash the wall before painting. You should remove any nails and smoothen out bumps and nail pops on the wall. Afterward, use sandpaper to smoothen all patches. Once you have that figured out, don’t forget to apply primer to the walls before painting.
8. Mix the paint
Mix the paint with a wooden stir, and make sure you do that often while painting. If the paint is not stirred frequently, its ingredients can separate and jeopardize the color. If you need a couple of gallons of paint, you can combine them in one bucket to avoid color variations.
9. Choose your method
You should choose a method or a strategy that you will follow through the process. Are you going to paint from top to bottom? Should you paint the middle first, or should you do the edges? These are the questions you should ask yourself before beginning. There’s no right or wrong way, so just choose something that seems convenient to you. It’s essential to be careful and take one wall at a time for the best possible results.
10. Paint the ceiling first
Our suggestion is to paint the ceiling first to avoid splashes and stains on the walls. You can use a roller brush attached to an extension pole to do this. Paint the edges along with the room first. After that, paint it from one end of the room to the other, and make sure you do it in the same direction. If you need a second coat, paint it in the opposite direction from the first one.
11. Paint the trim
Once you have finished painting the ceiling, paint the trim. It will make painting much more manageable. After all, you can get messy because you’ll do the walls later. You can reverse and paint the wall first if the trim isn’t wide enough to hold the tape. Let the paint dry before you apply tape to do the next section in each case.
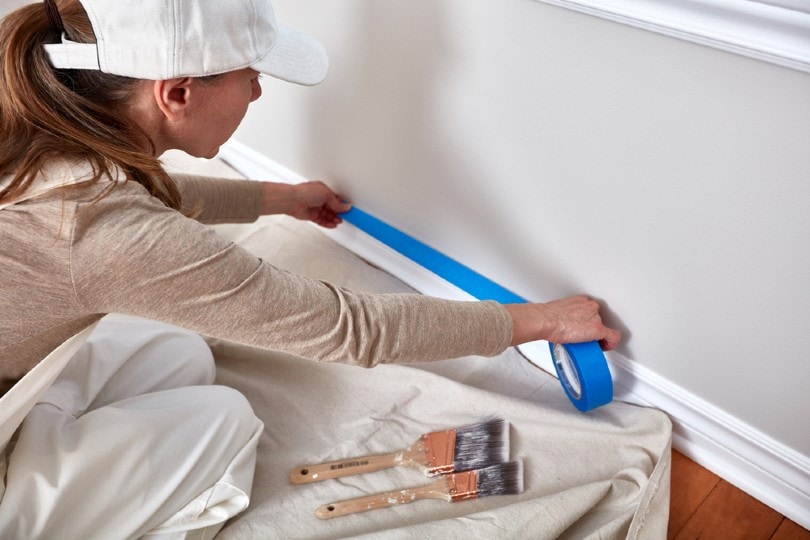
12. Tape the edges
If you’ve done the trim first, it’s time to proceed to wall painting. Take a painter’s tape and cover all trim edges, wall to wall. You should tape the trim edges to avoid marks and stains. Also, do that with the edges of the ceiling. Once you finish, you will have a clean line between the spaces.
13. Paint the wall edges
Paint the wall edges first, and do one wall at a time. If you cut in the borders, they will blend in much better with the rest of the wall paint. So, do the edging first and then roll out the rest of the wall while the edges are still wet
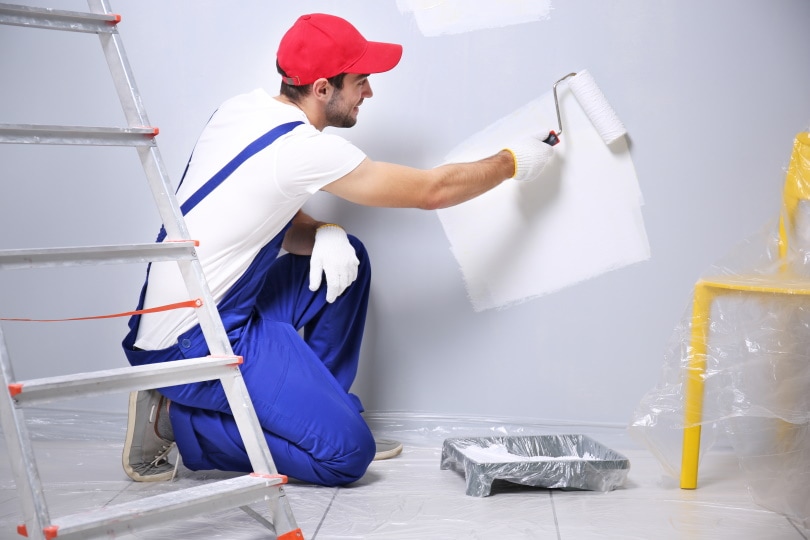
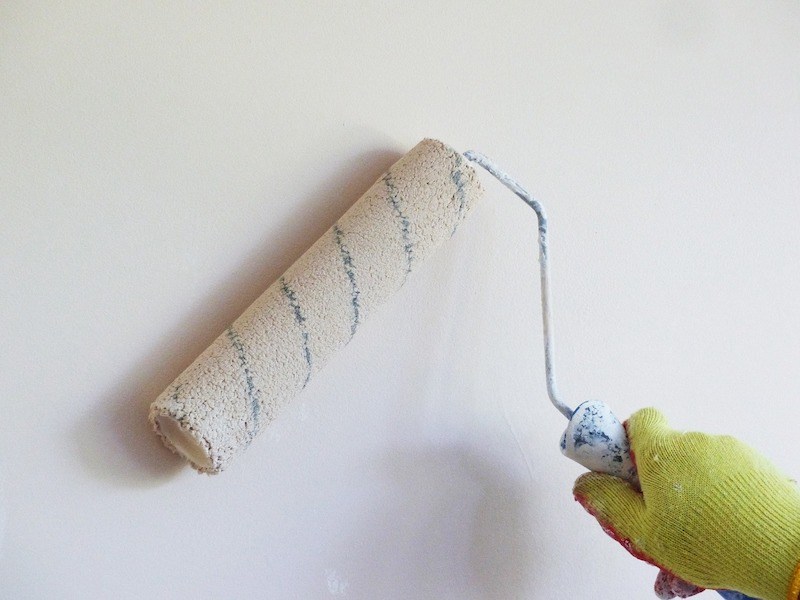
14. Paint the wall
As we mentioned in step eight, stir your paint frequently. Once you have mixed it, pour the paint into the roller tray. Load the roller with color, and make long strokes from the bottom to the top. Every new stroke you do should overlap with the previous one. The roller edges can leave build-up paint lines. If that happens, pass the area again to blend it with the rest of the paint.
15. If needed, apply a second coat
This step won’t apply to every painting job, but some colors require a second coat. If that’s the case, repeat the painting steps to achieve a brighter, more cohesive look. With the second coat of paint done, your job is done, and all you have to do is clean up and peel the trim tape.
16. Clean up and peel the trim tape
Last but not least, you should clean up and peel the trim tape. Clean your brushes, and wash other tools you’ve used. Also, remove damp clothes from the furniture, and put everything back into its place.

Conclusion
Painting rooms and walls are not complicated. Not only will it transform your home, but you will also save on painting costs. So, don’t be afraid—roll up your sleeves, get the required materials, and begin a new painting project. It will be fun, and look great at the end!
Featured Image Credit: Africa Studio, Shutterstock
Contents
