
Peel and stick wallpaper is an easy and affordable way to give a tired room a chic upgrade. There are dozens of different colors and styles that you can choose from to refresh a room and upgrade your look. If you’ve never installed peel and stick wallpaper before, do not worry. If you take your time and follow these expert tips, the job will go smoothly and installing this type of wallpaper can be a snap.
Here are eleven expert tips on how to hang peel and stick wallpaper.
 The 11 Tips to Hang Peel and Stick Wallpaper
 The 11 Tips to Hang Peel and Stick Wallpaper
1. Gather Your Supplies Ahead of Time

One of the best ways to save time and ensure a smooth project is to make sure that you have everything you need ahead of time. The last thing you want to do is have to stop the job in the middle to run out and buy extra supplies. Disruptions cost time and money and can ruin a good workflow. When putting up something like peel and stick wallpaper, rhythm, timeline, and flow are very important.
2. Clean Your Walls Thoroughly
One of the biggest mistakes people make when putting up wallpaper is installing the material on a wall that has not been properly cleaned. Dirt will prevent the wallpaper from properly binding to the wall, which can lead to bubbling or peeling down the line. It can also make it difficult to line up the panels and attach them to the wall following the guides. If the wallpaper cannot quickly and securely bind to the wall, it leaves room for error.
You want to scrub your walls with soap and water and remove any dirt, dust, or grime that might be present. You need to wait for the walls to dry completely before installing any wallpaper. Only try to install wallpaper after first cleaning all of the walls that you are utilizing.
3. Remove Outlet Covers
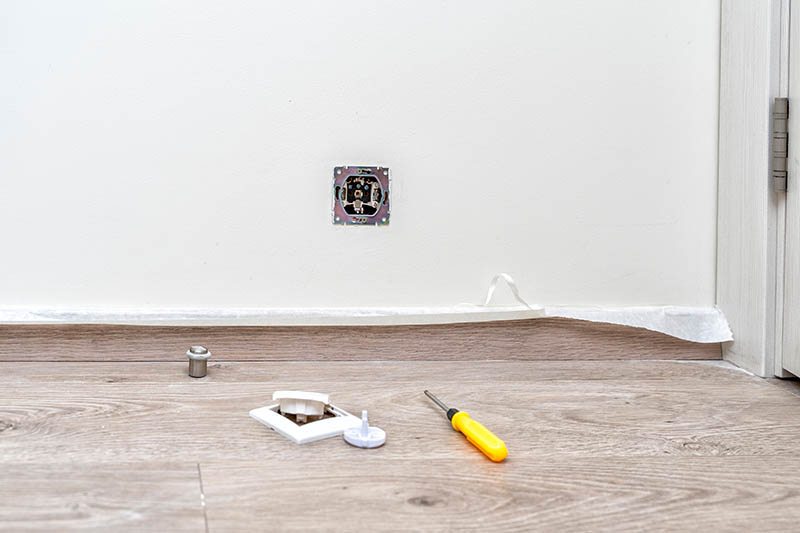
After cleaning your walls, you want to remove any outlet covers or light switch covers. Removing them ahead of time will make installing your paper much easier. You do not want to pause in the middle of the job to unscrew outlet covers while wallpaper hangs from the walls. That is a good way to make a mistake and cause undue frustration.
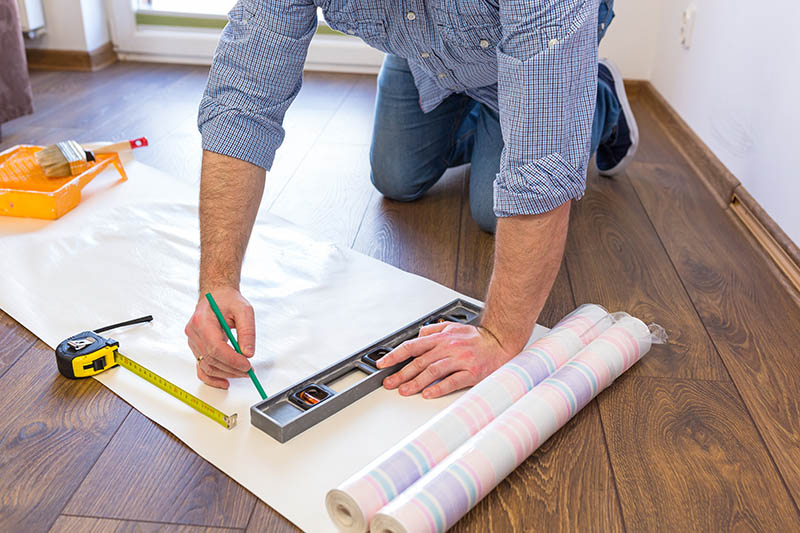
4. Spend Time Creating Your Guide
Before you can install your wallpaper, you need to create your guide. The guide is the first panel that goes on the wall from which all other panels are going to work from. Measure the exact distance from a corner to the width of your first panel. Use a straight-line level and mark a straight line going from ceiling to floor. Take your time marking out your first panel, as this guide is very important. This line is going to mark the edge of your first wallpaper panel. Once your first panel goes on straight, it makes it much, much easier to finish the job without issue.
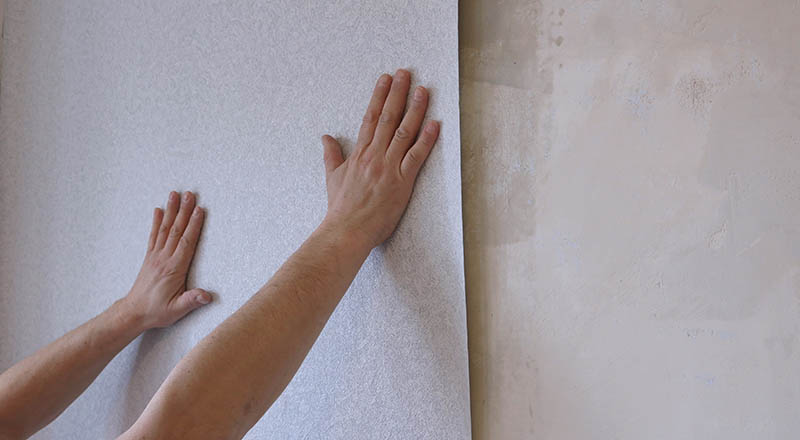
5. The First Strip Is the Key
Once you have your guide marked out, it is time to hang your first wallpaper panel. Cut your wallpaper using a razor to the exact width that you measured out for your guide. Peel back 12 inches of the backer and attach the wallpaper to the top of the wall where the wall meets the ceiling. Move downwards from the ceiling to the floor pressing the wallpaper as you go down. Follow the guide to keep your wallpaper completely straight. Once you have the first panel on, you can work off the edge of the first panel to line up the second panel.
Repeat this process until the entire room is covered. Always make sure to work from the ceiling to the floor and work from the previous line to keep a consistent pattern.
6. Work Carefully and Diligently
It is very easy to get thrown off while putting up peel and stick wallpaper. If you start hanging panels crooked or start getting large bubbles, it can ruin the whole project. The best way to avoid these cascading problems is to work slowly and carefully. Pay attention to each individual panel and take your time with the work. If you do the job properly, you will only have to do this once, so it is worth the extra effort to do it right the first time.
7. Smooth Out Any Air Bubbles
You will run into small air bubbles while installing your wallpaper. Small air bubbles are natural and nothing to worry about. You want to smooth out any air bubbles using a stiff edged tool like a scraper or a putty knife. Some people suggest using a razor, but you have to be careful not to scratch or cut your wallpaper while using a razor’s edge to smooth out the bubbles. Work down from the top of the wallpaper towards the bottom and flatten out the bubbles. Work downwards and outwards to get the air out.
8. Avoid Pulling on the Wallpaper
While it may be tempting to pull the wallpaper to get it to fit into place, it can lead to pattern warping or even damage. Instead, use your smoothing tool discussed in Tip #3 to press the wallpaper onto the wall and make any necessary adjustments.
If you have bubbles that you’re trying to get out, you can use a pin to puncture them and then press the air out with the smoothing tool. Most of the time, though, bubbles in peel-and-stick wallpaper smooth out quite easily.
9. Overlap Windows, Doors, and Outlets
One important tip is to overlap windows, doors, and outlets. Put the panels over these areas, so there is an inch or so of overlap. With the overlap, you can then easily use a razor to cut the excess in a straight line. That way, you are not trying to wrestle a panel exactly into place. It is easier to cut back extra material than it is to fit something exactly into a space.
You do not need to worry about having the lines completely straight around outlets and light switches because the panels will cover the openings and make everything look buttoned up. Be sure to replace the covers when you are finished to get that finished look.
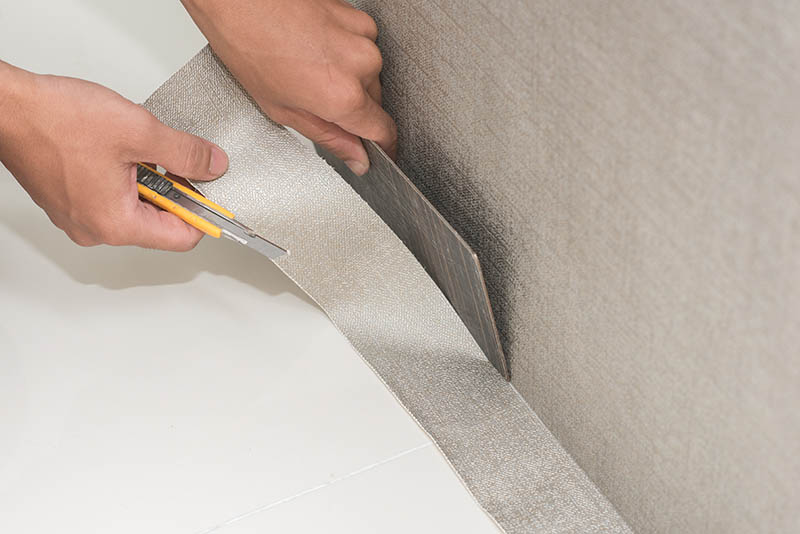
10. Use a New X-ACTO Knife
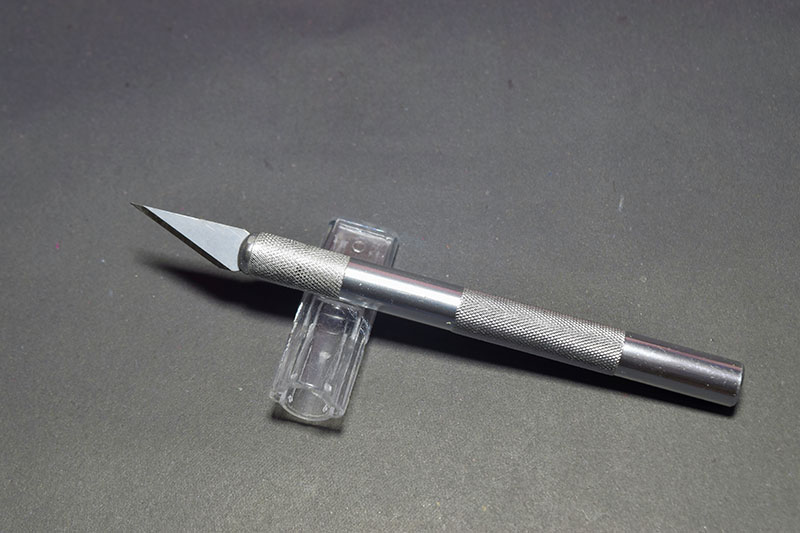
You’re going to be cutting around windows, door frames, and any other obstructions, so having a sharp blade will make the job easier and more precise. Using an X-ACTO knife with a brand-new blade will ensure that you don’t have to worry about snagging the wallpaper, which may damage it in the process.
11. Look for Any Imperfections and Make a Plan
When you are finished hanging all of your panels, check for any errors or imperfections. If you find anything that looks out of place, do not panic. Take a step back, take a deep breath, and make a plan. Sometimes a panel can be carefully removed and replaced to fix any imperfections. Small errors might be able to be hidden when you replace your furniture. You might be able to rearrange some stuff and use something like a couch or chair to cover a small error.
One of the upsides to peel-and-stick wallpaper is that it is easy to install and easy to remove. You can always remove certain panels and try to fix any issues. It is easy to get frustrated if you think you screwed up, but frustration will only make fixing the problem that much harder.
Conclusion
These tips will help ensure that your peel and stick wallpaper goes on smoothly and looks great at the end. Take your time, set your guides, and make sure the walls are properly prepped. By the end, you will have a wall that looks great and a room that has been completely refreshed.
- Related Read: How to Hang Prepasted Wallpaper: 18 Expert Tips
Featured Image Credit: Skyliz, Shutterstock
Contents
