

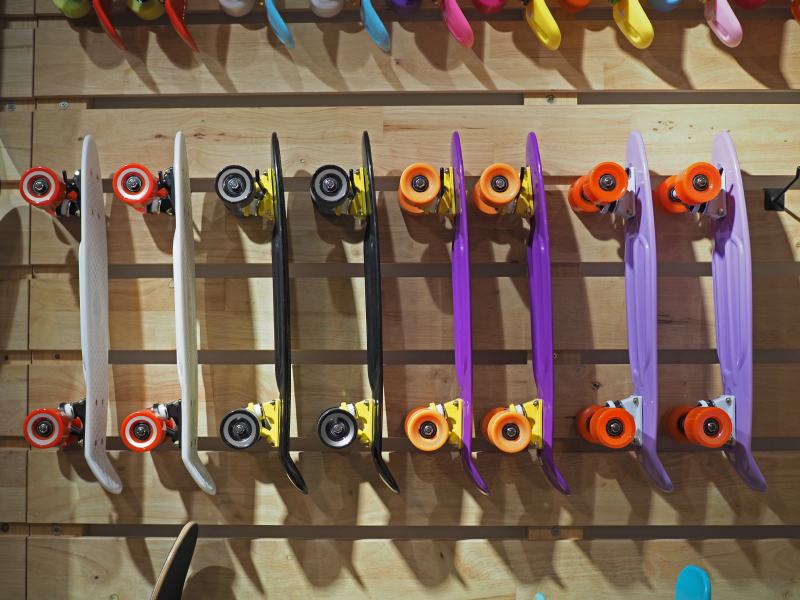
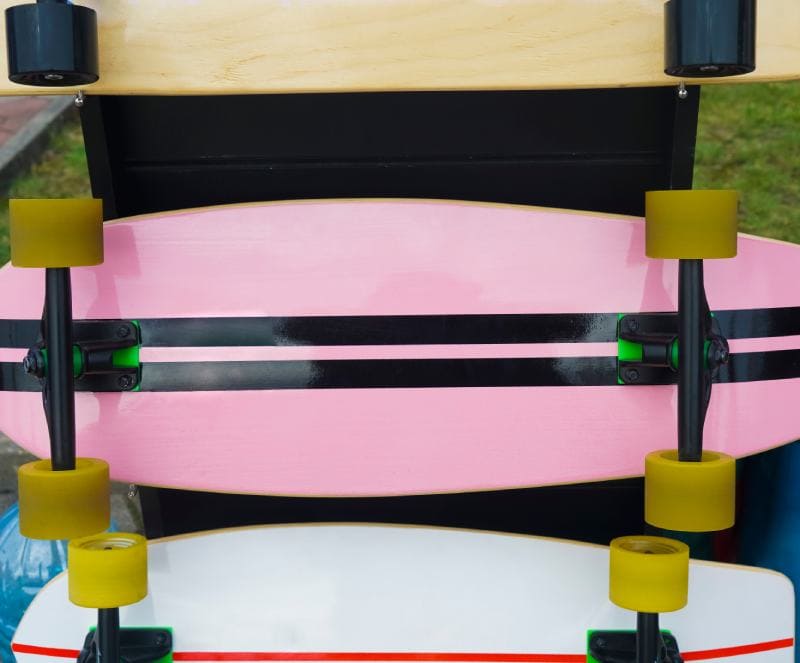
Skateboarding is one of the most common outdoor hobbies, especially for teens, and many people experience a skateboarding stage in their younger years. If you have many old skateboards and are looking for ways to present them proudly, the best idea is to hang them on the wall and show all of their vibrant colors. The underside of each skateboard is usually the most artistic part, and hanging it on the wall will show off its unique artwork.
In this article, we will include two of the best ways to mount a skateboard on the wall, where it will be easily accessible to you at any time while being creatively displayed.

The 6 Steps to Hanging a Skateboard With a Rope
1. Gather All the Materials and Tools
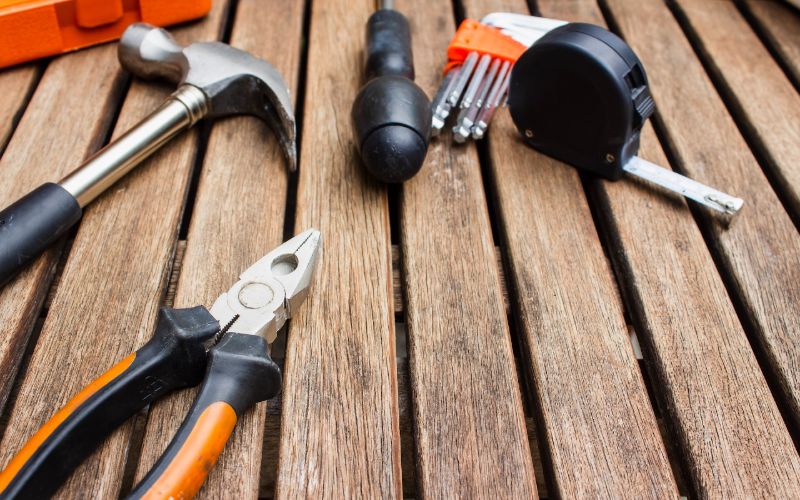
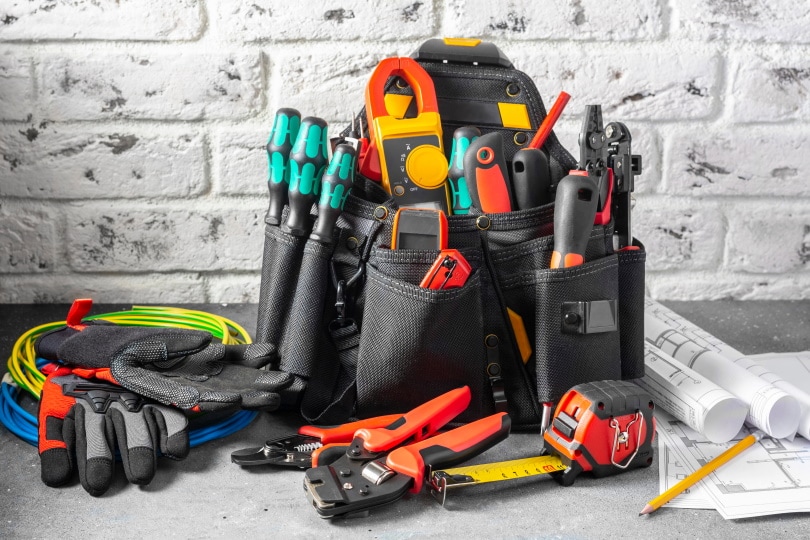
If you’re thinking of hanging a skateboard using the rope technique, there are certain tools and materials you’ll need to gather beforehand. The necessities you’ll need for this project are:
- Colorful rope
- Tape measure
- Pencil
- Lighter
- Two screws
- 5mm masonry bit (optional)
- Wall plugs
- Craft knife
- Level
- Screwdriver
- Electric drill
2. Cut the Rope to the Ideal Size

Your next step would be to customize the rope to your preferred size. Cut to the size that will fit perfectly and keep your skateboard snug against the wall. Use a measuring tape to find the ideal size, and carefully cut the rope with a pair of sharp scissors or a craft knife. Cut the rope to be at least 25 inches long. Make sure to leave enough room for the rope to go around the skateboard’s wheels.
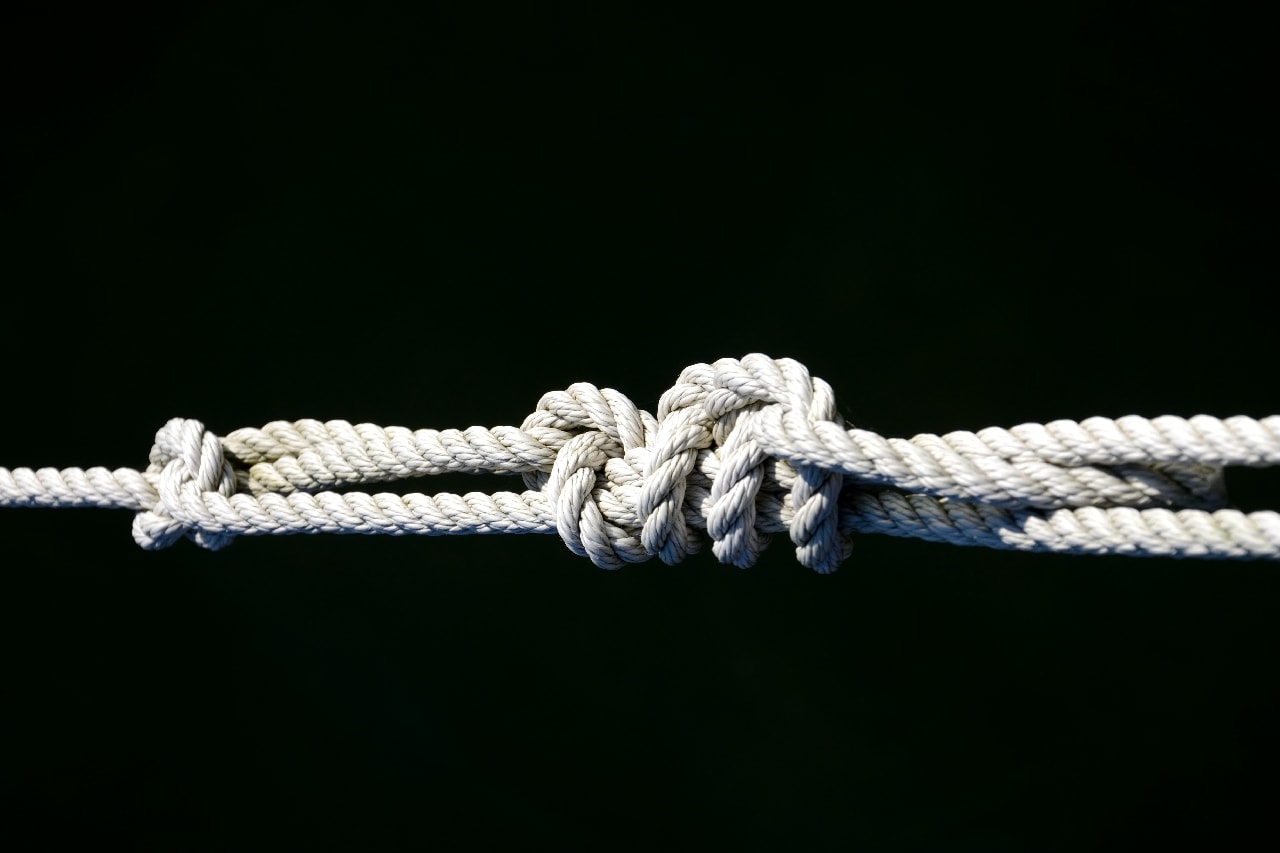
3. Tie Knots on Each End of the Rope
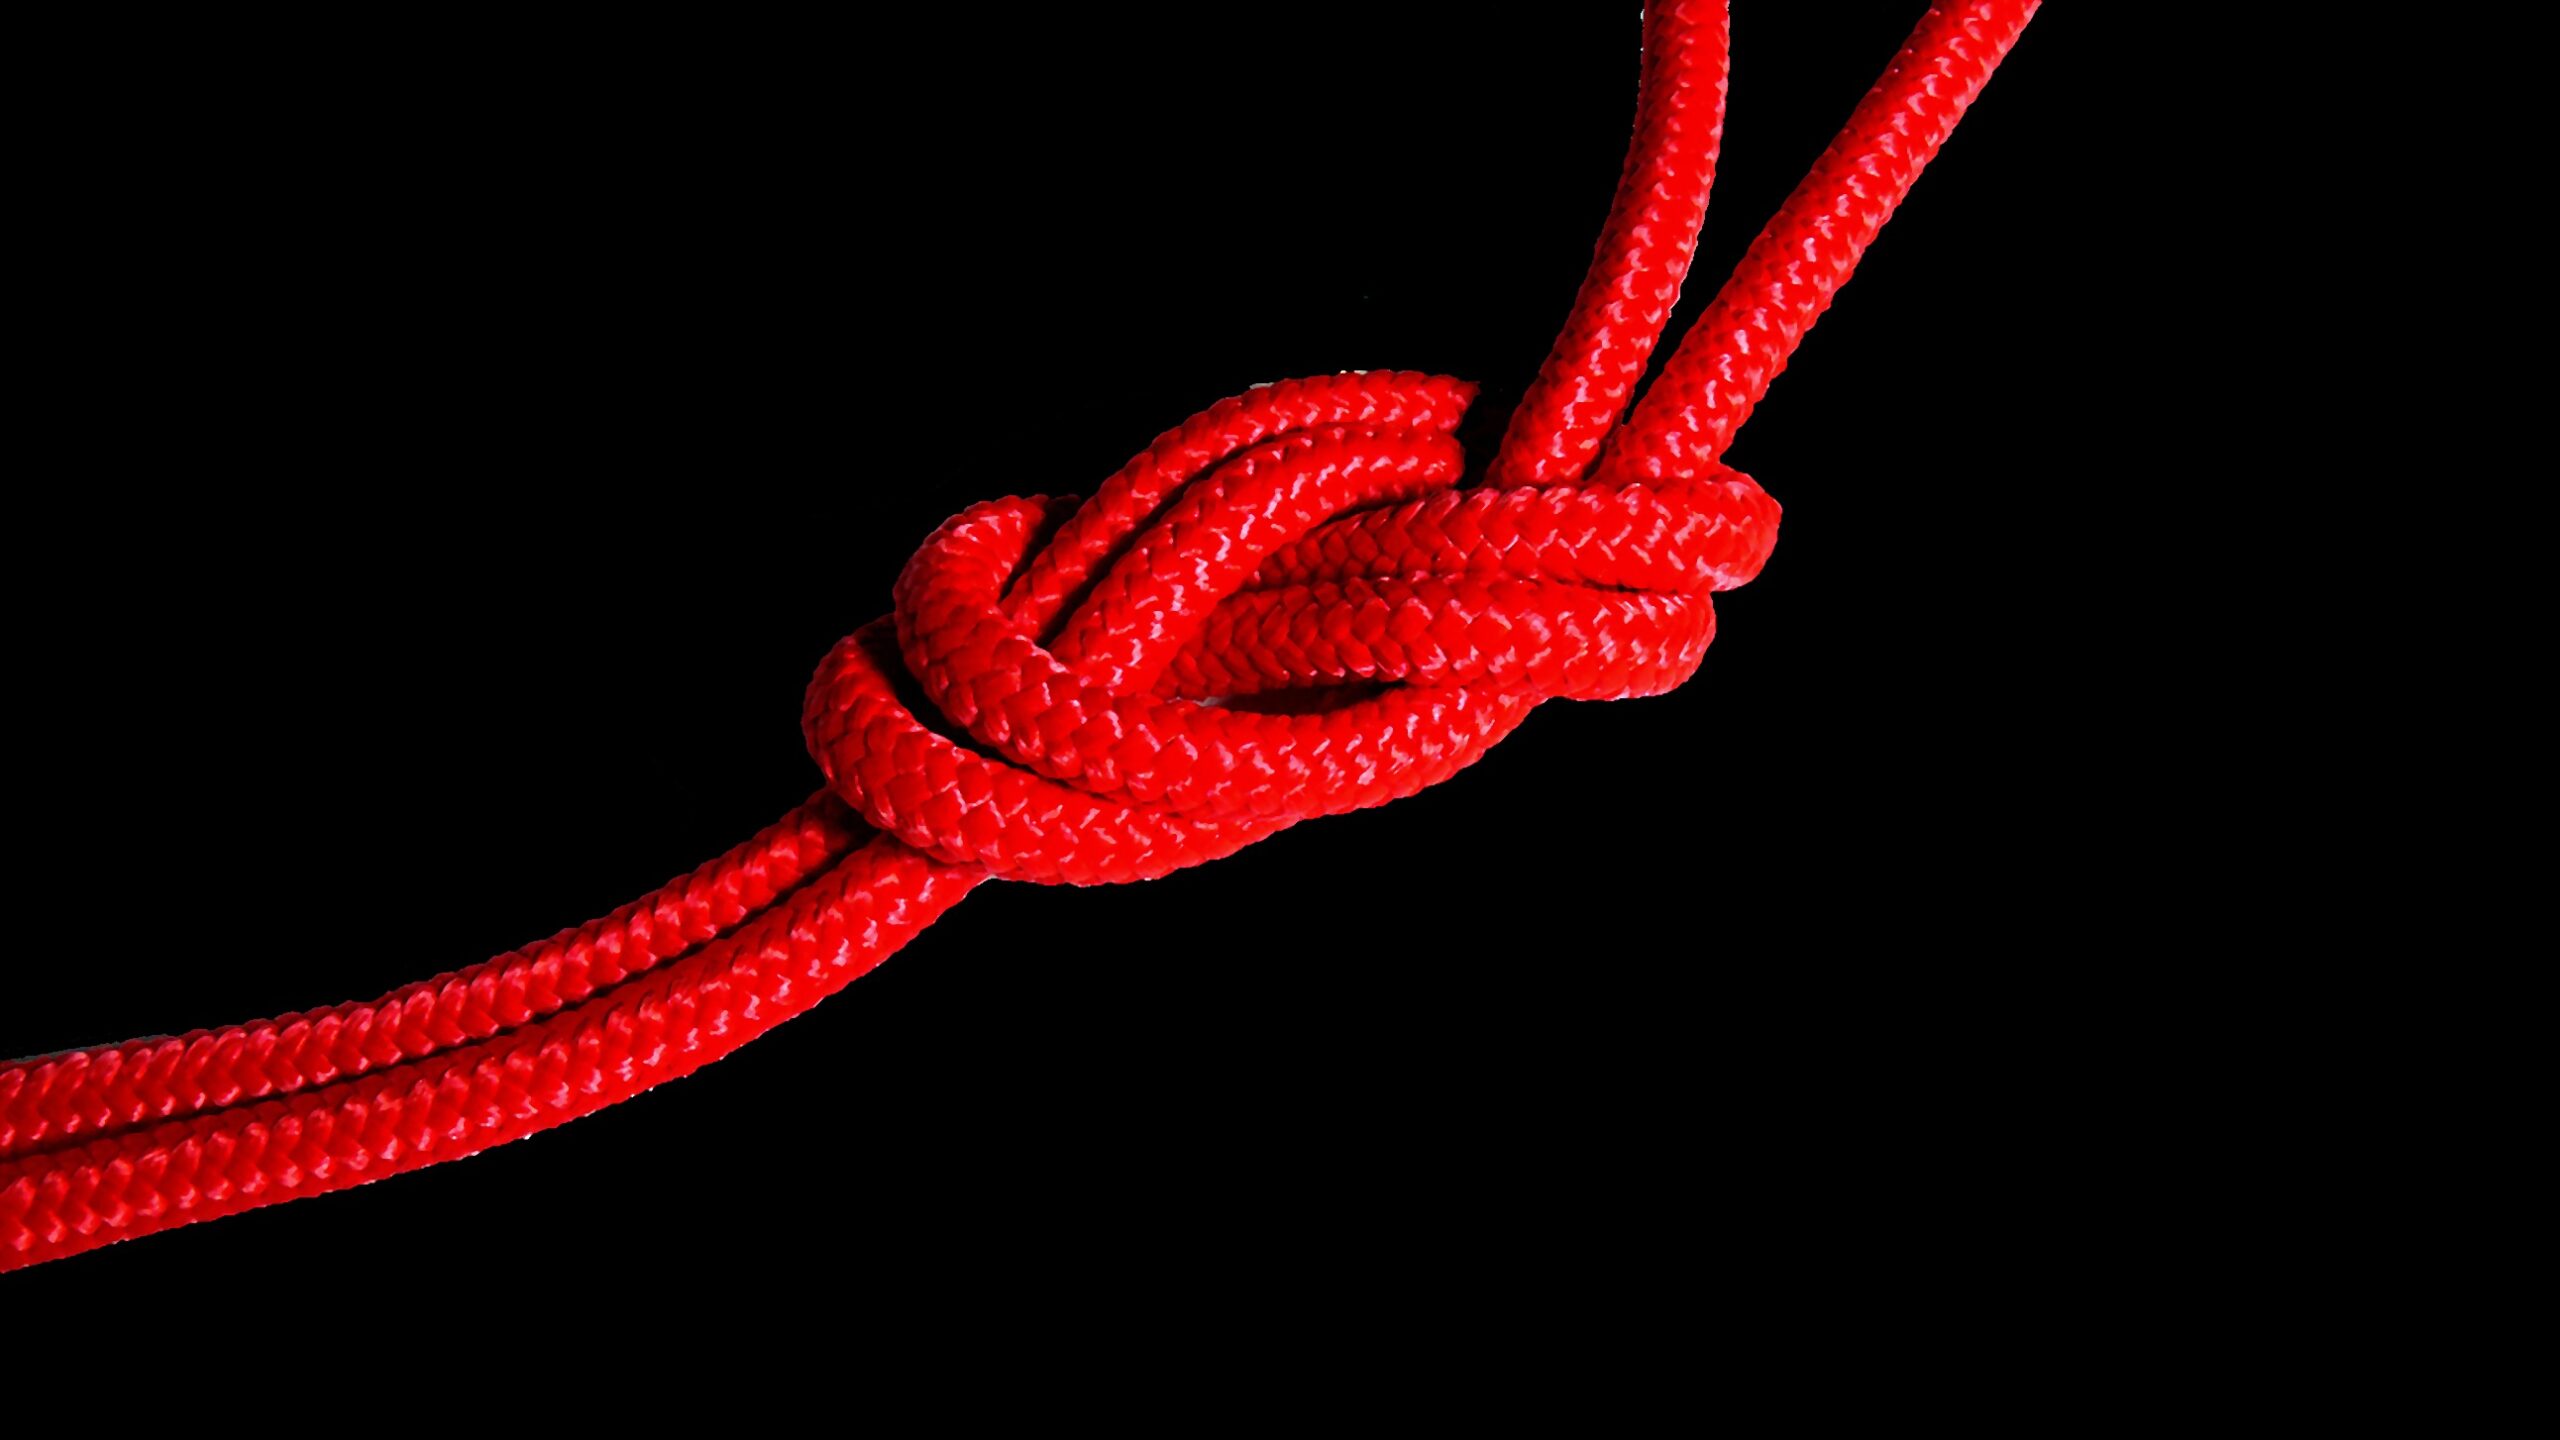
After cutting the rope, the ends will be a bit messy at first. This is usually a problem for thicker ropes, especially those made of nylon. The ends will definitely begin fraying shortly after you cut them, and the first step to ensure the ends stay in place is to tie two knots. At the end of each rope, make two strong, secure knots and burn the edges with a lighter or a match. Burning the edges will prevent them from untangling any further.
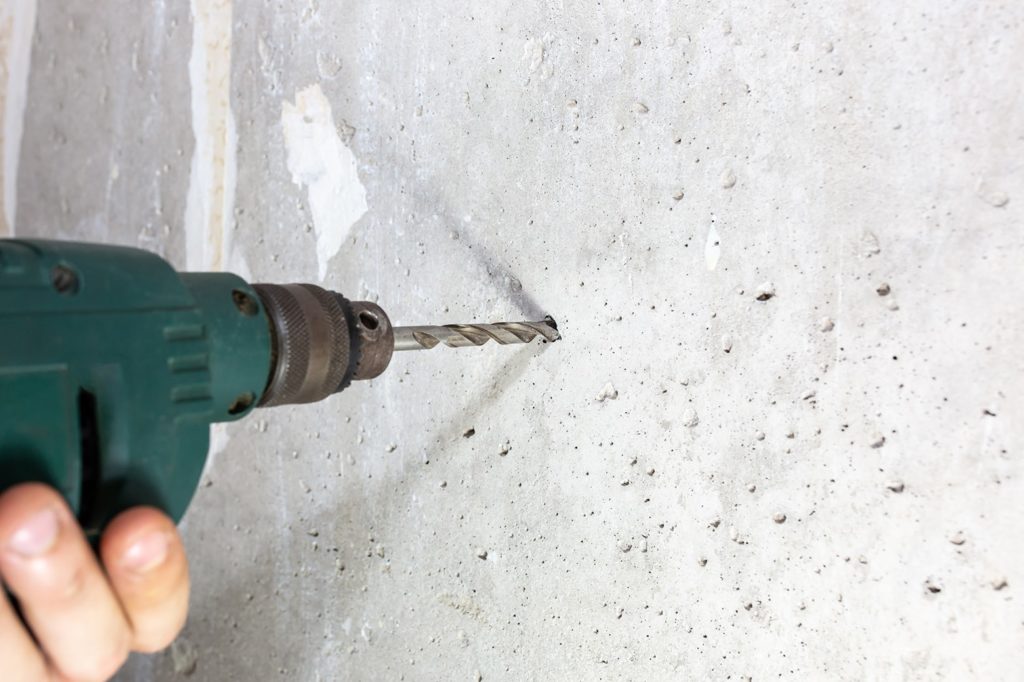
4. Drill Vertical Holes in the Wall
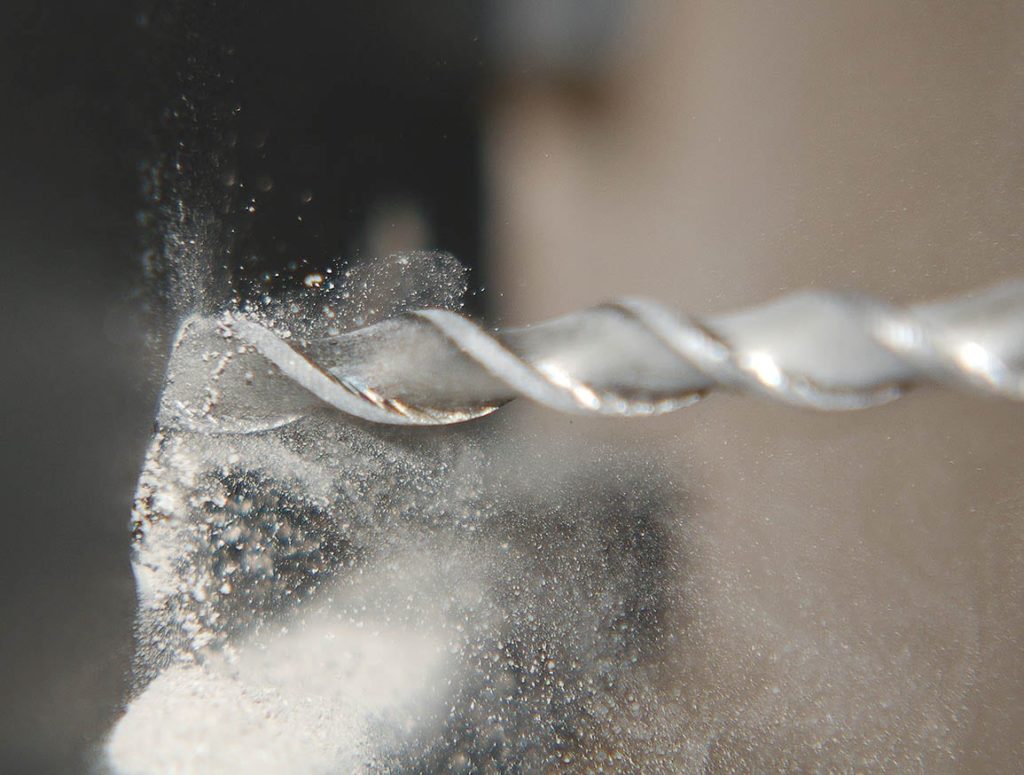
Using a level, find a perfect horizontal line on the wall where you want to hang your skateboard. Using a pencil, mark the points where you will drill two holes. These lines should be equal in height and around 14 inches apart. While this measurement is an average distance for an average-sized skateboard, it might change with a larger or smaller skateboard.
You may need to use a 5mm masonry bit to drill the holes for a brick wall.
5. Push the Screws Through the Knots
Your next step before adding in the screws will be to put the wall plugs into the holes. These plugs will make sure the screws are tightly secured in their holes without any room for movement. Push each screw through the center of each rope ending and then screw them all together in the wall.
If your wall is made of wood, you can avoid going the extra mile and simply screw the knot directly into the wall.
6. Hang Your Skateboard!
After finishing all the steps above, your beautiful skateboard is ready to hang on the wall safely. Once you’re done with the project, you’ll be left with a practical and cute way to store your skateboard that will be easy to access at all times.

The 5 Steps to Hanging a Skateboard Using Wall Mounts
1. Materials and Tools
As with any project, gathering all the right materials beforehand is always a wise step. If you want the entire plan to go as planned, it is essential to have everything you’ll need without any interruptions. The necessities for this particular project include the following:
- Electric Drill
- Stud finder
- Wall plug
- Deck display
- Level
- Two T-nuts
- Screws
- Screwdriver
2. Drill a Hole in the Wall and Insert an Anchor
Using an electric drill, drill one hole in the wall where you want your skateboard to hang. Between the screw and the wall, insert a wall plug in the hole, which will ensure the skateboard is tightly secured in place.
Tip:
Before drilling any holes, use a stud finder to locate any wiring. It is essential to do this step to avoid hitting any electrical wiring once you drill the holes.
3. Install Deck Display with Screws
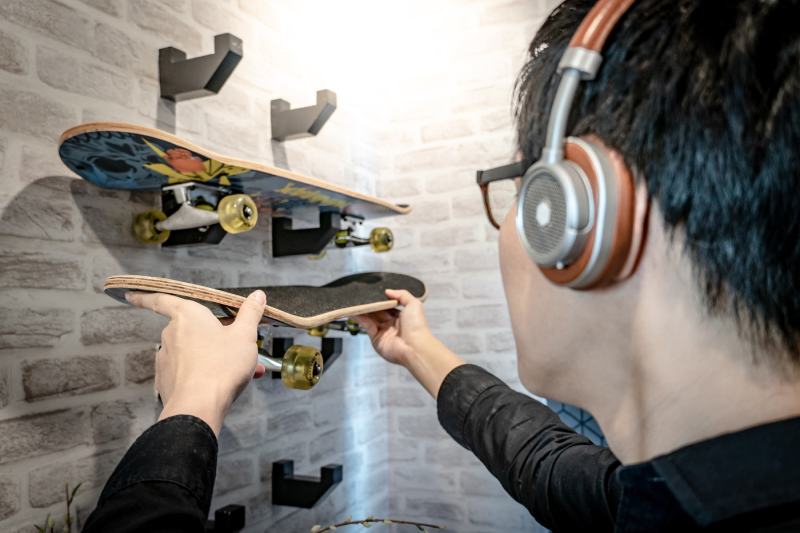
When you purchase your deck display or wall mount, it should come with screws. These screws will be the only thing you need to install the wall mount. Place the deck display against the wall, and line it up with the single hole you drilled earlier. Using a level, find the perfect position for the deck display. Punch the screw through the hole and screw it in using a drill or screwdriver.
4. Tightly Secure the Bolts
Place two bolts on the screws which are connected to the mount and twist them to your desired depth. The skateboard will be mounted on the two screws and secured with two T-nuts.
The bolts are an essential part of the installation because they will keep the skateboard from touching the wall and potentially scratching it.
5. Mount the Skateboard!
Once you mount your skateboard, it will be proudly presented on the wall. To make sure everything stays in place, place two T-nuts on the screws, which will keep the skateboard from sliding off them.
 In Conclusion
Hopefully, our tips will help you nail this project, you will have a new and fantastic way to show off your skateboard in all its glory. Skateboarding is a true passion for many, and displaying the artwork on the back of the board is an essential step for true fans!
Featured Image Credit: Chikilino, Shutterstock
Contents
