

If you recently moved into a new house, chances are, the light fixtures are old and dusty. Or maybe you’re in the mood for some redecoration. In any case, pendant lights are a go-to choice for millions of American households. There are dozens of options out there, each with its unique style, design, and application. Electricians do charge a lot for the installation, though.
That’s why today, we’ll learn how to mount pendant lights manually. As long as you follow safety precautions, use the right tools for the job, and take it slow, you’ll be able to install a pendant light fixture without even breaking a sweat. And don’t worry: we’ll be right there with you every step of the way!

Before You Begin: Getting Everything Ready
To get this done, you won’t need any expensive, pro-grade tools. As long as you have a screwdriver and wire stripper, you’re good to go. A level is also recommended, though, along with a device for testing the voltage. As for the materials, some wire connectors and a set of protective gloves are a must. Here’s the full list:
| Tools Required | Materials/Products Needed |
| Screwdriver/cordless drill | Set of screws |
| Wire stripper | Pendant light/fixture |
| Level tool | Wire connectors/nuts |
| Voltage tester | Protective gloves |
| Ladder (optional) | Marker/pencil (optional) |
| Coat hanger wire (optional) | Rag/towel (optional) |
Also take into consideration:
| Time Needed | 30–60 minutes (on average) |
| Estimated Cost | $25–80 (for the pending light) |
| Difficulty Level | Beginner/Moderate |
How to Install a Pendant Light
1. Turn the Power Off
When working with electricity, the first thing on the menu should always be cutting the power off. Remove the fuse in the circuit breaker, or just shut it off. If you have a voltage testing tool, use it to make sure that the electricity in the house is, indeed, off. After that, put on a pair of protective gloves to keep yourself from harm’s way.
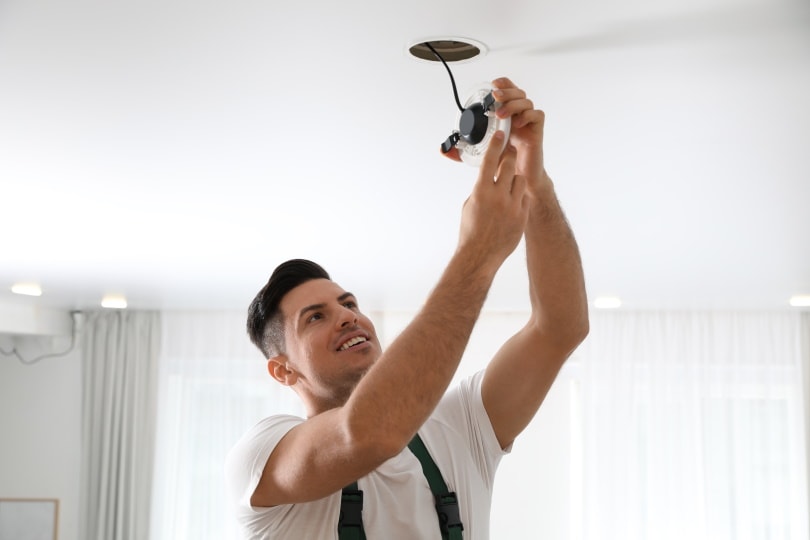
2. Remove the Old Fixture
Alright, now that “the coast is clear”, it’s time to get rid of the old fixture. Don’t worry: this is a basic procedure. All you have to do is remove the original drop lights from the ceiling to make room for the new fixture. In contrast to a chandelier, it won’t be at all heavy, and you won’t need an extra pair of hands to get rid of it successfully.
So, grab a screwdriver with the right drive bit/tip and carefully unscrew the casing on the ceiling. The shape and the size of the fixture and the number of screws may vary, but the basics will always be the same. Remember to hold the fixture with one hand so that it doesn’t fall and break.
3. Mark the Wires and Take Notes
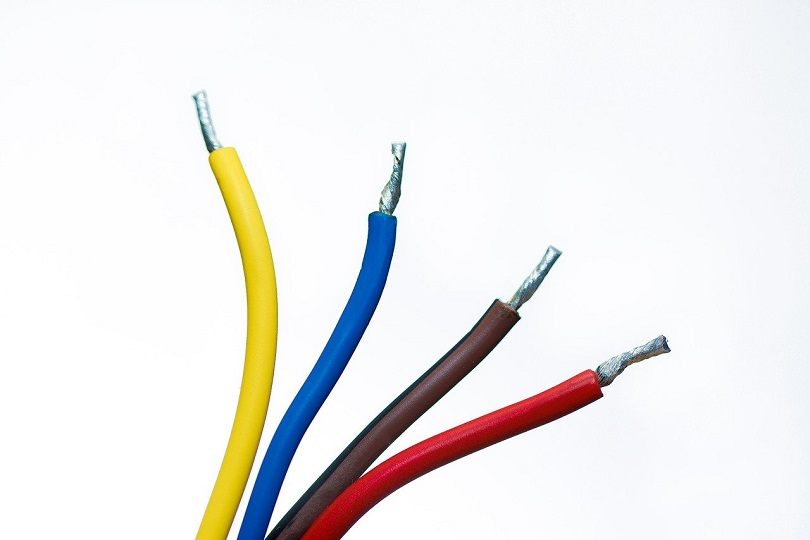
Before you say goodbye to the old fixture, take a long and hard look at the wire connections. Or, better yet, use a marker/pencil to mark them. This way, it will be much easier to get everything right with the wires for the new pendant light. Now, fixtures in US homes are connected to three different wires. We’re talking about the hot, ground, and neutral wires.
The ground (earth) wire is always green. The hot (live) wire can be black or red, while the neutral one tends to be colored white or gray. To avoid issues with the new fixture, remember to connect it to the same wires that the old lights were connected to. A quick note: in an older house, the ground will just be a bare wire attached to a screw on the ceiling box.
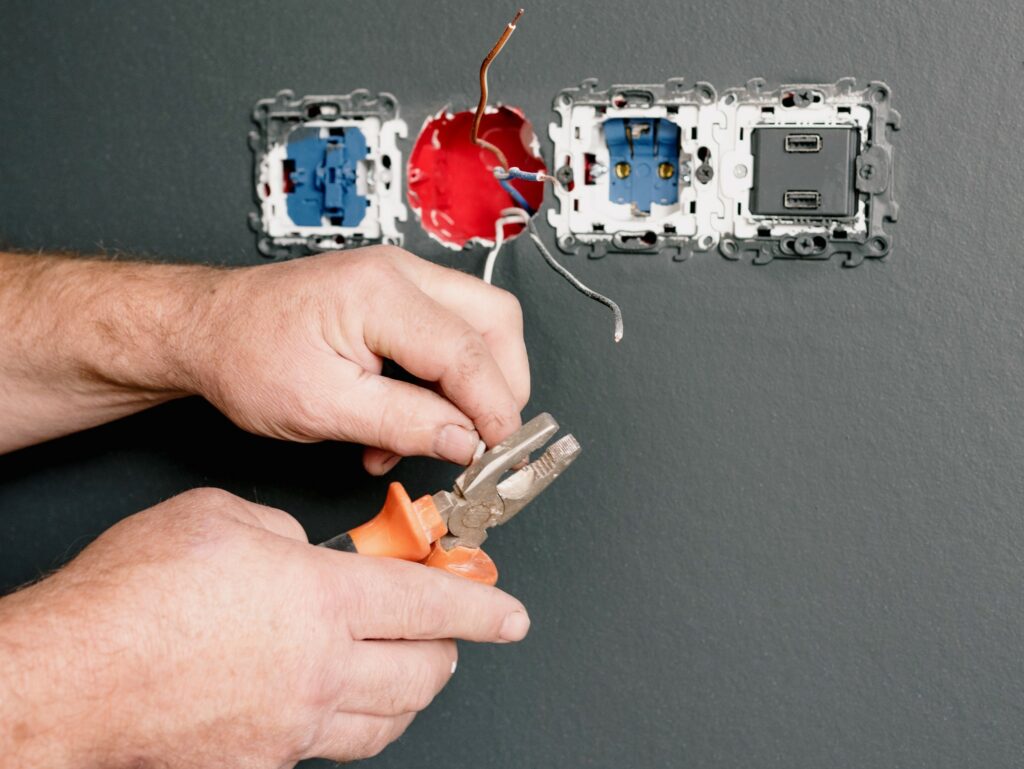
4. Disconnect the Wires
Always do the live wire first; the neutral comes next. Lastly, disconnect the ground wire, and the old fixture should be free to remove. Do you see any caps/connectors covering the wires? They need to go as well. This is important: before disconnecting any of the three wires, use the voltage checker once again. It should show no signs of power/electricity running through those cables.
Get rid of all the plates and hardware from the old fixture. If this is your first time replacing the lights in many years, chances are, the wires will have to be stripped off. A wire stripper is perfect for removing some of that insulation. On average, 0.5 inches are enough to make proper connections.
5. Attach the Mounting Bracket
Go ahead and unpack your shiny new pendant light. It should come with a mounting bracket or strap. The package will also include a cable, set of screws, canopy, and maybe even a bulb. Lay out the hardware on the table or the floor for quick access. The goal here is simple: to secure the bracket to the junction box. It can be a bit tricky to do this without a level, however. So, make sure to put it to good use here.
Also, if you see any dust or spiderwebs up there, grab an old rag and clean it.
6. Check the Junction Box
With the old fixture out of the way, the junction box will be the only thing left on the ceiling. Essentially, it’s a safety system that minimizes the chances of a short circuit or electrical shock. Also, do remember that in most American states, mounting a light fixture to a wall or the ceiling without such a box is a violation of electrical codes. Go ahead and check on the screws holding it in place. Secure them if need be.
Be careful not to over-tighten them to avoid damaging the threading. Many electric boxes in newer homes are supported by a beam system. The reason: some light fixtures can be rather heavy, and the junction box might not be able to hold them firmly. But if you’re installing one single pendant light, that won’t be a problem here.
7. Adjust the Height
How high or low do you want the fixture to be? Most experts recommend hanging pendant lights at least 70–84 inches above the floor or 36 inches above the table. At this height, the light covers a large area in the room while looking aesthetically pleasing. Take a moment to adjust the cord to different lengths until you find the spot that you’re happy with.
8. Get the Wires Connected
This is the most important step in any light fixture installation. But since we marked the wires earlier, it shouldn’t be very hard to do. As mentioned, you might have to strip the insulation on the pendant light wires. The hardest part here is to work on the wires while holding the fixture. On the bright side, most pendant lights aren’t at all heavy and won’t cause any issues. However, some units are quite bulky.
If you don’t have someone to help you out, use some coat hanger wire. Twist it a bit to make it look like an “S” shape and hook it onto the bracket. This way, it will be able to hold the fixture in place. Now connect the ground wire; wrap it around a screw or attach it to a bare wire. The neutral comes next, followed by the hot wire. The name of the game here is matching colors: connect black to black, white to white, and green to green.

9. Secure the Junction Box
Finishing up, secure the wires with nuts/caps. When you’re done, secure the cover to the electrical box. The package will include a screw set for that. Be very gentle when hiding the wires inside the box. It’s very easy to mess up the wiring at this stage by ripping them out while you’re focused on attaching the shade cover.
10. Put a Light Bulb Into the Fixture
The one thing to remember here is that depending on the bulb and the fixture, you’ll have to either keep turning it until it locks or until it can’t twist anymore. In both cases, turn the light bulb clockwise. And ideally, you want to go with a long-lasting, reliable bulb that won’t give up on you after 1,000–2,000 hours of work. For that, pick a LED light bulb.
They might be a bit pricey compared to regular halogens and bad at dimming, but the pros strongly outweigh the cons. We’re talking about an extended lifespan (up to 50,000–75,000 hours), above-average brightness, low power consumption, and eco-friendly components. Light Emitting Diodes are much sturdier and cooler, too, and won’t burn your hands.
11. Do a Quick Test Run
We’re almost there. All that’s left to do is run a quick check to make sure all the wires are connected and the bulb is getting its fair share of power. For that, climb down from the ladder and crank the circuit breaker back on. Next, turn on the switch for the pendant light. If you did everything right with the hot, neutral, and ground wires and insert the bulb correctly, there will be light!
12. Should You Hire an Electrician?
If there’s already a light fixture hanging from the ceiling, the answer is no, you can handle that on your own. However, if there’s no junction box up there, or if you’re trying to install a couple of pendant lights in a row, it would be best to pay an electrician. That’s because in this case, you will have to extend the wiring capabilities in the house, and that requires experience and a set of professional tools.
Another big reason to call in a pro is if you notice signs of wearing and burns on the wires.

What Is A Pendant Light? Breaking It Down
Cheap, easy to install, and available in different styles, pendant lights are easy on the eye and boast an impressive lifespan. These light fixtures are suspended from the ceiling by a metal rod or a cord. Chains are also used, but they’re not as widespread. As for the materials, plastic, concrete, and metal are the go-to picks. The average size is 5–45 inches. The biggest downside of pendant lights is the lack of power.
To light up a large room, you’ll need at least 2–3 fixtures. The most common applications are kitchen tables, countertops, and bathrooms. You can choose between mini, island, multi-light, inverted, and fabric-shade designs. If you’re in the market for affordable, user-friendly fixtures, you’ll find much use in pendant lights. This is especially true if you pick LEDs over fluorescent or halogen bulbs.

Pendant Light vs Chandelier: What’s the Difference?
At a glance, pendant lights and chandeliers look the same. They’re both suspended from the ceiling and have one single fixture. However, with a pendant light, you only get one bulb (unless you bought an island or multi-light style fixture). The rule of thumb is, if you want to have a set of bulbs, go with chandeliers. They are more powerful and add elegant vibes to any room. Back in the day, we used to put candles into chandeliers.
These days, it’s mostly incandescent lights, although LEDs are an option as well. Depending on the shape or size, a chandelier light fixture can hold anything from three to nine or even 12 light bulbs. But pendant lights aren’t nearly as heavy and come at a much lower price. They take less effort to mount and clean, too, and can be used in different ways. So, unless it’s a large hall or living room, a pendant light will be the better pick.
Conclusion
Pendant lights are very common in modern US homes because they look great, take little space, and don’t cost a fortune. On top of that, they come in different shapes, sizes, styles, and configurations—you’ll be able to find something that fits both your budget and needs. Besides, pendant lights can be installed manually.
No need to pay an electrician for the labor! So, get the tools and materials ready, put on a pair of protective gloves, and turn the power off. If you have a ladder, that will make the whole process much easier. Follow our guide, be very careful and thorough, don’t rush anything, and you’ll be done in less than an hour!
Featured Image Credit: Piqsels
Contents
