

A trellis is a creative and lovely addition to any garden. It can have many purposes, such as a fence or a sturdy spot for putting up your plant collection. A wood trellis is an easy project to install and even make on your own. A trellis can be a beautiful construction that you can install anywhere around your garden or near your house, and it can serve as a support for all your climbing plants. This charming construction will add uniqueness to your garden with a vintage country house feeling.

The 6 Easy Steps to Install a Wood Trellis
Before installing your wood trellis, you will need to consider a couple of things, such as the ideal location, the tools, and materials required, and the primary purpose it will have in your garden. You can find several valuable tips and tricks on installing a wood trellis in the text below.
1. Choose the Proper Location
Before installing your wood trellis, think about the ideal location to place it. The perfect spot would be a wall near your house or any place in your garden where you are planning to create a tiny, charming garden. A wood trellis will look great anywhere, and most importantly, it can make any empty spot brighten up with character and charm. Where you decide to place it will depend primarily on its purpose.
It is essential to choose a perfect spot for your trellis before installing it to prevent inconvenient and unnecessary transport. If you plan to secure your trellis by covering the base with concrete, choose the spot ahead of time. Once you install the trellis, it can be tough to take it down and transport it to a different place.
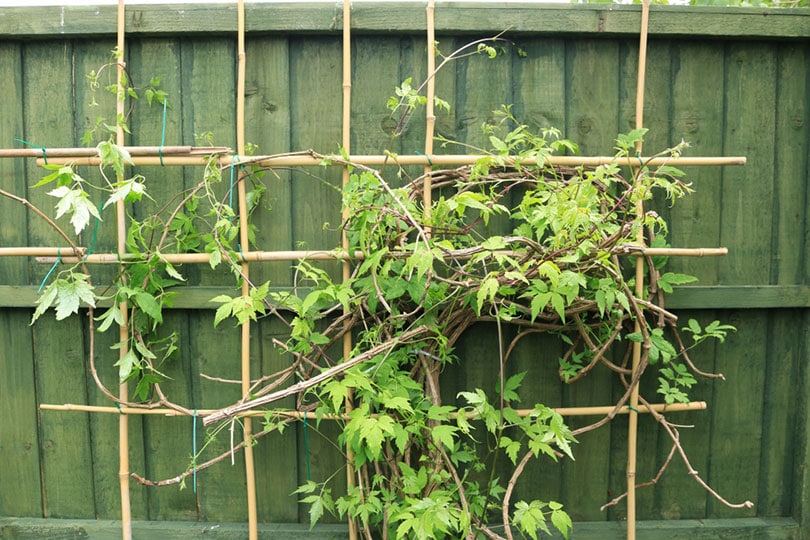
2. Choose the Right Trellis
If you’re considering installing a trellis, you should look for something that suits your requirements. It would help if you thought about the trellis’ size, design, and material. The trellis should be big enough to hold the plants you plan to grow, however, it shouldn’t be too large as the plants can look lonely while hanging on the trellis.
As for the materials and design, you can check out various gardening websites to find ideas on how your trellis can look. If your trellis strictly has a supportive role, you don’t have to go over the top, but you should still find something that will fit into the aesthetics of your outdoor space. You can be creative and make a trellis of many materials such as:
- Aluminum
- Bamboo
- Vinyl
- Willow branches
- Plastic
Although the trellis will provide support for your plants, it will still be a significant part of your outdoor area, so it needs to fit into your surroundings visually and aesthetically. You’ll be able to make a cohesive environment by choosing a suitable trellis and picking a design and materials that work for your space.
3. Secure the Trellis with Concrete
If you want to add additional support to your wood trellis, securing it with concrete is a good idea. Dig up holes where you will place the base of the trellis in. You can mix the concrete with water and pour it into the bottom of the trellis, where it will sit tight and sturdy. By creating this strong base, you can have a solid structure that can hold a lot of weight and pressure without breaking or falling.
This step is optional, although securing the base with concrete is highly recommended. Concrete is very affordable and easy to obtain and is worth the effort. A concrete base will ensure your trellis will stay sturdy and intact for many years.
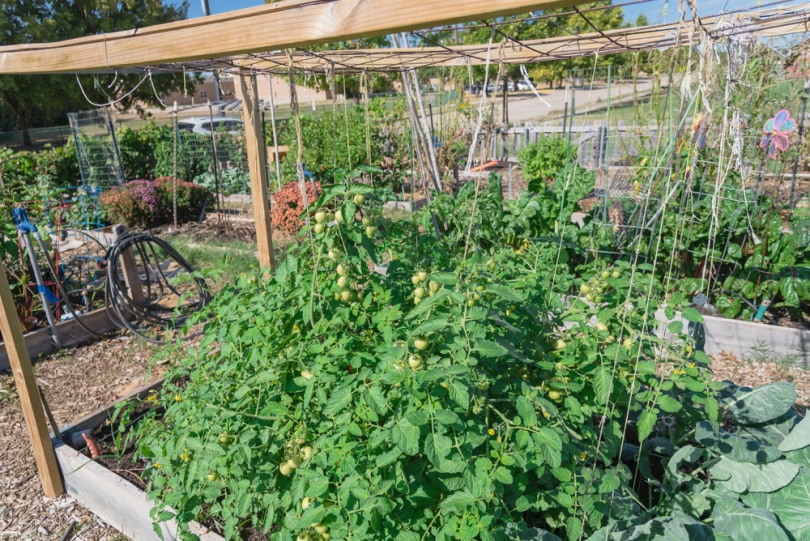
4. Install the Trellis in a Pot or in the Ground
You can grow many lightweight climber plants in pots, and they don’t need much support, but you can still add a trellis to help them during their growth. Depending on your plants and their positions, you can place a trellis in a pot or on the ground. For such plants, it would be enough to sink the trellis legs 12 inches into the soil as they won’t be too heavy. However, the trellis will need to be at least 2 feet in the ground for heavier plants.
If your trellis needs more support, you can follow our third tip and secure it with concrete to make sure everything will remain in its place.
You will avoid possible problems by ensuring that your trellis is adequately secured. It’s always better to be safe than sorry, so regardless of where you decide to place it, you should adequately secure it to prevent your plants from falling or tipping over.
5. Mount the Trellis to a Wall or a Fence
If you decide to mount your wood trellis to a wall, or a fence, it would be best to do so using trellis brackets. This step will be effortless, as all you will need are screws and a cordless drill. Since you will mount the trellis on brackets, this will allow your plants to grow and climb with enough room and air circulation.
Mounting the trellis to a wall with brackets is a handy thing you could do. It will add airflow to your trellis, making it ideal for hanging or growing plants.
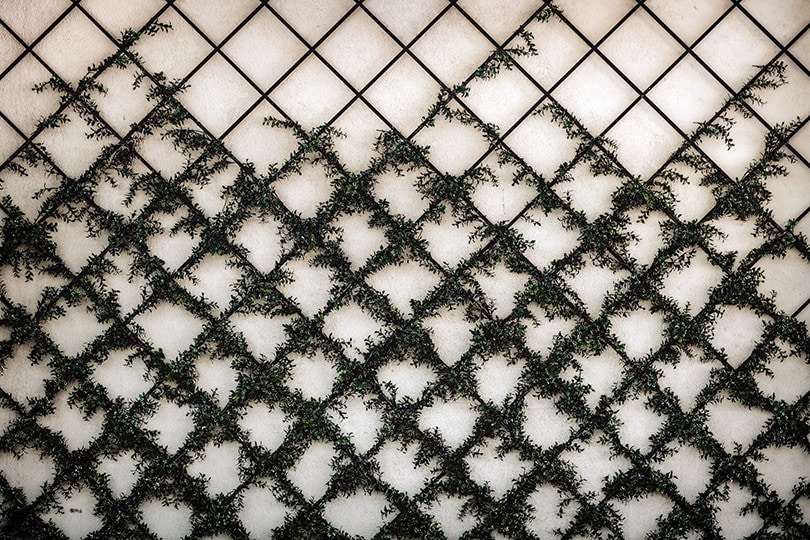
6. Choose an Adequate Trellis Wall Gap
When finding or making the perfect trellis, you should consider the distance between the wall and the trellis to ensure that plants are not suffocated. The three most common trellis wall gaps are:
- Small wall gap: Typically, small wall gaps have around 1.9 inches to 2.3 inches between them. They are considered mini trellises, one of the cheapest trellis options.
- Average wall gap: This wall gap has about 4 inches, and it works great for most climbers and creepers. It’s a classic trellis mount many people go for, providing stability and reducing maintenance needs.
- Large wall gap: Usually, this wall gap has around 6 inches and it helps prevent mildew, although the plants could quickly become tangled. We recommend choosing this option only when you’re planning on having larger plants that need more space.
This step is crucial if you choose to hang plants on your trellis. Some plants require a lot of air and space to grow freely. Providing enough room between the trellis and the wall will allow your plants to climb well without feeling suffocated.

Properly Maintaining a Wood Trellis
There are many ways to maintain your trellis properly. If you want to keep your wood trellis healthy and looking fresh for a long time, you might need to treat it. Make sure to use a solution containing chemicals that won’t affect your plants negatively.
- Pick out wood that resists rot (such as redwood or cypress)
- Treat your wooden trellis with a solution such as sodium borate
- Cover your wood trellis with a waterproof wood sealer
- Use wax to cover the surface of the trellis to prevent it from absorbing water
Conclusion
If you want to grow plants on your wood trellis, it is essential to provide suitable conditions such as enough room and light. It is necessary to ensure a wood trellis that will be strong enough to withstand any amount of pressure and harsh weather conditions. This article contains many helpful tips for installing a wood trellis properly. By following these tips, you will have a strong wood trellis that will make your garden look warm and charming!
Featured Image Credit: Rachel Maxwell, Shutterstock
Contents
