

One of the simplest and most effective ways to change the appearance of a room is by swapping out the door knob. Of course, it’s not always about appearance; sometimes, you just want to add or remove a lock to a room or get other advanced features.
Either way, you’ll need to know how to remove the old door knob and how to get the new one in place. The good news is that it’s not a complicated job, and with a comprehensive guide like this, we’re confident that you can get it done.
So, just keep reading, as we walk you through everything that you need to know. We’ll help you get that new door knob installed in no time.

Tools You’ll Need
The last thing that you want to do is get halfway through a job only to realize that you don’t have what you need. Here are all the tools you need, so you won’t have to make last-minute trips to the hardware store:
- Screwdriver
- Small woodblock
- Hammer
- Touchup paint*
- Paintbrush*
*Not always needed

Preparing Your Workspace
While replacing a door knob isn’t the most complex job in the world, there are many small parts involved.
You’ll also need space to work on both sides of the door, so it’s best to do a bit of prep work and ensure that you have a clean working area. Start by clearing a space around both sides of the door. You should be able to open and close the door without hitting anything.
Second, we recommend using a small worktable or at least setting aside a clean cloth to put the hardware on. This helps keep things from rolling away while you’re working, and it’ll save you a ton of frustration when you’re looking for something specific.
Once you have these two things met and all the tools you need, you’re ready to start replacing the door knob!
Replacing Your Door Knob (7 Steps)
This is a simple process, so just follow each step, and you’ll have your new door knob installed in no time.
1. Remove the Old Door Knob, Latch, and Strike Plate
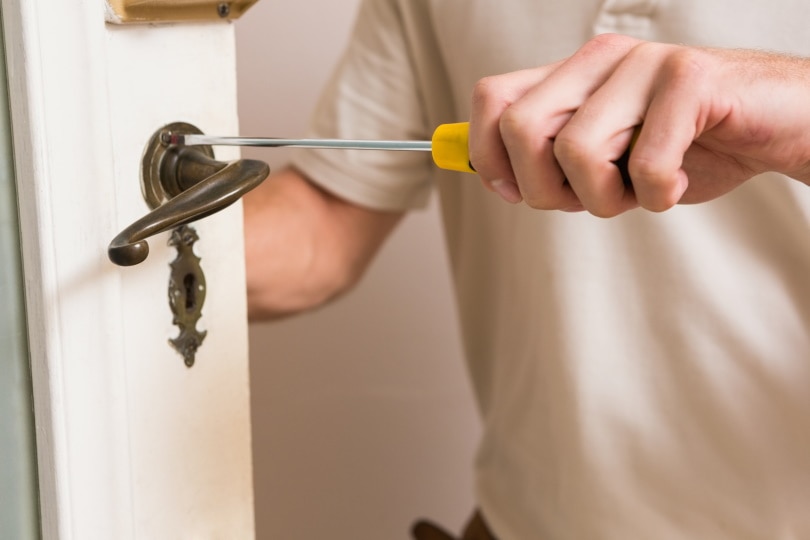
The exact steps to remove your old door knob will vary depending on its type, but the process is similar for most varieties. Inspect the outer parts of the two knobs for screws. If you can see screws, remove them; if you can’t, there’s a cover plate that you’ll need to gently pry off before removing the screws. To remove the latch and strike plate, you’ll need to open the door and take out the two to four screws holding it in place. Once you have all the screws out, you should be able to start pulling out parts.
Gently pull on both knobs while rocking them back and forth, and you should be able to get them to separate. Once the knobs are out, you can pull the latch and strike plate out from the side of the door.
2. Set Up Your New Latch/Latch Plate
Now that you have the old door knob and hardware out, it’s time to get the replacement ready. New door knobs should come with all new hardware, but if not, you can reuse hardware if it’s the same type of door knob.
To set up the new latch and plate, simply slide the latch through the latch plate. The part that is visible from the door should slide through the end of the latch plate.
3. Install the Latch and Latch Plate
Once you set up the two pieces, installing them is a fairly straightforward process. Push the back of the latch through the opening on the side of the door. The latch should have a rounded or angled part that needs to push against the door when you’re opening and closing it.
If it’s backward, simply flip the latch or reinstall the latch in the latch plate so it pushes against the door frame correctly.
Do your best to line up the holes for the screws with the existing holes, but don’t stress out too much if they don’t line up. Just ensure that they’re not close together. Otherwise, when you go to put in the screws, the opening will be too large and it won’t hold the latch in place.
Before installing the screws, ensure that the latch sits flush against the door. This prevents it from hitting the frame when you close the door. If the latch isn’t sitting flush, use a block of wood and a hammer to tap the latch plate into place.
Once the latch plate is flush and you can line up the holes, put in the screws. You have now finished installing the latch and latch plate!
4. Install the First Door Knob
When you look in the area where the door knob goes, you should be able to see an opening on the latch where you need to line up the mechanism on the knob. Typically, this opening is a square, but technically, it can be any shape besides a circle.
Line up the mechanism with the opening on the latch, and push it through. The knob should rest flush against the door. If it doesn’t, simply gently rock the knob back and forth while pushing it into place.
5. Install the Second Door Knob
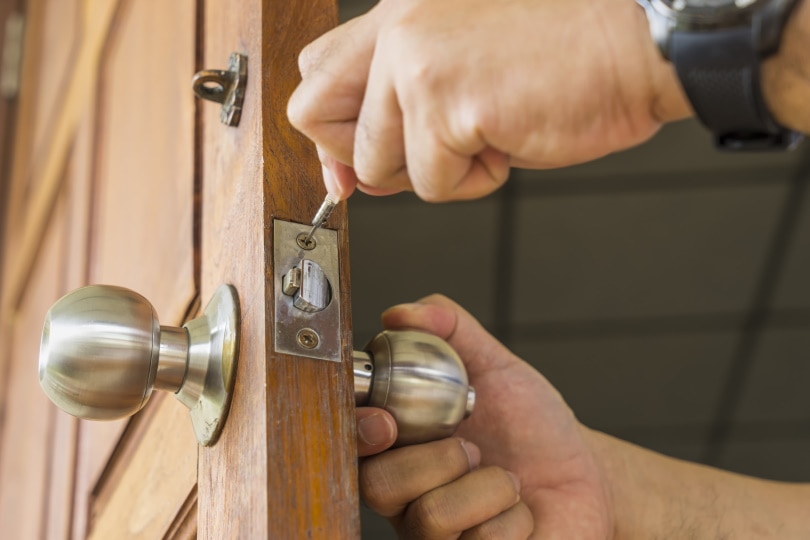
Once you have the latch and first door knob in place, it’s time to install the second knob. It’s an identical process to the first door knob, but you need to ensure that the screw holes line up with each other. Since most doorknobs have two screw holes, this usually isn’t an issue, but if there’s only one, ensure that they’re on the same side.
Once you have both door knobs in place, push them together and install the screws. You should be able to push the screw most of the way in place with your fingers, but to finish the process, you’ll need to use your screwdriver.
Get both screws started before tightening them down completely; otherwise, it might twist the door knobs and make it impossible to install the second screw. Once you’ve started both screws, tighten them down so they’re both snug.
6. Test It!
Now that the latch, latch plate, and door knobs are in place, it’s time to see if all your hard work paid off. The door should open and close with the handles now, so test it out. If the door opens and closes as it should, then you did everything right!
7. Secure Loose Hardware and Add Final Touches
Once the screws are in place and the door is working the way that it should, what else do you need to do? This step is all about the aesthetics. Sometimes when you’re removing or installing a new door knob, it can lead to chipping or other small damages.
During this step, apply a bit of finish to the affected area with a paintbrush, and let it dry. Once it dries, inspect the area; if it looks great, you’re ready to move on to your next project!

Can You Fix a Door Knob?
While you can fix certain door knobs, the process is often more of a headache than it’s worth. Door knobs are relatively cheap, and the repair process can be complicated.
Either way, you’ll still need to remove the entire door knob assembly to try to figure out what’s going on. Sometimes, you can fix the problem with a can of WD-40, and other times, broken components dictate that you’ll have to replace them.
Are All Door Knobs the Same Size?
The short answer is no. Door knobs typically range from 2 3/8″ to 2 ¾” in diameter. But while there’s a difference in the size of the door knob itself, it’s typically just an aesthetic difference.
The size of the hole itself should remain the same, and this enables you to upgrade or downgrade the size of your door knob without worrying about whether it will fit in your door. Just keep in mind that the average door knob only fits doors that are between 1 3/8″ and 1 ¾” thick.
If you have a thicker or thinner door, you’ll need to invest in specific hardware for a replacement door knob. Otherwise, a regular door knob that you can find at your local hardware store should do the trick.
Final Thoughts
Sometimes it’s the simplest changes that can make the biggest differences. That’s often the case with doorknobs, and hopefully, at this point, you have a thorough understanding of what you need to do to swap yours out.
So, what are you waiting for? Get the new door knob and overhaul the look of your room today!
Featured Image Credit: Maryana Serdynska, Shutterstock
Contents
