
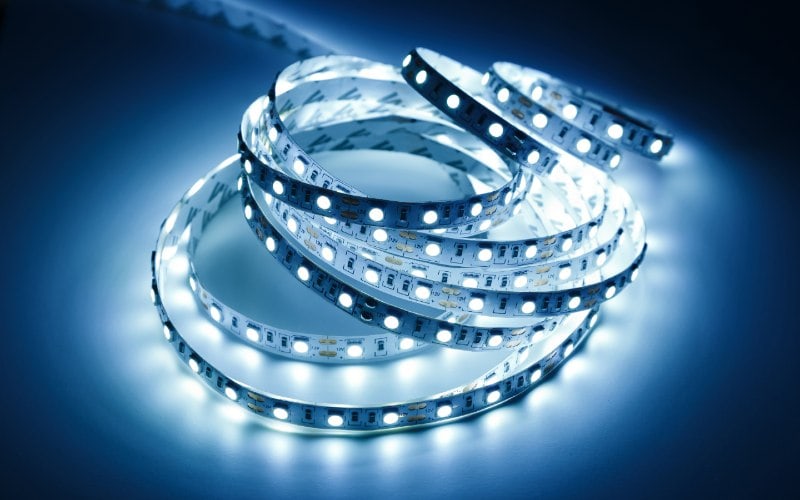
LED strip lights are attractive and can be a great way to improve the illumination in your home, allowing you to add light without relying on lamps or harsh lighting. However, if you have never installed this kind of lighting before, you might have a lot of questions and it may feel like a difficult task.
If this sounds familiar, keep reading while we provide several expert tips about light strip installation that we think will help answer any questions and help you feel confident about adding this kind of lighting to your home.

How to Install LED Strip Lights
1. Choose Your Lighting
High End
Many people opt to use strip lighting because it can connect to Bluetooth or your smartphone to change color. Many brands offer this type of lighting, including Govee, TJoy, and Pangton Villa. Each offers a slightly different set of features, so it could be worth researching the different brands to learn what’s possible.
Budget Friendly
Budget-friendly strip lighting usually won’t connect to your smartphone, but it can be a cost-effective way to add indirect lighting, and many brands can sync with music to create a festive atmosphere. Many brands don’t change color at all and are perfect if you only want to add plain lighting, and they can be quite affordable.
2. Placing Your LED Strip Lights
Before you purchase any lights, carefully measure the area you want to install them, so you know how long the strip needs to be. If you plan to install the lights in multiple locations, you will need to measure each area to get an idea of the total length. In most cases, you can cut the lighting to the proper size later.
3. Make Sure the Surface Is Correct
Manufacturers of strip lighting design the backing to stick to smooth, flat surfaces like metal, plastic, vinyl, ceramic tiles, and even wood. You should not try to use strip lighting on a textured surface or painted drywall.
- Metal
- Smooth, hard plastic
- Ceramic or porcelain tile
- Wood
- Glass
- Marble
- Granite
- Vynil
- Fabric
- Rough plastic
- Textured paint
- Brick
- Cement
4. Clean the Surface
It’s easy to get excited about your new strip lights and natural to begin installing them as soon as they arrive. However, if you don’t clean the surface, the adhesive might not stick, and you might see them falling faster than you anticipated. We recommend scrubbing the surface with a solution you create by mixing 3/4 cup of water, ¼ cup of white vinegar, and 1 teaspoon of liquid dish soap to break up grime and remove any dirt and dust. Let the surface dry completely before you try to attach the lights.
5. Keep the Lighting in a Roll

It can be tempting to unroll the strip lighting when it arrives and start cutting it to size, especially if you are hanging the lighting in several places. However, it will be easier if you leave the lights rolled up and apply the lights you need one at a time. It will also help reduce the risk of cutting the lights the wrong length.
6. Mark Your Line
Carefully go over where you want the first strip with the lights in your hand and use a ruler and a pencil to mark where you want the lights to go. Even if it looks simple, a line will be easier to follow once you start sticking the lights and will reduce the risk of an error. If you make a mistake and need to pull the strip away from the surface it can damage the adhesive so, take your time.
7. Sticking the Strip Lights
Peel back 6–18 inches of adhesive tape off the back of the lights, line it up with the mark you made in the last step, and press it firmly in place, removing more backing as needed. Run your finger over the strip to push out air bubbles and achieve a good bond. When installing your light, consider which direction will make them easier to plug in.
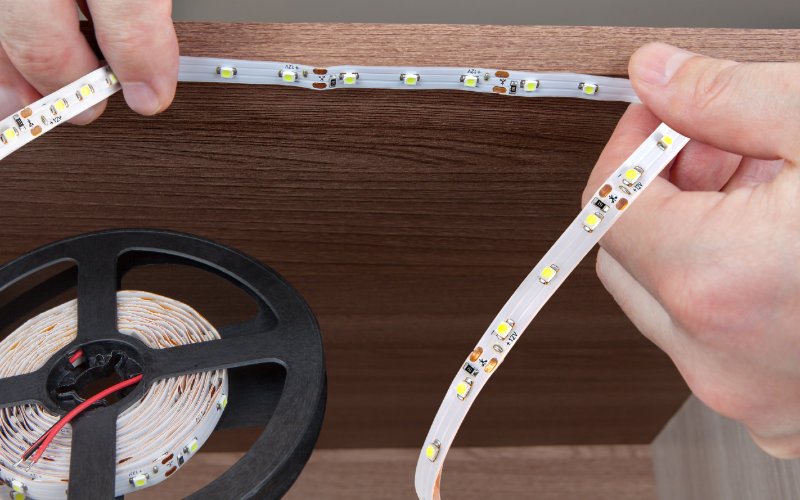
8. Cut to Size
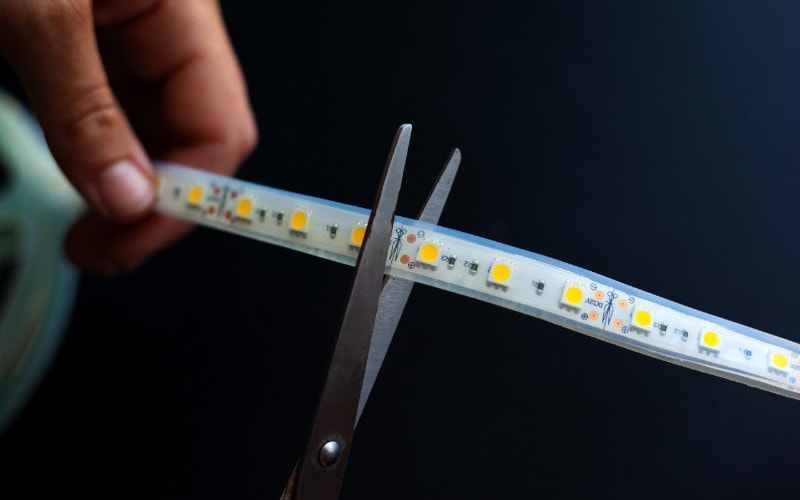
When you reach the end of the first strip, you will need to cut it. Most have four gold tabs or a symbol that looks like a pair of scissors every few inches along the strip, showing you where you can cut, but we recommend checking the instructions or packaging that came with your lights to ensure it’s the same.
9. Repeat
Repeat the previous steps at each location where you intend to install the strip lights.
Strip Lighting Tips and Tricks
- After you cut them, you can use 4-pin LED connectors to attach two strips again. This is especially useful for installing lighting that needs to make sharp 90-degree turns. However, it’s important to remember that LED connectors and light strips are not always compatible, so we recommend buying them from the same company.
- Use a diffusion cover over your strip lighting if it is visible. The diffusion cover will help remove any glare and make the strip lights look like a single light instead of several.
- Using multiple strips will help provide a unified appearance throughout your home.
- Use twisty ties and double-sided tape to help keep strip lighting in place when the backing adhesive isn’t enough.
- Most lighting strips come with a power supply that can manage the needs of the roll, but if you start connecting additional lighting to the original strip, you may need to invest in a larger power supply.
- If you intend to use strip lighting outside, make sure you choose a waterproof brand and install it where it is protected from the elements and out of direct sunlight.
Summary
Strip lighting is a great way to improve any home’s appearance and overall atmosphere. The LED lights are relatively inexpensive, don’t cost much to run, and last a long time. Installing the lighting requires you to measure the area carefully and clean it well so the adhesive backing sticks. Then move slowly to mark where you want the lights and stick them in place before cutting and moving to the next location.
Don’t be afraid to use additional double-sided tape if you need it, and LED connectors can help you make right angles or even complicated designs with your strip lighting.
Featured Image Credit: SimoneN, Shutterstock
Contents
