House Grail is reader-supported. When you buy via links on our site, we may earn an affiliate commission at no cost to you. Learn more.
How To Paint Concrete In 8 Easy Steps
Pete Ortiz
Last updated:
Concrete flooring is making a resurgence in homes, as well as in industrial and practical settings. The material is hardwearing, durable, and it can be made to look stunning and interesting simply by painting it. Even though concrete is porous, it is actually very easy to paint.
Preparing the surface and patching any holes are probably the most difficult aspects of the process, but with our eight-step guide to painting concrete below, you will be able to finish this DIY job quickly and with the minimum of fuss.
Materials and Tools
Concrete patch
Concrete sealant
Detergent
Long-handled brush
Masonry paint
Paint roller
Roller tray
Trowel
Warm water
Image By: Kuchina, Shutterstock
How To Paint Concrete: The Process
1. Prepare the Concrete
Concrete not only gets dirty but is prone to algae, moss, and lichen. All of these organisms can make the concrete look dirty, and they absolutely need removing before you start painting, or you will see poor results from the paint job. Fortunately, concrete is easy to clean. Use warm water and detergent and a long-handled brush to sweep dirt and debris away. Ensure you have completely cleared away anything from the surface of the concrete including weeds and plants.
Image Credit: M_Agency, Shutterstock
2. Remove Oil and Grease
Oil and grease can cause discoloration of paint, which means that if you paint an oil-stained concrete floor, patches of it can change color over time and leave you with an oddly discolored patina. Use a solution like tri-sodium phosphate and mix it with water according to the ratio on the packaging instructions. Apply it to the surface, brush it in, and then allow it to dry.
3. Fill Holes and Cracks
Concrete is a hard surface, but it can become chipped, especially when used as a garage floor or on the driveway. Steps are also prone to being chipped if hit with heavy objects, and rapid changes in temperature can also cracks to appear. It is important that you fill any holes or cracks that have appeared on the surface of the floor before painting. Use a concrete patching product and follow the guidelines on the packaging to mix and apply it. Allow the patch to dry thoroughly before moving in, or sealant and paint will simply soak into it.
Image Credit: Ursula Page, Shutterstock
4. Apply Sealant to Indoor Concrete
Concrete is used for indoor and outdoor applications. If you are painting an indoor concrete, apply concrete sealant. It isn’t cheap, but it does stop moisture from coming up through the cement and ruining your new paint job. Although you can apply sealant to outdoor concrete, it isn’t really necessary.
5. Apply Primer
Concrete is a porous surface and if you apply paint directly to it, a lot of the paint will be soaked up by the concrete. Primer dries and sits on the surface of the concrete, giving the paint something to adhere to and preventing it from being soaked up by the concrete floor. It may take two coats of primer to get the best results, and you need to let the first coat dry before applying the second.
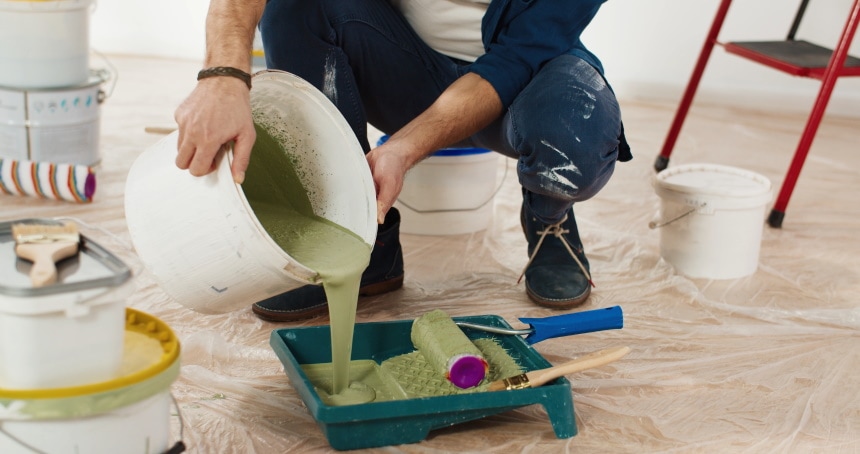
6. Apply Paint Using a Roller And Leave It To Dry
Once the second coat of primer has fully dried, you can start to paint the surface. It is more efficient and effective to use a roller for this job. Apply a thin layer of paint. You will be adding two or three layers, in total, so you don’t have to worry about covering every tiny speck of concrete at this stage. Once the paint has been applied, allow it to dry, ideally for a day but always following the paint instructions.
Image Credit By: Sven Brandsma, unsplash
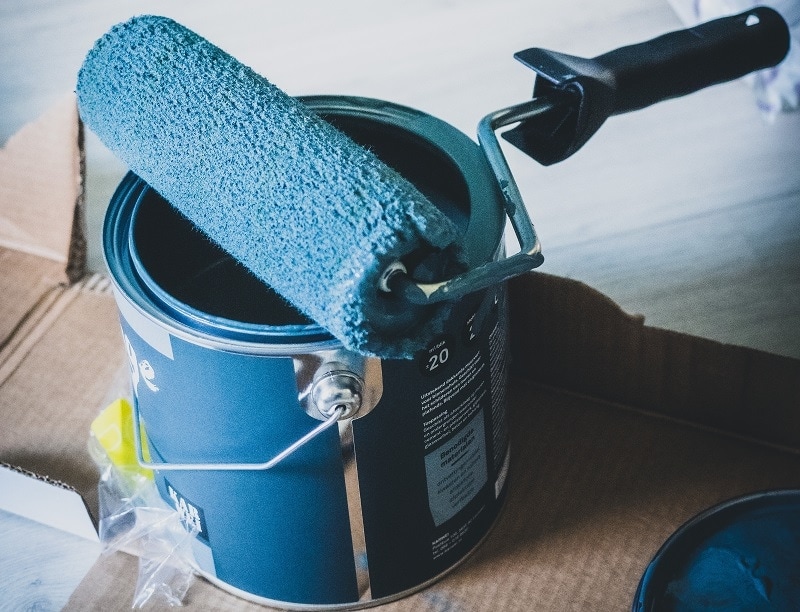
7. Apply a Second and Subsequent Coats
Once the first coat has dried, apply a second coat. Once again, apply a thin layer because this can help prevent pooling and drips. If you are adding a third layer to ensure total coverage, let the second coat dry fully before adding the final layer.
8. Wait 24 Hours
Once the final layer has been applied, it also needs to be left to dry as fully as possible. This will usually take 24 hours, but you might want to wait two or three days before you start putting items like toolchests and worktables on top of it. This will prevent circles and marks forming on the paint job.
Credit: Africa Studio, Shuttterstock
How Do You Prepare Concrete For Painting?
Concrete first needs cleaning before any oil and grease is removed. Then it should be sealed before being primed. This process, including drying times, can take 48 hours, with another 48 hours for the actual painting. If you’re painting outdoor concrete, this means trying to find a period of 4 days when it is unlikely to rain.
What Kind Of Paint Do You Use On Concrete Steps?
Many types of paint can crack and peel when applied to concrete. This is because concrete contracts and expands as it gets moist and dries out, and also with sudden temperature changes. If the paint is too firm, it is unable to move with the concrete and cracks. Masonry paint is an elastomeric paint, which means that it does move with the concrete as it shifts, preventing ugly peeling from ruining your paint job.
Do I Need To Prime Concrete Before Painting?
Concrete is a highly porous material, which poses several problems when it comes to painting. Firstly, the concrete itself is likely to hold some moisture, which can cause the thinning of paint that you apply, but even more of a problem is that the porous surface will soak up the paint in some areas and not others which will give an uneven finish.
Primer essentially evens out the porosity of the surface so that you get a uniform finish so while you don’t have to apply primer if you aren’t concerned with the finished look, it is advisable if you don’t want the paint to look patchy as soon as it dries.
Conclusion
Concrete can be used as a flooring surface inside and outdoors. It is hard, relatively inexpensive, and can be poured into place. It can also be painted to protect it or to give it a different finish. Painting concrete isn’t that difficult but you will need to clean it, get rid of any oil and grease, and then apply a primer to ensure that the paint takes and doesn’t become patchy.
Featured Image Credit: Africa Studio, Shutterstock
Contents
Writer
Pete Ortiz
Pete has been working in the trades since high school, where he first developed a passion for woodworking. Over the years, he has developed a keen interest in a wide variety of DIY projects around the home. Fascinated by all sort of tools, Pete loves reading and writing about all the latest gadgets and accessories that hit the market. His other interests include astronomy, hiking, and fishing.
As the founder of House Grail, Pete's primary goal is to help consumers make educated decisions about DIY projects at home, in the garage, and in the garden.


 Conclusion