
Shiplap has become extremely popular over the last few years. Luckily, this interesting design feature is easy to install without much background knowledge. Therefore, it’s an easy way for homeowners to spruce up their homes without needing a professional.
However, that doesn’t mean that installing shiplap is always straightforward. As with any DIY project, some snags may occur. Whenever you’re DIYing your unique home, you may face unique challenges.
Luckily, many people have installed shiplap before you—and the problems you might have were probably experienced by someone else, too. Therefore, there are tons of tips already out there to help you add shiplap to your wall as easily as possible.

How to Install Shiplap on a Wall
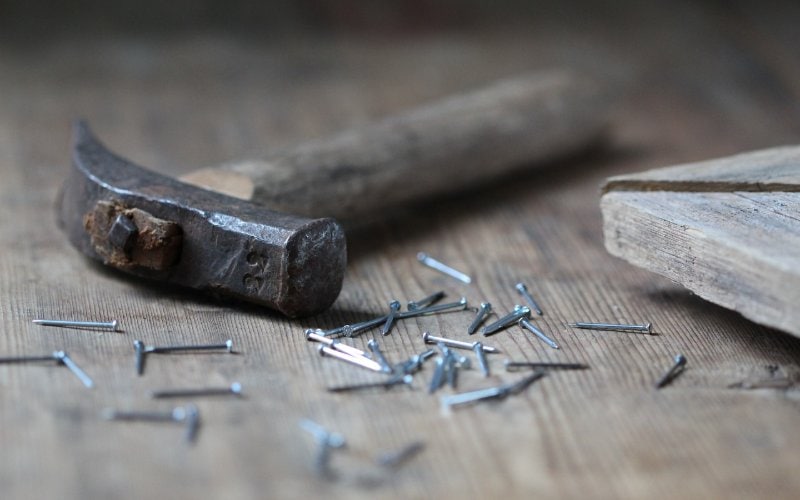
1. Use Nails
To install most shiplap, you’ll need to nail the board onto the wall. Be sure to get into the wall studs, as this helps the boards stay help. The drywall wasn’t really made to hold much up, so you should nail straight to the wall studs.
Sometimes, people suggest using construction adhesive to fix the boards to the wall or ceiling. Often, this works, too. However, this bond won’t be as strong as using nails. Therefore, we recommend using nails wherever possible. You can use adhesive first if you find installing with adhesive easier. However, once the boards are in place, finish-nail them to ensure they stay in place.
2. Trim Ceilings, Corners, and Floors
Instead of just throwing the shiplap up on a wall, consider trimming the outside edges with smaller pieces. Often, 1-by-4-inch boards are utilized for this purpose. However, while this is standard, you can make adjustments as necessary.
Of course, how you do this depends on your skill level and preference. Trimming does require a bit more work and skill. However, it makes the project look much more intentional and finished—even if it isn’t consciously noticed by most. There are plenty of DIY tutorials out there for trimming with shiplap. Therefore, it isn’t too hard to do— it just takes more time.
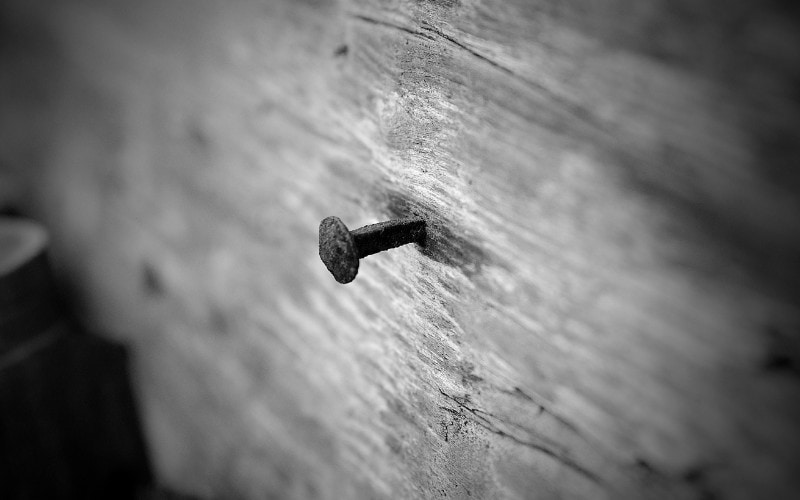
3. Remove Everything
Before you begin, you’ll need to remove everything from the wall. This includes any nails that may be sticking out. You want the wall completely free of any debris, too. Therefore, consider giving the wall a good cleaning. You’ll need to remove baseboards, crown molding, and trim. In other words, the wall must be a blank slate before you begin.
4. Let the Shiplap Adjust
Wood moves a lot in accordance with temperature and moisture levels. Because shiplap is (usually) wood, this means it can shift. If it shifts a lot after installation, it can lead to cracks, breaks, and inaccurate edges. Therefore, we recommend letting it adjust to the room for at least 48 hours before you install or prepare it.
This way, it will have a chance to adjust to the room’s climate. Then, when you put it on the wall, you won’t have to worry much about the wood shifting.
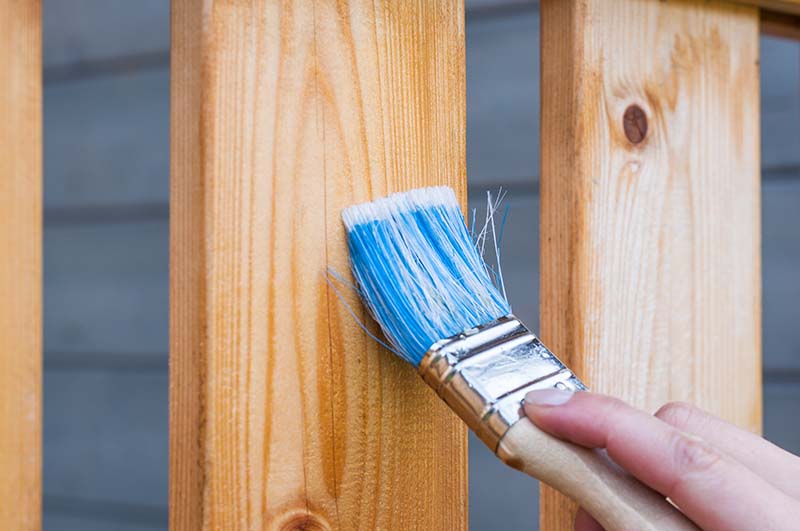
5. Paint
Many shiplap designs have a gap between the joints, allowing the paint color underneath to poke through. Therefore, if you want everything to look new and fresh, you’ll probably need to repaint your walls. You can paint the wall the same color as your shiplap or a contrasting color. It depends on the design style you’re going for.
Speaking of paint, you should also paint your shiplap boards before you get them on the wall. You don’t want to paint the shiplap after it goes on, as this would be much more challenging.
6. Purchase about 10% Extra
Even someone with plenty of experience will mess up from time to time. Therefore, you should order about 10% extra to ensure that you have plenty of backup materials if necessary. The last thing anyone wants to do is make a mistake without any extra material to work with. While you can order more, products do get discontinued all the time. Plus, you’d have to wait for shipping (which can be considerable).
In the meantime, you’d have a half-finished wall.
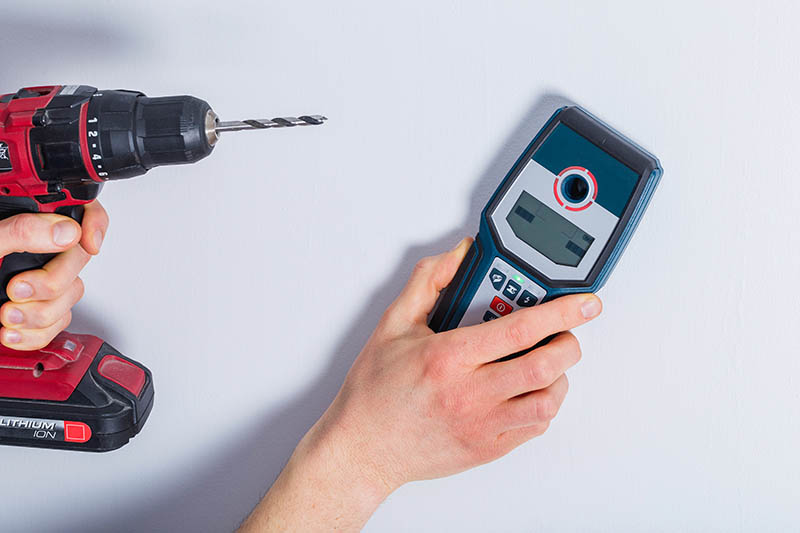
7. Mark Studs
While we have discussed that you need to nail the shiplap into the wall studs, we also recommend marking the studs before you begin. You can use a stud finder for this purpose. However, the finding process should be done before you nail things to the wall. You can use a chalk line to mark where the studs are, making it easier to get the nails in the correct position.
8. Double-Check Your First Row
Your first row is the most important, as everything else will be based on it. If your first row isn’t straight, none of the other rows will be. Therefore, you should use a level to get your first row straight. Use guidelines and check everything twice. Now is the time to fix any mistakes—not after you’re a few rows in.
“Measure twice, cut once” may be a common saying, but it holds true.
9. Bring Some Nickels
Between each row, place nickels for spacing. You’ll want to place a new nickel every few feet. Then, as you finish each row, remove the nickels. You can reuse them for the other rows. This spacing is what provides the “authentic” shiplap look. It also lets you see the paint color underneath, which may be vital to some designs.

10. Stagger Cuts
Most shiplap has staggered cuts going up the wall, similar to wood flooring. It’s recommended to do this on your own wall, or things can look a bit strange. Of course, this staggering should be “even”—not random. You want the pattern to repeat as you go up the wall. This will provide a natural finished look.
How long each piece is before it ends can affect how the wall looks. Therefore, we recommend giving it some thought before you start cutting. Several inspirational pictures can help you determine the proper length for your shiplap.
In Conclusion
Putting shiplap on a wall isn’t difficult—which is why it is a popular DIY project. However, there are a few things you need to consider. For instance, having nickels to place between pieces provides a finished, authentic shiplap look. Without it, your walls may not look as nice as they would.
However, this step is easy to overlook, especially if you’ve never put shiplap up before.
Once you get your shiplap wall going, the installation often gets easier. The first row and the planning are usually the most complicated parts.
Featured Image Credit: Tr1sha, Shutterstock
Contents
