
Repurposing materials isn’t only practical, but attractive pieces often add character to a room. People reuse logs from old homes or barnwood to use as a focal point. Shiplap is another riff on this theme.
While installing shiplap on a ceiling is a DIY job, it pays to know the ropes to make the most out of the unique look they’ll bring to your home.

The 20 Expert Tips on How to Install Shiplap on a Ceiling
1. Shiplap Can Cover Dated Textured Ceilings
If your existing house was around during the 1970s, the chances are at least one room has a popcorn or textured ceiling. But like bell-bottoms, they’ve long worn out their welcome. If you’ve despaired about what to do with your ceiling, shiplap can do the job and cover up your eyesore with something trendy and just plain cool.
2. Faux Shiplap Is an Excellent Budget-Friendly Option
The real deal isn’t cheap. However, the fact that it’s authentic is what makes it so unique. Manufacturers have caught on to shiplap’s popularity with faux versions. They are a fraction of the price.
You’ll often see them with tongue-and-groove designs that make them a snap to install. If you want something even more affordable, opt for wallpaper with a weathered design.
3. Consider Your Decor
Consider the texturing and spacing when choosing your shiplap. For example, thin slats can add a minimalist charm to a room that can complement your existing decor. We suggest requesting wallpaper samples or using a decorating app to try on some different looks to see which one works best for you. It’s a wise option, given the cost and labor involved with the installation.
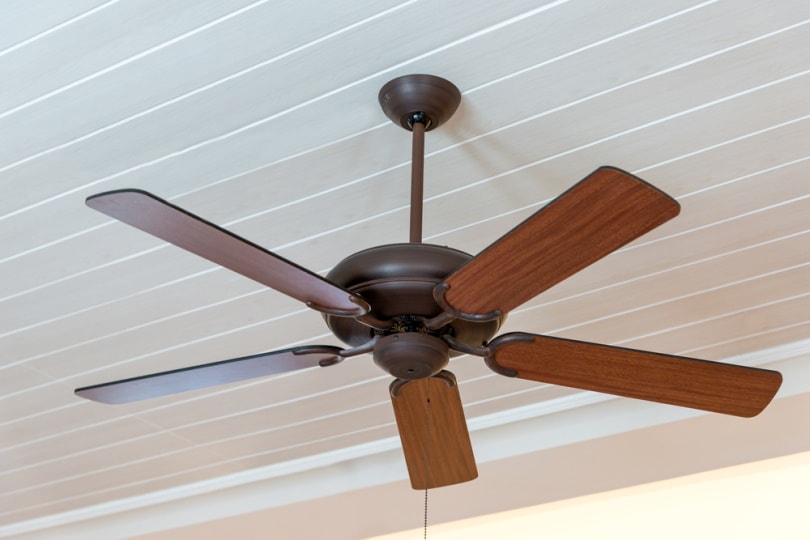
4. It Doesn’t Have to Be White
White is a popular choice for a color, particularly a ceiling. It makes a room feel larger and more spacious, which can significantly improve its looks. Nonetheless, it’s not a steadfast rule like not wearing this color after Labor Day. You can go with the popular hues and make the design element your own. It’s amazing how much a different shade can transform a room.
5. Don’t Use Shiplap to Cover Flaws
While you can use shiplap to cover a textured ceiling, you shouldn’t use it to sweep something under the proverbial carpet. It’s not going to make the leaky tub in the bathroom directly above it go away. You’ll only end up damaging the new covering, increasing your costs for fixing it once and for all. Do yourself a favor and take care of the problems above you before working on the ceiling below.
6. Find the Ceiling Joists Before You Start
Authentic shiplap is heavy stuff. That’s why you should attach it by going through the ceiling joists to secure it. A stud finder is a worthwhile investment that can make your job infinitely easier. It’s hard enough working above you. Streamline the process so that everything runs smoothly.

7. Don’t Forget to Sand the Edges of the Shiplap
This tip may seem like a no-brainer, but it’s worth repeating so that you can cross it off your to-do list. Remember that the beauty of shiplap lies in how the panels fit together. Sanding them until they’re smooth will ensure you get the look you’re after with this design element.
8. Use a Paint Sprayer to Cover the Shiplap Before Installing Them
We’re a fan of using a paint sprayer for jobs like this one. It’s quicker and less messy than using a brush. You’ll also have plenty of panels. This device will get it done faster so that you can get to work on the installation.
9. Keep the Gaps
The characteristic feature of shiplap is the gaps between the slats. We suggest keeping a screwdriver or paint stirrer handy to carve them out if the paint starts to slip between them. Of course, you have to do it while it’s still wet to avoid scratching the wood or ruining the even lines.
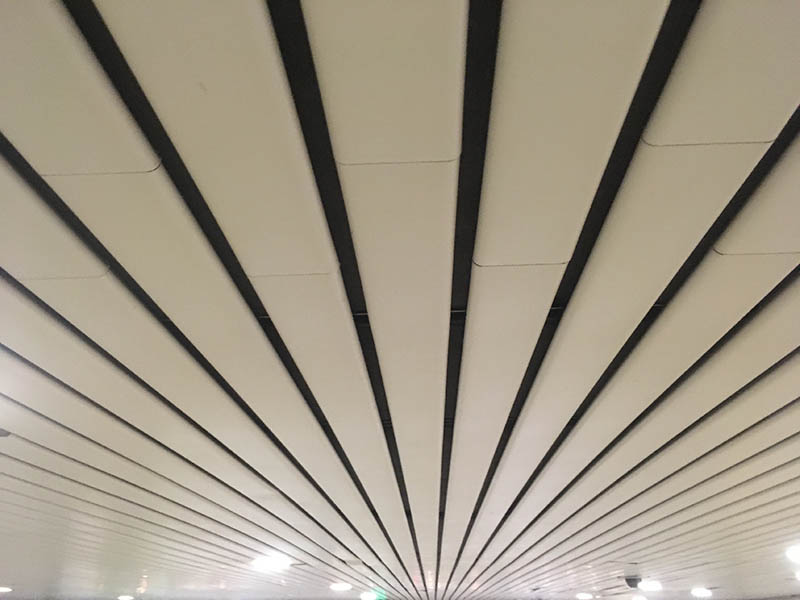
10. Use the Vertical Lines of Shiplap to Create the Illusion of Space
You can install a shiplap to lie parallel to the length of a room or hallway to make it seem larger by creating the illusion of space. It also draws people’s eyes down the space for other welcome visual effects. It’s an excellent way to highlight a focal point at the opposite end of a room.
11. Opt for Installing Furring Strips Between the Shiplap and Ceiling
Using furring strips is a quick fix if your ceiling is less than perfect. It can fill the gaps so that the shiplap lies flat. It’s also an excellent option if the texturing is overdone or missing pieces. It’ll give your project a professional look, and no one will know they are there.
12. Plan on It Taking an Entire Weekend
You can install a shiplap on a ceiling in an average-sized room in a weekend. However, we suggest planning on it taking the entire time. It’s not so much that the project is challenging as it is giving you frequent breaks from looking up as you work. Do yourself a favor and give your neck a break every now and then.
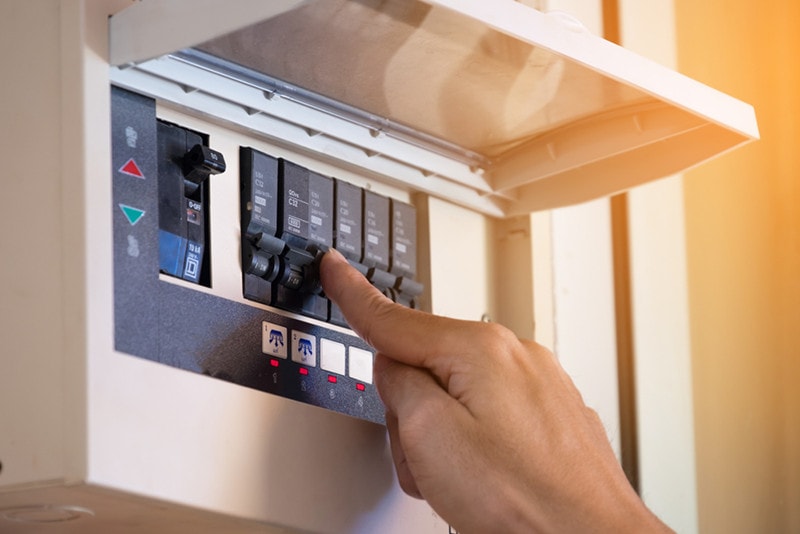
13. Make Sure to Turn Off the Power Before You Start
This one may also fall into the no-brainer category, but it’s something you had better be sure you’ve done before you start. Lots of wires run above the ceiling. That doesn’t mix well with you putting screws or nails into the joists. Make sure to turn off the breaker and not just the power switch if you live in an older home.
14. Measure Twice and Cut Once
It’s something that every carpenter knows before any saw or power equipment touches their hands. Always measure the piece twice to verify its size before you cut it.
It’s especially true if you’re using shiplap. You could end up getting a replacement piece that doesn’t quite fit with the rest of your panels. That’ll mean more work with ramped-up precision to get it right.
15. Extend the Ceiling’s Shiplap to the Walls
Don’t think you have to confine the shiplap to the ceiling. You can extend it to the walls to make the room feel like a ship. It’s a clever way to match a nautical theme in your room. It also has the same visual effect as the parallel placement of the panels.
16. The First Board Sets the Pace
The first board you install is the most important one. Take the extra time to measure it twice and ensure that it sits level. If it’s not, the mistake will become more glaring with each subsequent board. We also recommend stepping back to check your work so that you can identify an issue before you have more installed, compounding the error.
17. Use Spackle to Fill in Any Holes and Sand the Spots for a Clean Finish
The clean look of the parallel lines requires you to clean it up with some spackle to fill in any holes or dents. Once it’s dry, sand it to get it ready for the next steps in the installation.

18. Plan on a Couple of Coats of Paint
The shiplap will likely need a couple of coats of paint to get it looking fine. Use flat or the so-called ceiling paint. Bear in mind that the gaps will attract dust. The extra coats will provide the added protection to handle running a ceiling cleaner over it occasionally.
19. Paint With the Grain
We suggest painting the shiplap along the length of the boards instead of across them. It’ll help preserve those stylish gaps you want to keep between the panels. It’ll also give it a more natural look, fitting for the feel it brings to a room.
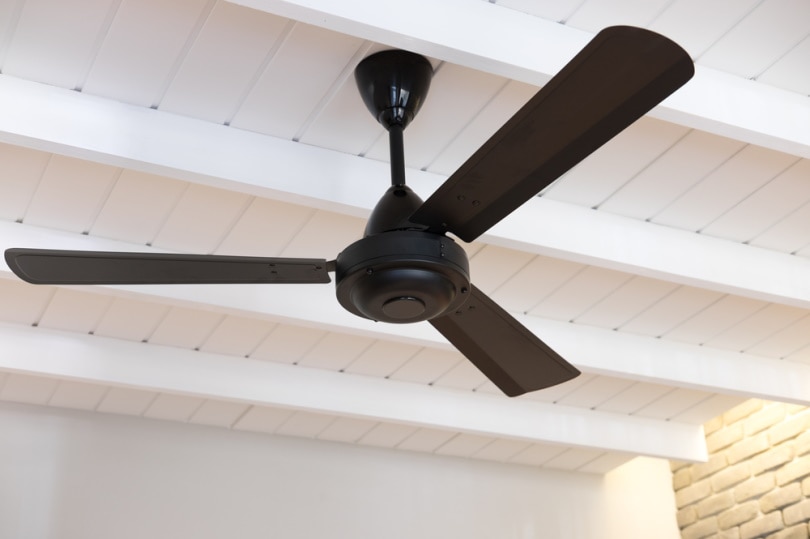
20. The Best Way to Hang Shiplap Is Perpendicular to the Joists
If possible, the best way to hang the shiplap is perpendicular to the joists since it’ll add strength to the installation with the spacing of the nails or screws. It also reinforces the tips we’ve discussed about planning your project. We would put it in the same category as measuring twice. Save yourself the hassle.
Other Ways to Use Shiplap
We mentioned using shiplap on walls to extend the look you’ve created on the ceiling. You can also use it to make a focal point. Think of a panel above a fireplace to lengthen the mantle or a headboard. Placement is also an essential consideration. Putting it in an entryway makes a statement to anyone entering your home.
Shiplap lends itself well to rounded ceilings that replicate the hull of a ship. After all, it’s constructed for this shape. One of the best things about using this material is that it can complement the lines of a room with an unexpected yet gorgeous touch.
Conclusion
Shiplap is another example of a repurposed material that offers many possibilities for enhancing a room. The lines are the key to adding another design element that can profoundly affect its appearance. If the real thing is out of your budget, you can still get the same benefits by opting for faux pieces or even wallpaper. The possibilities are only limited by your imagination.
Featured Image Credit: Mocha.VP, Shutterstock
Contents
