How to Make a Gravel Driveway: 8 Simple Steps
-
Greg Iacono
- Last updated:

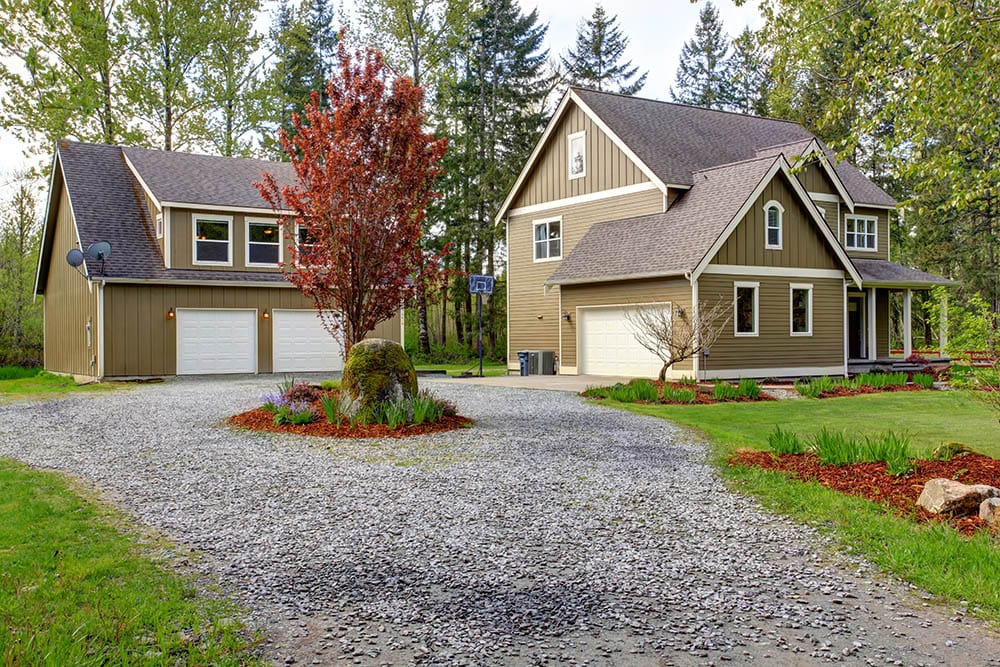
A gravel driveway is attractive, economical, easy to maintain, and can also improve your home’s curb appeal. Also, gravel driveways last for years and are easier to repair than concrete or asphalt driveways. Gravel driveways allow rain, snow, and ice to be absorbed by the ground underneath, reducing the chance of flooding.
Installing a gravel driveway can be a great DIY project for the entire family, giving everyone a sense of accomplishment and pride. If making a gravel driveway for your home is on the agenda, follow the steps below to do it right and get beautiful results.
The 8 Simples Steps on How to Make a Gravel Driveway
1. Measure Your Driveway to Determine How Much Gravel you will Need
When making a gravel driveway, the first thing to do is measure the driveway space. This measurement will tell you how much gravel to purchase. Experts recommend having a gravel depth of 6-8 inches (15-20 centimeters). You need the length, width, and depth to figure out how much gravel you need. Once you have those measurements, use this free gravel calculator to determine how much gravel to purchase.
TIP: Keep in mind this measurement doesn’t include the base layer leveling material you will need to lay down beneath the gravel.

2. Purchase Materials and Gather Tools
There aren’t a lot of tools and materials needed to make a gravel driveway, but the ones you need are essential.
- Traditional shovel
- Landscaping stakes
- String
- Wheelbarrow
- Rake
- Gloves
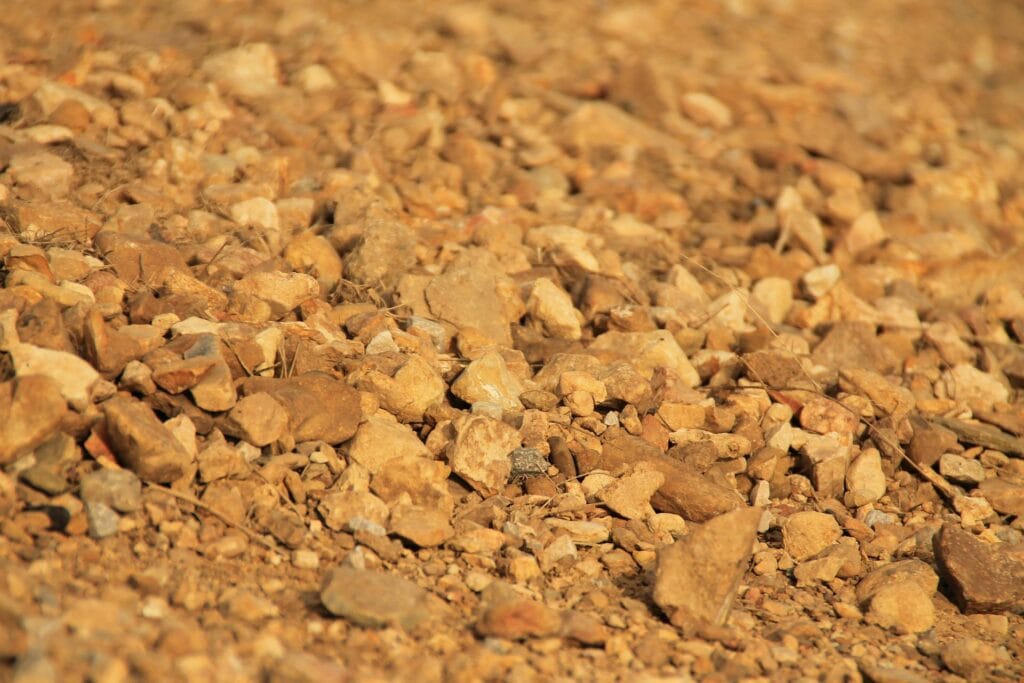
- Decorative gravel. There are many types, sizes, and colors. Choose one that matches the exterior of your home.
- Base layer bulk leveling material (Optional)
- Weed prevention barrier
- Driveway edging. These can be solid blocks or large rocks and boulders.
3. Use Landscaping Stakes and String to Demarcate the Driveway
This step will help you determine where to dig in step #4. if you have a relatively rectangular driveway, you will only need four stakes. However, for a winding driveway, more stakes are necessary. Once your stakes are in, use string to demarcate precisely where you will place your gravel driveway.
4. Prepare the Area
Before putting the gravel down in your driveway, you need to prepare the area first. Depending on what is on the surface, you may need to remove topsoil, grass, and other debris. It’s recommended that you dig to a depth of 8 inches (200 mm). That way, there will be room for the base layer and layer of gravel. It’s also imperative that you ensure the area is level and compacted.
NOTE: For long or large driveways, it might be necessary to use a driveway roller or hire a company to compact the area.
5. Put Down the Weed Prevention Barrier
Your next step is to place the weed prevention barrier down. The typical weed barrier fabric is poly woven and quite strong to prevent ugly weeds from popping up in your gravel driveway. However, it allows water to seep through and drain off into the ground underneath. Depending on the shape of your driveway, you may need to cut the weed prevention barrier material into pieces so that it fits correctly. A little bit of overhang is not a problem and can be cut away later.
6. Place the Driveway Edging Around the Edge of Your Driveway Area
Your next step is to place the driveway edging. Whether you use solid blocks or large rocks and boulders, ensure that, when finished, they will rise 2-3 inches above the level of the gravel. This extra height ensures that the gravel will stay in place when walkingand driving on your driveway.
7. Lay Down the Base Layer of Bulk Leveling Material
Put down 2-4 inches of base layer bulk leveling material. Using the same driveway roller, compress the base layer into the ground underneath.
IMPORTANT NOTE: While some gravel driveway experts recommend putting down a base layer, others do not. In other words, it’s up to you whether you put down a base layer of leveling material or not. You can still have a fantastic gravel driveway without it (and save a few bucks).
8. Lay Down the Top Layer of Decorative Gravel
You’re almost finished! This last step is the most rewarding as you lay down a 6-8 inch layer of decorative gravel and spread it around evenly. Depending on the length of your driveway, you might need a wheelbarrow to transport gravel from one end to the other. Using a metal garden rake (aka bow rake), you can spread the gravel around.
 Do You Need a Base Layer Under Gravel?
As we mentioned earlier, some recommend putting a base layer under your gravel, and some don’t. This base layer, also called a sub-grade, can help ensure that your gravel driveway has a solid, compact surface for support. However, a base layer isn’t always necessary, depending on how much you use your driveway, your specific needs, and several other factors. For some, the point of putting down a gravel driveway is because it’s an economical choice compared to concrete or asphalt. Adding a base layer adds to the cost and, again, isn’t essential.
How Do You Install a Gravel Driveway on a Slope?
If the area where you plan to make your gravel driveway is on a slope, you will need to add an extra step to keep your gravel in place. Otherwise, when driving on your driveway or when it rains heavily, gravel will shift from one area to another. The best way to do this is to use pavers under the gravel. These lock into the ground to hold the gravel in place. One caveat is that they add quite a bit of extra expense to your gravel driveway project and, in many cases, will need to be placed professionally.
 Conclusion
Making a gravel driveway takes plenty of time, effort, and energy. However, if done well, the results can be beautiful and satisfying. A well-made gravel driveway will increase the value of your home by improving its curb appeal. We hope today’s tips on how to make a gravel driveway have been helpful and wish you the best of success making yours.
Featured Image Credit: Artazum, Shutterstock
Contents

 Do You Need a Base Layer Under Gravel?
 Conclusion