
No matter how good you are at maintenance or how much love you have for your children, taking care of kids can be quite overwhelming at times. This is especially true if you’re trying to juggle between a full-time job and parenting duties. And if the nursery is a hot mess, that will make your life even harder. Fortunately, there are tried-and-true ways to organize a nursery with minimal financial investments.
This won’t take much of your time, either. The following list includes 14 tips and tricks for tidying up the baby’s room and maximizing its storage capacity. If you are tired of not knowing where all the diapers, clothes, and toys have gone while you were away, our organizing ideas will help you get things in order. Take a look!

14 Ideas on How to Organize a Nursery
1. Opt for Machine-Washable Rugs
Let’s start by saying that even the biggest and most feature-packed vacuum cleaner won’t always be able to clean every single stubborn stain on the rug. That is why we recommend investing in a rug that can be washed in the machine, like the ones made by Ruggable or RugsUSA. What you should look for is a two-piece rug system where the top “layer” goes into the washing machine.
The fuzzy pad at the bottom, in turn, can be vacuumed. These covers are highly resistant to water, humidity, and stains. On top of that, they have a non-slip design, which makes them a reasonable purchase for a nursery. True, you will have to pay a little extra, but these rugs will save you tons of time and keep things organized.
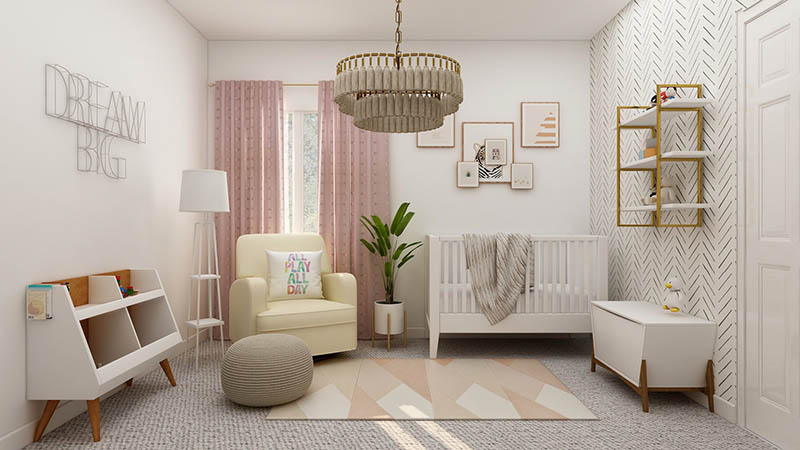
2. Harness the Power of Wall Storage
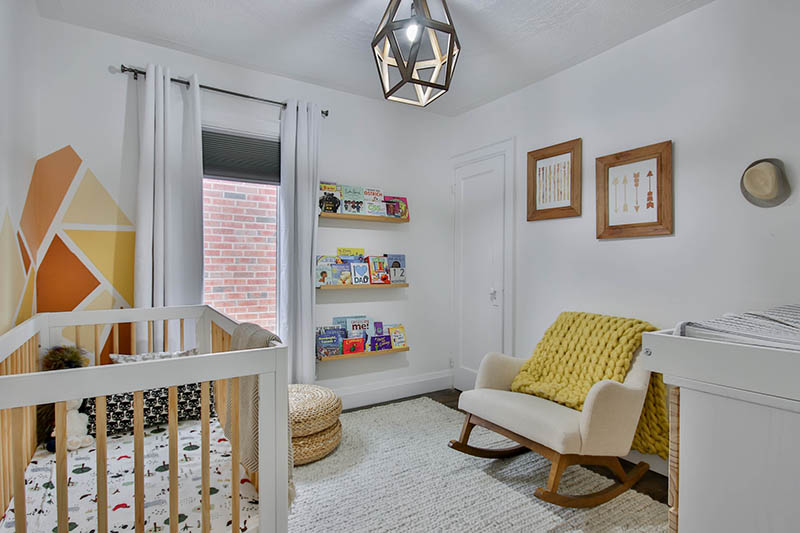
Diapers, blankets, or socks won’t fit on the walls, but that does not mean you can’t use them for storage. Get a set of bookshelves for cheap online or at a local store and they’ll be able to hold all of your baby’s educational, coloring, board, and other fun books. Any literature that your child likes to read (or maybe have you read it) will look great sitting on shelves attached to the walls.
This is one of those ideas that you can implement not only in the nursery but in any other room to save space and exhibit your favorite books. And as the kids grow, the shelves will serve as storage for all their new toys, gadgets, and school supplies.
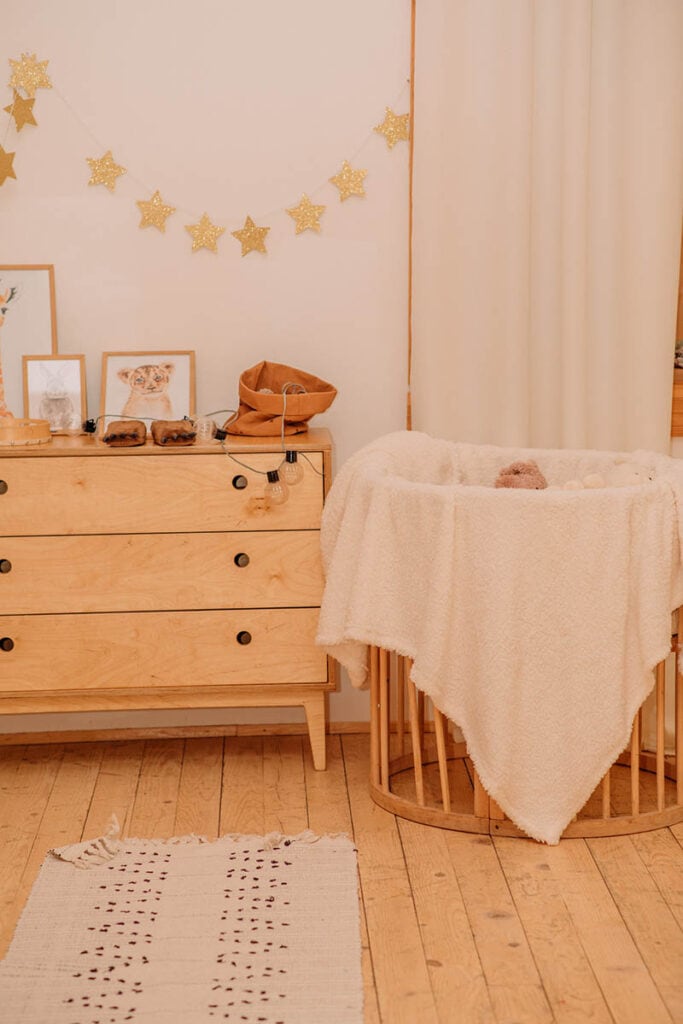
3. Turn a Dresser Into a Changing Table
You won’t believe how fast children grow! And while that’s a blessing to witness, it also means they will outgrow your changing table in a couple of years, making it useless. A dresser, on the other hand, will still be useful for many years. To make this work, you need to buy a changing pad. However, before you pay for it, make sure it has a strap to secure it to the dresser. Otherwise, it might fall off!
Also, always keep a basket right next to it filled with all the stuff you’ll need to change the baby’s diapers, including lotion, ointments, hand sanitizers, and wipes.
4. Put Storage Organizers Into the Dresser
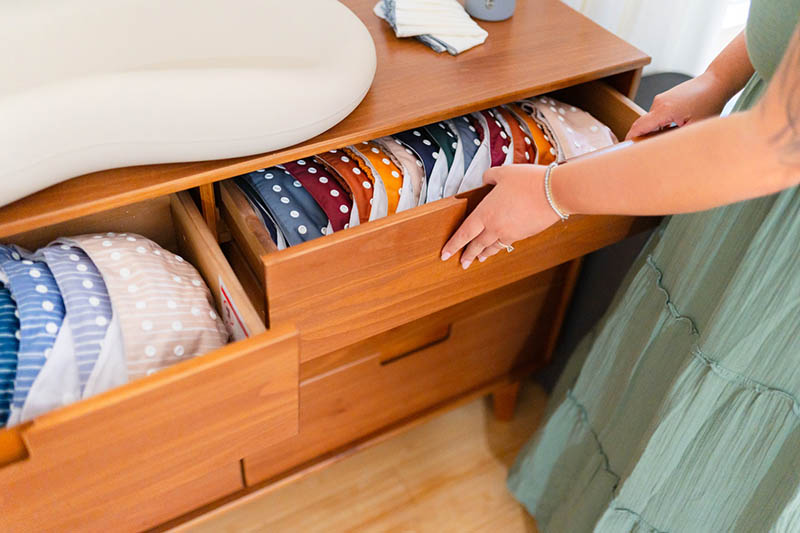
Kids’ stuff is quite small. Therefore, if you put it all in a dresser, finding that one pair of socks, headband, or cute sweater for the baby can turn into one big quest. But that’s exactly what makes organizers so great: they introduce order into the dresser. On average, if you have at least 5–6 baskets in there, that should be enough to keep everything categorized.
You can get a whole set of drawer dividers, organizers, and baskets for $25–40, and use them all around the house for storing different stuff. The material quality doesn’t matter much here. As long as they’re low-profile and of the right size (both in length and in width), go for it!
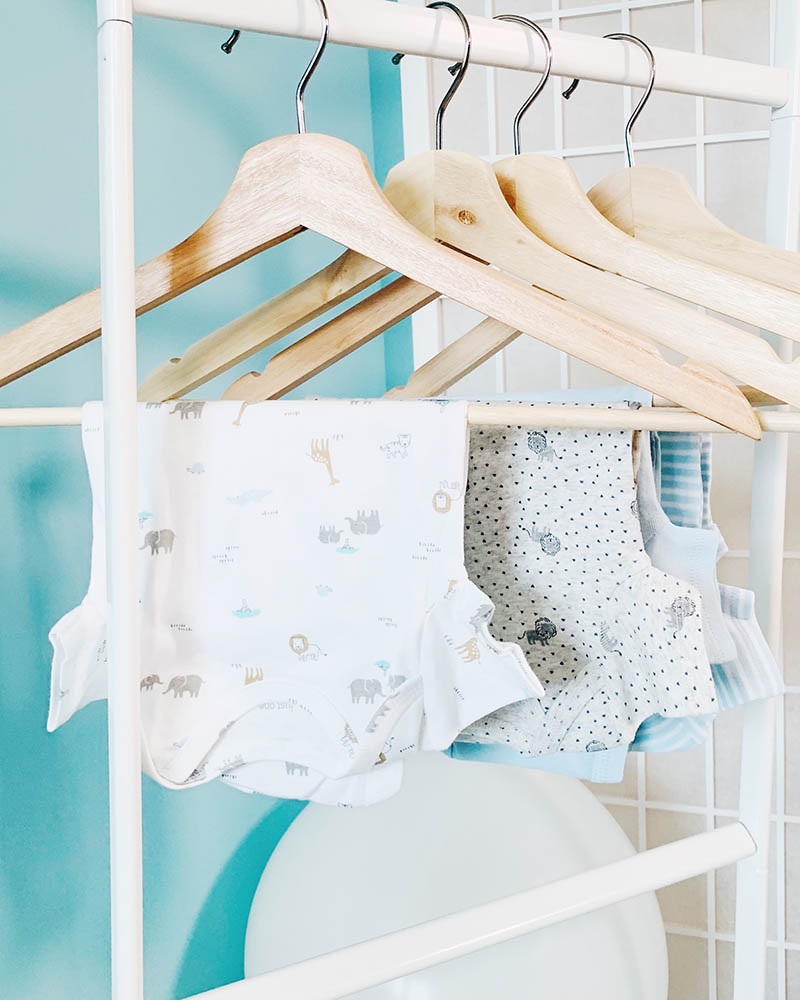
5. Roll the Clothes Instead of Folding

When you’ve got limited space in the drawer and a whole bunch of clothes, rolling them will help make the most out of the situation. Besides, when the clothes are rolled and put next to each other, that makes it easier to visually set them apart. Folding can work as well, but, again, when the drawer/storage container is small, rolling is your best bet.
By combining this little hack with having different containers for different clothes, you’ll get an even bigger boost in storage capacity. And one more thing: if you’re constantly struggling with finding a matching top to the bottom, there’s a great solution to that. Place the t-shirt, sweater, or hoodie on top of the bottom, and roll them together!
6. Keep Outgrown Clothes in One Bin
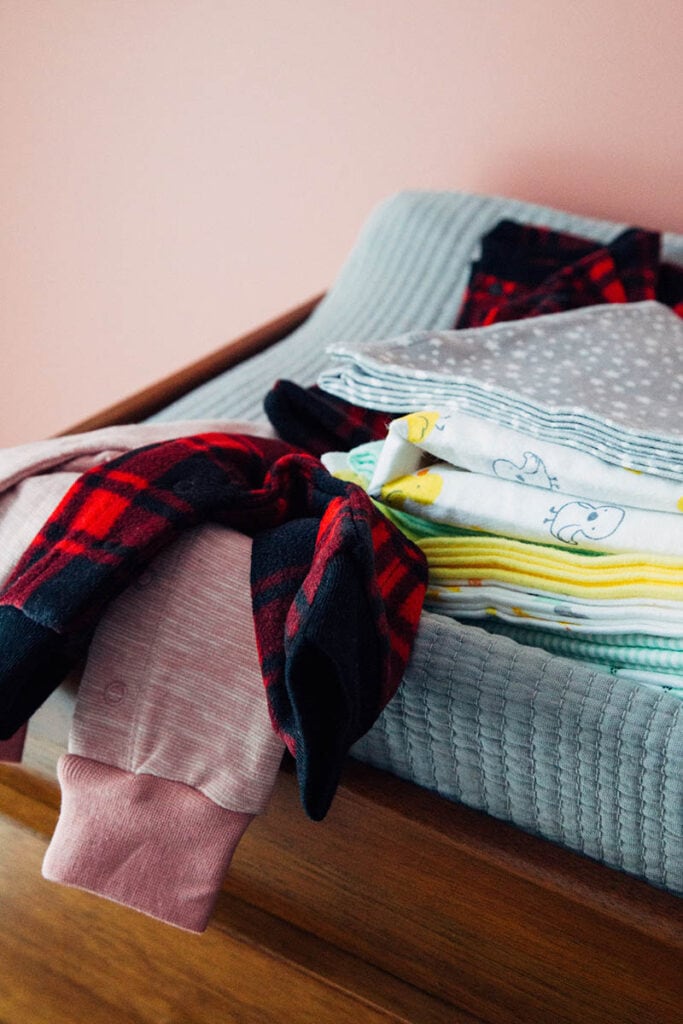
While we’re still on the topic of containers, keeping one for outgrown clothing will make more room for the clothes that the newborn actually needs at the moment. Put that bin on top of the closet or underneath the table and when it gets full, put it away. This way, when another baby comes around, you’ll have all those clothes that might just fit them perfectly.
Or, you can donate or store them somewhere in the basement. The takeaway here is to never mix clothes that fit the kiddo right now with stuff that they’re too big or too small to wear.
7. Put the Labeling System to Good Use
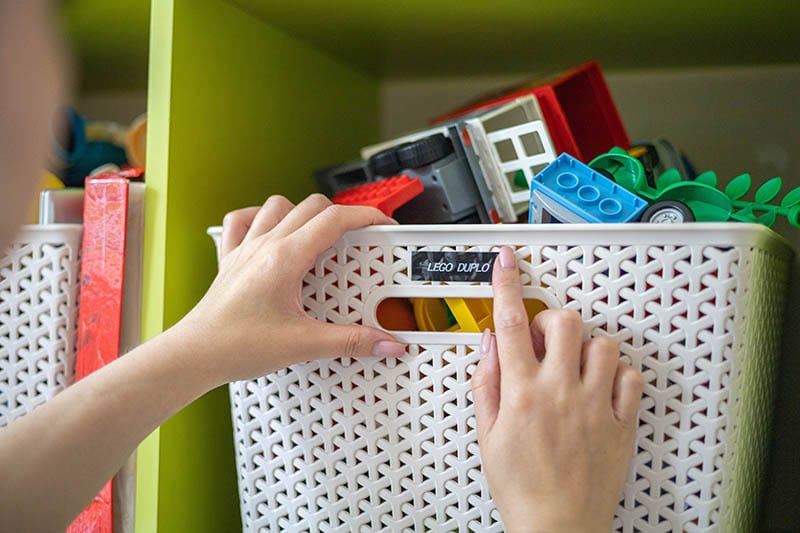
Labeling drawers and containers is generally a great way to keep your kitchen, home office, and entire house organized. This technique can (and should) be used to sort out the stuff that you have in the nursery. It will only take 1–2 minutes of your time. All you’ll need is a set of labels that can stick to plastic (like vinyl letters) or just a cheap marker to, well, mark all the storage bins.
Chalkboard decals and hanging signs are also an option. To take care of our kids, we use different diapers, wipes, creams, lotions, blankets, and feeding gear. Labeling everything will make navigation easier. Another big pro of using the labeling system is that it will serve as a guide for relatives or close friends that end up in the nursery.
8. Store Items Underneath the Crib
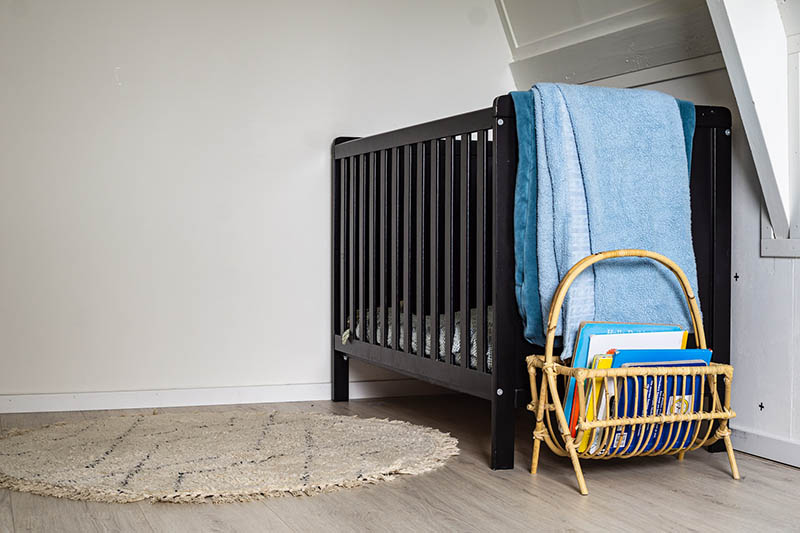
This might not be very obvious, but there’s a lot of space between the bottom of the cradle and the floor that you can utilize. And the best way to do that is through containers and bins. Just put whatever stuff you don’t immediately need but still have use for into a set of containers and hide them underneath the baby’s crib. We’re talking about sheets, mattress pads, and other non-essentials (at the moment).
9. Organize the Clothes in the Closet
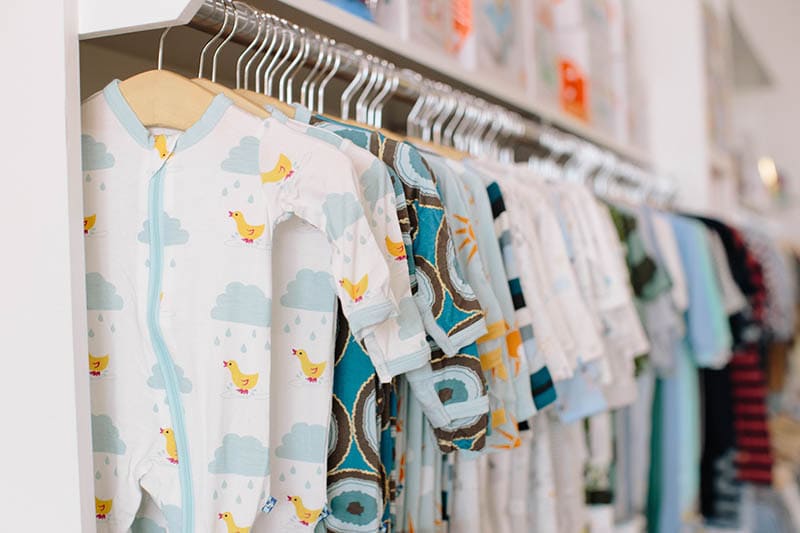
When the clothes in the wardrobe are all over the place, that makes it harder to find a specific piece of clothing. And, since you’ll be doing this at least a couple of times throughout the day, organizing the closet by age, size, or time of the year will definitely help with that. Closet dividers are perfect for this, and they cost almost nothing.
If you don’t have enough space in there for every single sweater or shirt, only keep current-season clothes in the closet. The same applies to baby shoes. Buy a shoe rack or a fancy hanging organizer and only put the shoes there that the kiddo is going to be wearing for the season.
10. Bring the Hanging Bar Down to Kid Level
Even if your child is too young to make a step without falling, lowering the hanging bar for the clothes will still be a great idea. First, measure the height of your kiddo; next, buy a rod and mount it really low so that the little boy/girl can reach it. This won’t happen overnight, but as the kid grows, they will learn how to get their own clothes much sooner compared to when the hanging bar is set at the “grown-up” level.
11. Invest In Blackout Curtains
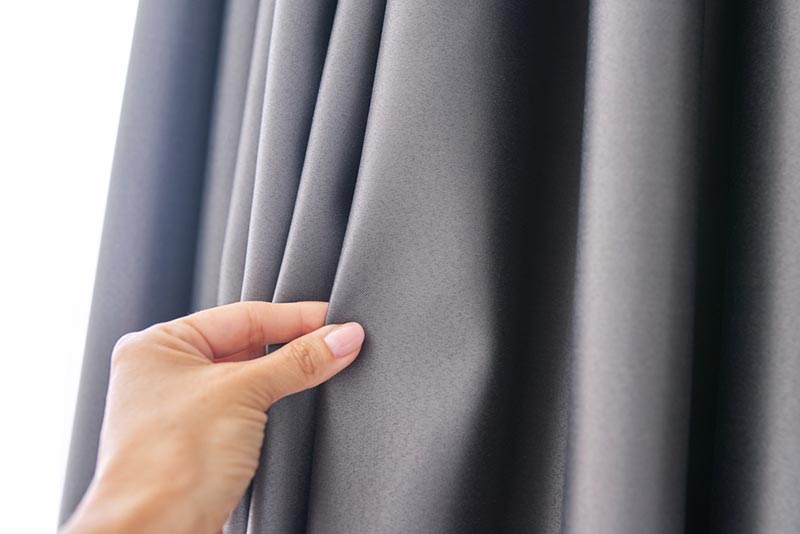
True, this has little to do with organization per se, but do keep in mind that newborns sleep better when the windows are blacked out. So, what will a set of blackout curtains bring to the table? First, it will block the sun; second, it can keep outside noise to a minimum. And finally, if the blinds are thick enough, they will prevent warm air from escaping through the windows.
Together, all these factors will ensure the toddler has a deep, sound sleep. Naturally, when the room is dark, that “tells” the brain that it’s time to produce melatonin, the hormone that shuts the body down and makes us go to sleep. That’s why blackout curtains are in large demand. Even if your son/daughter wakes up during the day, but there’s no light coming through the windows, the baby will, most likely, go back to sleep.
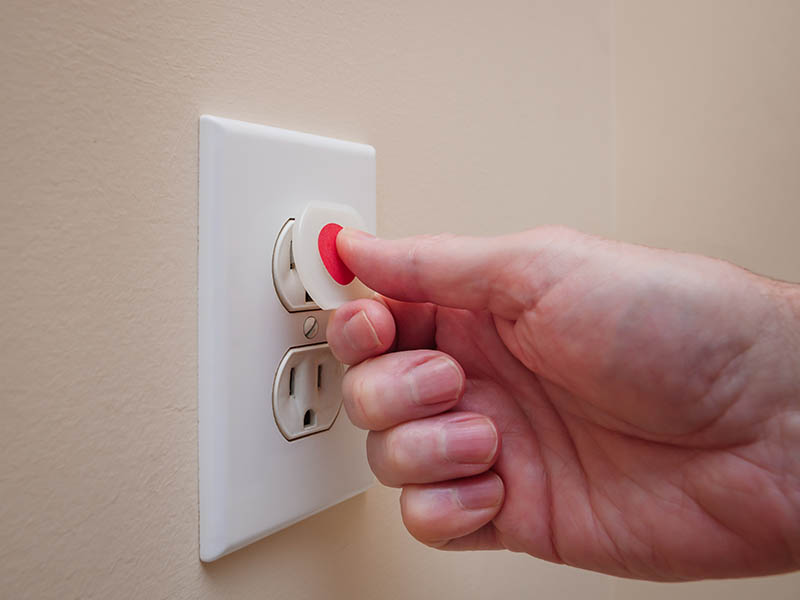
12. Mark the Plugs in the Nursery
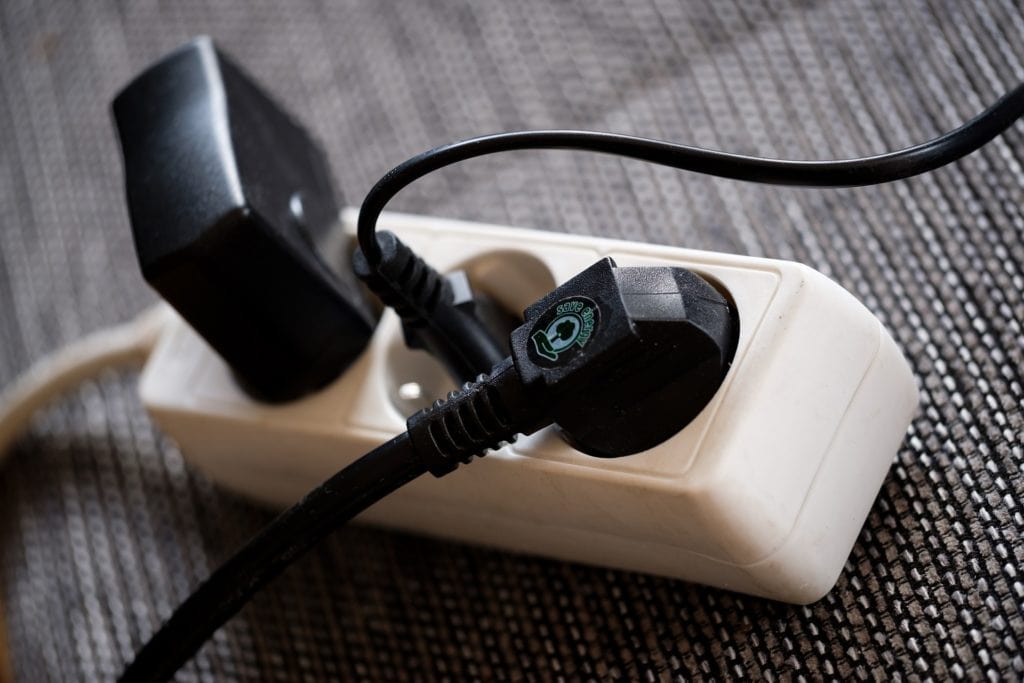
The average nursery has quite a few devices connected to the electric outlet(s) on the wall. The list includes a humidifier, dehumidifier, sound alarm system, and a baby monitor, to name a few. And, at times, it can be a bit hard to figure out which plug powers up which machine. So, just like we did with labeling the drawers, cut small pieces of tape and write the names of the devices on them.
13. Get a Rolling Storage Cart
Moms on a tight budget will probably go with a diaper caddy instead. However, if you do have the bucks for it, a cart on wheels will be a much better investment. You can quickly convert it into a mobile station for changing diapers. Storage carts are often turned into portable pumping stations as well. It all comes down to what the baby needs more at the moment.
14. Baby-Proof the Nursery
To keep the newborn from harm’s way, it’s important to baby-proof the room. Now, little ones spend most of the day eating and sleeping. However, the “thrill of adventure” will, eventually, take over, and they’ll start exploring the surroundings. That’s why you need to make sure there are no sharp items in the nursery. The shelves, in turn, have to be out of reach, just like all the heavy stuff.
Next, secure the cables and outlets by using plastic covers and outlet boxes and wrapping the cords together. As for the crib, see that it’s sturdy, fall-proof, and comes packed with all the latest safety features. Also, put it away from the shelves and clothes, just in case.

Why Not Let the Pros Handle This?
The answer is obvious: professional organizers charge a lot for their services. On average, you can expect to pay $50–60 per hour, with $25–30 per hour being the lowest cost. The most expensive organizing services, in turn, will cost you at least $120 an hour, which is a bit steep. The cost factors include the complexity of the “project”, extra services, and the city/state that you live in.
Furthermore, you’ll have to sign a contract, not to mention spend time looking for the best offers in the area. On the bright side, once you learn how to get the nursery in order on your own, you’ll save at least $150–200 and spend it on something nice for the newborn. And let’s face it: nobody will be able to organize your own child’s nursery the same way you will!

Conclusion
Once you master the art of organizing a nursery, you’ll be surprised by how big of an impact that will make. First, the baby’s room will now have a lot more space. Second, everything will be within reach. Babies deserve all the attention in the world, and by bringing “law and order” into the nursery, you’ll have more time to spend with them.
Today, we talked about increasing the storage capacity, using blackout curtains, and labeling containers. Next, we learned how to make the most out of a tiny closet and put baskets and carts to good use. Even if you only incorporate some of these “hacks” into your daily routine, the positive changes will be well worth it!
Featured Image Credit: Collov Home Design, Unsplash
Contents
