

Old bathtubs do not necessarily need to be replaced to be renewed. A bathtub can be painted to give it a fresh lease on life. Replacing a bathtub can be an expensive job that requires the use of professional plumbers and contractors. Painting a bathtub can be done by anyone with little time and determination. Before you decide to rip out and replace your old bathtub, consider painting it instead.
Here is how you can paint a bathtub in 10 easy steps!


Preparation
Painting a bathtub is not much different from any other painting job. Many of the materials needed to complete the job overlap with any large painting project. However, there are some additional things to consider. One of the most important things to remember is that painting in a small space like a bathroom is going to require a lot of ventilation and a respirator. This is extremely important for your health and safety.
| Time to complete | 3–5 days |
| Skill level | Beginner–Intermediate |
| Average cost | $200 |
In order to complete the job, you are going to need the following materials:
- Spackling knife or caulk remover
- Two tubes of caulk
- Caulk gun
- Paint
- Primer or epoxy
- Screwdriver
- Bleach and or acetone
- Cloth
- Respirator
- Roller
- Paintbrush
- Dropcloth or plastic
You may also need:
- Grout
- Bathtub repair kit
- New hardware
Painting a bathtub is not extremely complicated or difficult, but it will take time. The time to complete the job will take anywhere from three to five days. It is recommended to do the job over the course of a long weekend to give yourself enough time for each step to set properly. It is also recommended to have a plan for bathing during the job. Once you start, the bathtub is going to be out of commission for at least three days and possibly longer. If you only have one bathtub, you might need to plan to shower elsewhere during the project.
With all of that out of the way, let us get started.

How To Paint a Bathtub
1. Remove caulk
The first step to painting your bathtub is to remove all of the old caulk from around the tub. Using a spackling knife or caulk removing tool, pull up all of the caulk. Take care to find all of the caulk from around the tub and from around the hardware. Once you have all of the caulk out, throw it away.
2. Remove hardware
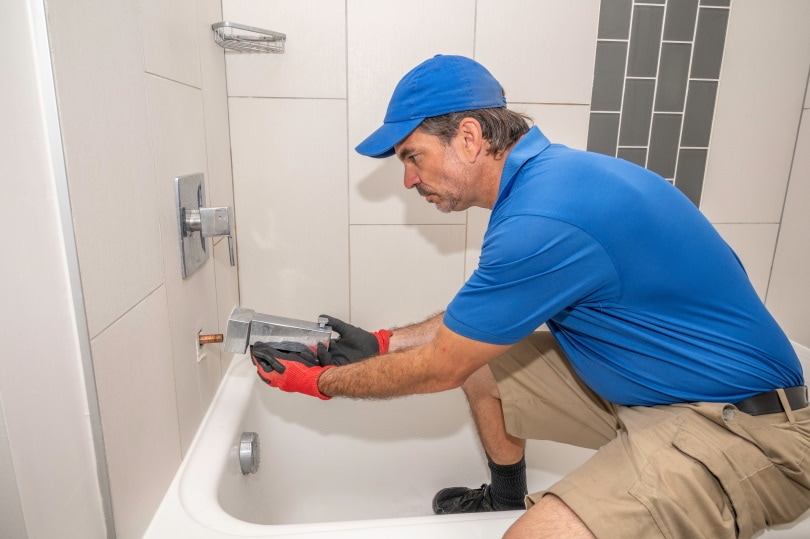
Next, remove the hardware from the tub. Remove the drain cap, the faucet, and the handles. You do not want to have to paint around these things. The drain cap can often be unscrewed by hand. The handles are held in by Phillips head screws. The spigot or spout is often held in by a single screw at the base, and then it slides off.
Set the hardware aside so you can put it back on later. Even if you are planning on replacing the hardware later, keep the originals because you know they fit in case something goes wrong with the new hardware.
- Remember to ventilate!
This is the most important safety tip for this job. The bathroom needs to be well ventilated in order to protect your health and safety. The next steps include the use of chemicals, smelly paint, and acrylic. The bathroom needs to have the door open, a window open, and the fan running. In order to get a better cross-ventilation effect, you might want to run a standing fan to blow the air out the window as well. This is essential. You will also need to use a respirator to protect yourself further from the fumes.
Not properly ventilating the bathroom can lead to fainting, falling, or even death in extreme cases. Before moving on to the next step, make sure the bathroom is properly ventilated.
3. Thoroughly clean the tub
Having a clean tub is necessary to get a good result after painting. The tub needs to be thoroughly cleaned. There are many different recommendations on how best to clean an old bathtub, and what specific method you choose is up to you. Most people suggest using strong bleach or acetone, or both. Scrub the tub down from top to bottom. Get up any dirt and staining.
Getting the tub spotless is extremely important, so it is suggested that you give the tub a good scrub at the end of day one and then start day two by scrubbing it again. This is to make sure that the surface of the tub is clean enough to take paint and primer. A tub that is improperly cleaned will disrupt the primer and paint which could lead to cracking, flaking, and bubbling. That will ruin the entire job over time.
4. Repair and patch any damage
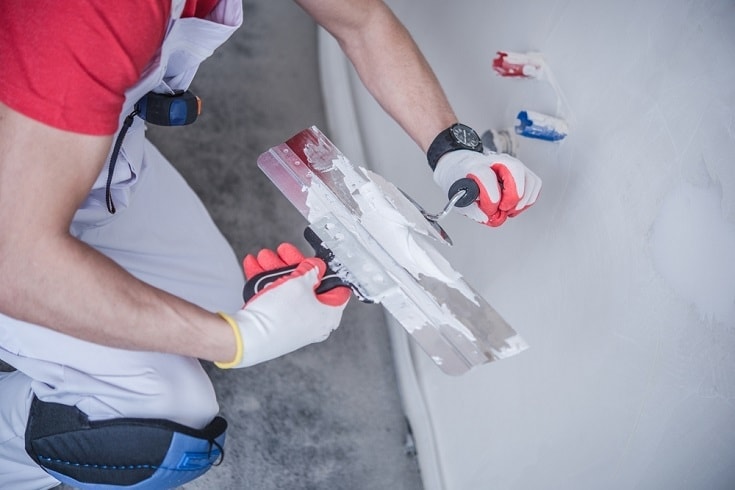
After the tub is clean, look for any damage on the tub. The most common types of damage are cracking and pitting. If you find any cracks or pits, now is the time to patch them. This will prevent paint from seeping into the innards of the tub and will help keep your tub properly maintained. Seal any cracks and repair any pits with the required materials. You can buy a bathtub repair kit at your local home improvement store that will have the materials needed to cover nearly any repair you find.
5. Prep the bathroom
Now, it is time to prep the bathroom for paint. Put down a drop cloth over the floor, tape the edges of the tub to prevent paint from getting on the walls, and double-check your ventilation system. Cover any important items. Remove any art or furniture you have nearby. Take up the bathroom rugs. Remove or prep anything you don’t want to accidentally get paint on.
6. Prime the tub
It is time to prime the tub for painting. Depending on what kind of tub you have, this step will vary slightly. Most tubs call for an acrylic primer that pairs with a special paint made specifically for bathtubs. Some bathtubs will require something slightly different, like an enamel-based primer. Consult your chosen paint and bathtub type for additional information. But most bathtubs will take the readily available acrylic paint and primer sets.
Give the tub one good coat of primer. Make sure you are wearing your respirator. Cover the entirety of the bathtub surface but do not lather it on too thick. The primer is the base coat for the eventual paint that will go on. Use a roller to coat the inside of the tub and use a brush to get the areas on the top of the tub and around the piping.
Let the primer dry completely. It is recommended that you let the primer dry overnight before moving on to the next step.
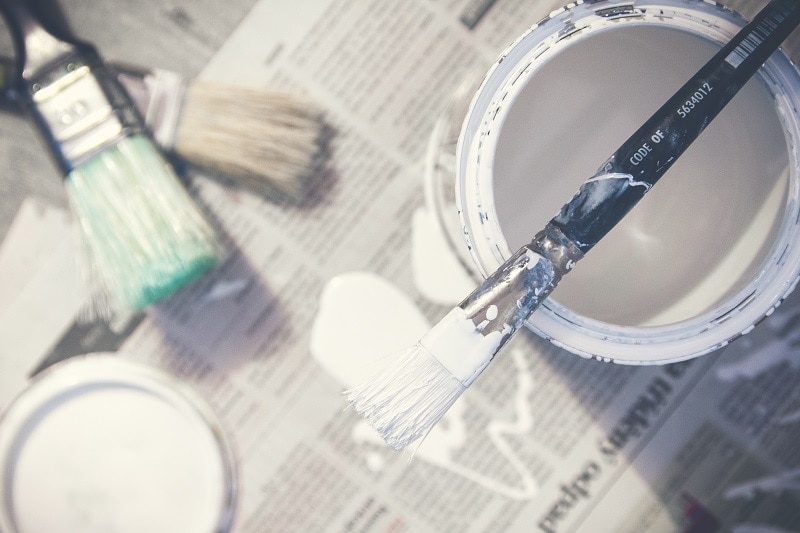
7. Paint the tub with two starter coats
It is finally time to paint the tub. After allowing the primer adequate time to dry, it is time to paint. Paint the tub in the same way you primed it. Roll the paint onto the inside of the tub, coating it completely. Then use a brush to get the top of the tub and the areas around the pipes.
Painting the outside of the tub is the trickiest part and the messiest. Use a roller to paint the outside of the tub carefully and then touch up hard-to-reach areas with a brush. Give the bathtub one full coat and let it dry completely. Then repeat this step and add a second coat. Let it dry completely.
Two coats are usually enough for most jobs, but there are some cases when a third coat might be needed. Check the paint after two coats and determine whether a third coat is required looking for any fading or patchy spots. If you feel the tub needs a third coat, repeat this process again. Let it dry.
8. Inspect paint and tub
After you have finished both coats of paint and let each coat dry, it is time to inspect your work. Look to make sure that you are not seeing any bubbling or streaking in the paint. Make sure you have adequately covered every area with paint so that the tub looks the way you want it to. At this point, the look is not going to change. If you find an imperfection or an area that needs a touch-up, now is the time to fix it before finishing up the job.
This is also the time to clean up any paint splatters or mistakes that you might have made. Get the paint off the floor and the surrounding tile before moving on to the next step.
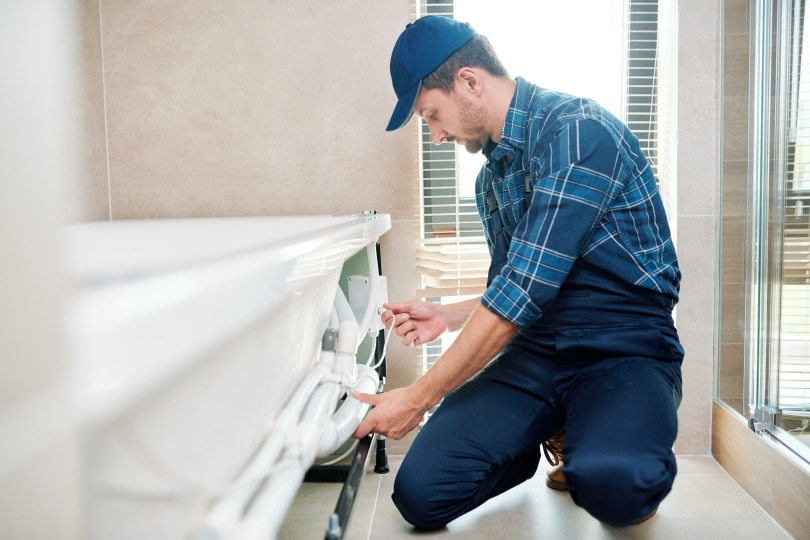
9. Recaulk, replace hardware
The penultimate stage is to recaulk the tub and replace the hardware. Using bathroom caulk, reseal all of the areas around the tub. Replace the hardware or add new hardware and seal any gaps around the handles or faucet. Let the caulk dry for the recommended amount of time. The time to dry will be visible on the tube.
Related Read: What Is the Cost to Replace a Bathtub?
10. Run water
The final step in the process is to run water in your freshly painted tub. This is important for two key reasons. First, it will let you know that all of the paint has dried properly. Do not run the water until you are absolutely sure everything is dry. If you see any paint in the water, the tub might not have dried properly, and it might need additional attention. Second, it makes sure that you have reattached all of the hardware properly and that the spigot is working as intended.
If the water is flowing and the tub is sealed and looks good, then you are finished. It is time to enjoy your tub once again.
Conclusion
Painting a bathtub is an easy way to add some new life to an old tub. New tub replacements can cost hundreds, or even thousands, of dollars. You can save a lot of money and hassle by simply repainting an old tub to reflect a new look. This type of job is becoming more popular now that colors are returning to the new bathroom designs.
Whether you are a brand new homeowner looking for an eye-catching project or an old pro trying to avoid serious upgrade costs, painting a bathtub is simple.
Featured Image Credit: Piqsels
Contents
