How to Patch a Window Screen in 4 Steps (With Pictures)
-

- Last updated:

Window screens are often forgotten about devices, but they are essential for keeping bugs and other pests outside of your home. If you notice even a small tear in your window screen, it’s important to patch it up ASAP.
Luckily, patching up a window screen is not difficult at all. The most challenging part will be determining what kind of window screen you have since the material will determine how to fix it. In all cases, patching up a window screen can take as little as 10 minutes to complete.
To learn how to patch up a window screen in four steps, keep reading. This article explains everything you need to do and know about patching up a broken windows screen.
 Preparing to Patch a Window Screen
Before you patch up a window screen, you need to do two things: 1) gather your materials and 2) make sure that you have enough time to finalize the project.
What You’ll Need
- Straight edge
- Utility shears
- Straight cut aviation snips
- Patch that matches the window screen material
- Waterproof glue
- Microfiber cloth
It’s important to note that you make sure the patch you get matches the window screen material you are attaching it to. Window screens are made from different materials, have different densities, and even have different colors. Matching the patch will more evenly connect to the window and look better from the outside.
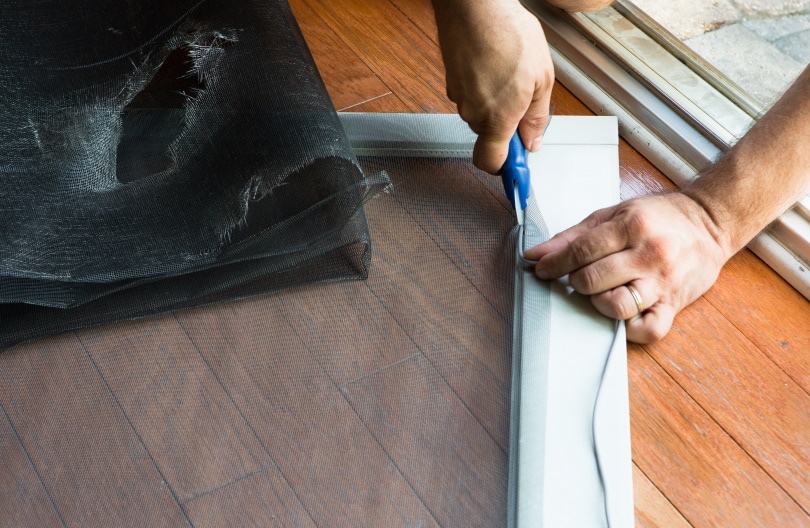
Image Credit: Ozgur Coskun, Shutterstock
Make Sure You Have Enough Time
Patching a window screen is a beginner task. It does not take much time. Once you become experienced at patching a window screen, it can take less than 10 minutes to complete. The first time you get the job done may take up to an hour.
Most likely, it won’t take you more than 30 minutes the first time you patch up a window screen. Just make sure you have a little extra wiggle room if something goes wrong. You should be able to patch up a window screen after you get home from work or on the weekend without much issue.
How to Patch a Window Screen (4 Steps)
1. Cut Around the Ripped Screen.
To begin, use a straightedge or a sharp knife to cut a rectangle around the tear. You want to make this rectangle as small as possible. The purpose of this hole is so that the patch can sit evenly and appropriately over the tear.

2. Cut the Patch to Match the Rectangle from Step 1.
After you have finished cutting the rectangle from Step 1, go over to your patch and cut it so that it is slightly larger than the rectangle on the screen. You want the patch to be about 1 inch larger than the rectangle hole so that you can easily attach it.
3. Loosen Around the Rectangle from Step 1.
Go back to the rectangle from Step 1. Loosen the area around the hole so that it can easily take on the patch. Be careful not to rip the hole any more than it already is.
4. Apply the Patch.
Finally, place the patch over the hole. Bend the strands of the patch over the hole and twist them together. Continue to twist the ends until the patch is snugly on the windows screen. Finalize this application by adding a small layer of waterproof, silicone glue over the edges.
Wipe off any excess glue you see using a microfiber cloth. Make sure that there are no drips. This last step will make sure that the patch stays smooth and secure.
What Should I Do If There Is Just a Small Rip on the Window Screen?
If there is just a small rip on the window screen, as opposed to an actual hole, you don’t have to actually patch up the window. Instead, you can use a little bit of clear nail polish or waterproof glue to connect the two strands back together.
Depending on how far apart the rip is, you might need to twist the strands so that they’re connected once again. Cover these twists with clear nail polish or glue once you are finished. Repeat this as frequently as you need to or whenever you notice the strands coming apart again.
Should I Patch a Window Screen or Replace It?
If there is just a rip or small tear on your window screen, patching it up will do the job easily. Patching up the window will fix the problem, and it won’t be as expensive as repairing it outright. So, it’s best to patch up a window if there’s just a small defect.
In the case that you notice that there is a large rip or severe damage to the windows screen, it might be better just to replace it outright. It will be easier to replace the windows screen, and it will ensure that the window screen doesn’t rip again prematurely.
 Final Thoughts
Patching up a window screen only takes four steps: cut around the ripped screen, cut the patch so it’s the right size, loosen up around the whole, and apply the patch. It really is as simple as that. For small rips, it can be as simple as adding a quick layer of nail polish or glue.
Even though fixing a small rip is super easy, it’s still important to get the job done quickly. Even the smallest of rips and tears can allow tons of bugs and other pests inside your home. So, don’t procrastinate, especially since the job is so easy to fix.
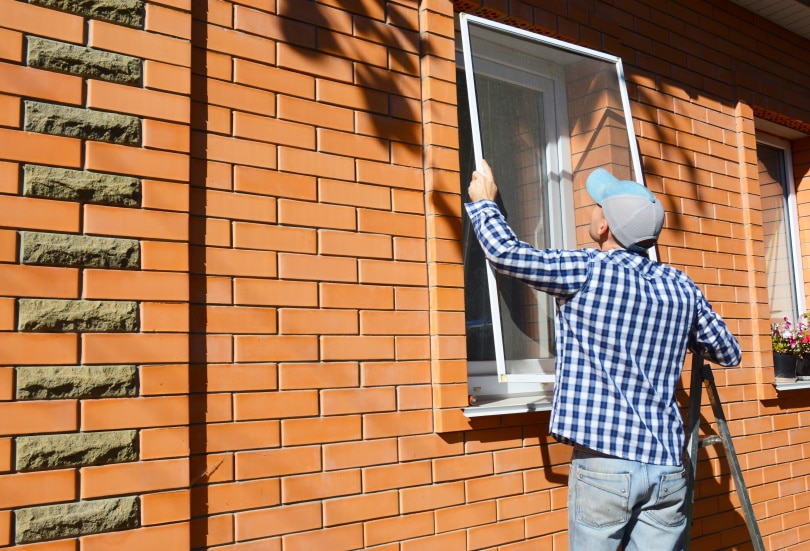
Featured Image Credit: Radovan1, Shutterstock
Contents
 Preparing to Patch a Window Screen
