
Winter is coming, and it poses the unique challenge of winterization: protecting your home and stuff from the cold, ice, and snow. Winter poses many dangers, from raising electricity prices to damaging your home and more. Preparing for winter before it’s here can save you a lot of money and headaches when the ground freezes. Let’s check out how to winterize your house in anticipation of winter weather.

Before You Begin
We suggest you start winterizing as early as fall, especially if you’re doing everything yourself. This gives you plenty of time, letting you break the mammoth task into more manageable chunks.
For convenience, we’ll just list everything you need to complete winterization. You’ll need this stuff at some point or another, so it’s best to just gather it before starting.
- Ladder
- Gutter wand
- Heat tape
- Newspaper
- Insulation
- Deicing salt
- Caulk & caulking gun
- Broom, dustpan, and wire brush (for chimney owners)
- Weatherstripping
The 7 Steps to Prepare Your House for Winter
1. Clean the Gutters
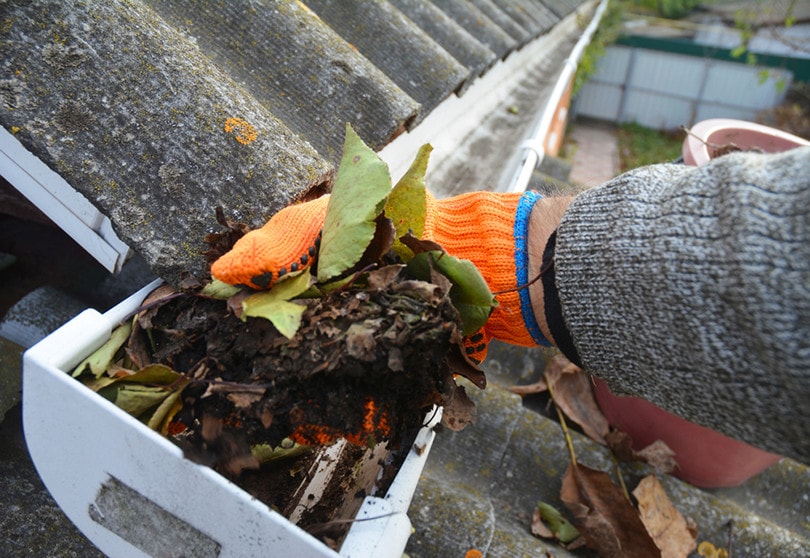
Get up on your ladder and use your handy-dandy telescoping gutter wand to make sure the gutters are completely clear of any debris. Water can freeze and form ice dams in your gutters if they’re not kept clean. You may also want to install gutter guards to reduce the amount of debris that can build up in your gutters over time.
2. Check the Roof & Attic
If your home has any leaks, this is the time to fix them. Winter storms can cause serious damage to roofs with pre-existing damage, so take this chance to get up on your roof and check for leaks. Alternatively, you may wish to hire professionals who can guarantee the work will hold up to winter weather.
The attic is another elevated area that requires your attention before the winter sets in. Poorly insulated attics let cold air in, which makes your heat work overtime to keep up. It also raises your bills as a direct result! Use the insulation of your choice to fill any gaps in your attic. The loose-fill insulation used in many older homes has a tendency to settle over time, so checking older homes’ attics is especially important.
Adding more insulation to your home is rarely a bad idea, and in the winter it can make you more comfortable, keep your heating costs down, and minimize strain on your HVAC system. Finally, also take this time to check for cracks in the walls, which you can seal with your trusty caulking gun.
3. Wrap Your Pipes
Burst pipes are one of the biggest sources of winter damage, so you want to make absolutely sure yours are properly winterized. Newspaper is the easiest and cheapest material to wrap your pipes with – the paper is made of cellulose, which is the same stuff a lot of insulation is made of.
If you waited too long and you have a frozen pipe to contend with, use heat tape to warm it up. This stuff looks like a non-tacky roll of tape, but it plugs into an electrical outlet. Wrap it evenly around frozen pipes and plug it in. The tape heats up and becomes sticky, clinging to your pipe and thawing the built-up ice inside.
If you don’t already have one, we strongly recommend installing an automatic water shutoff valve that can instantly cut off water flow in situations where your pipes burst.
4. Have Your HVAC System Serviced
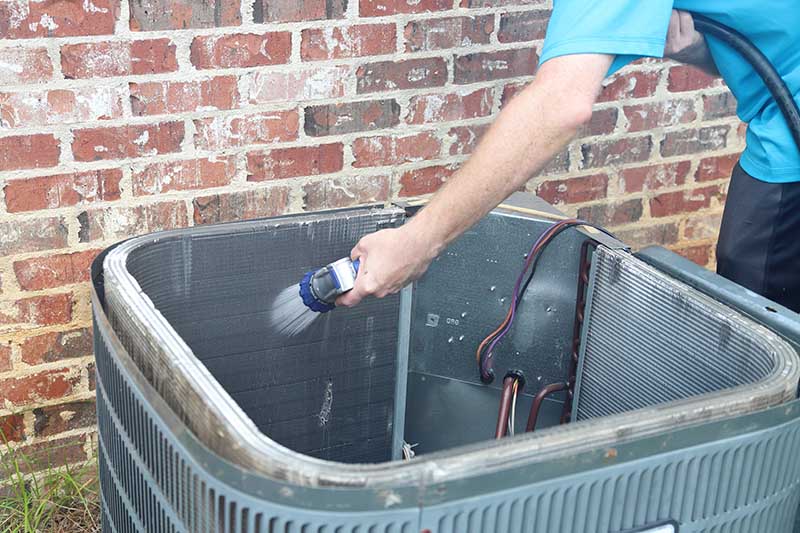
Winter puts a lot of wear and tear on HVAC systems already, so it’s vital that you service yours *before* winter arrives. A freshly serviced HVAC system will also keep your home more comfortable when the first cold snap hits.
Seriously, don’t wait. The HVAC business booms in the winter because of peoples’ heat going out, so they may be overbooked or charged more for service.
5. Seal Drafty Cracks Around the House
You’d be surprised how many minute air gaps there are in your walls and floors, and these all let chilly air in and make your heat work harder to maintain a comfortable temperature. Move your furniture away from your walls and check for any tiny gaps, then check your windows. Seal any gaps you find with caulk.
Next, take a look at the doors leading outside. If there are substantial gaps, that’s also a problem. Install weatherstripping to keep things as airtight as possible.
6. Salt Your Driveway and Walkways
We all know that de-icing salt is useful for getting rid of ice, snow, and slush, but it works even better as a preventative measure. Sprinkling it over your driveway and external walkways prevents ice and snow from settling, thus saving you time on snow shoveling!
7. Clean Your Chimney
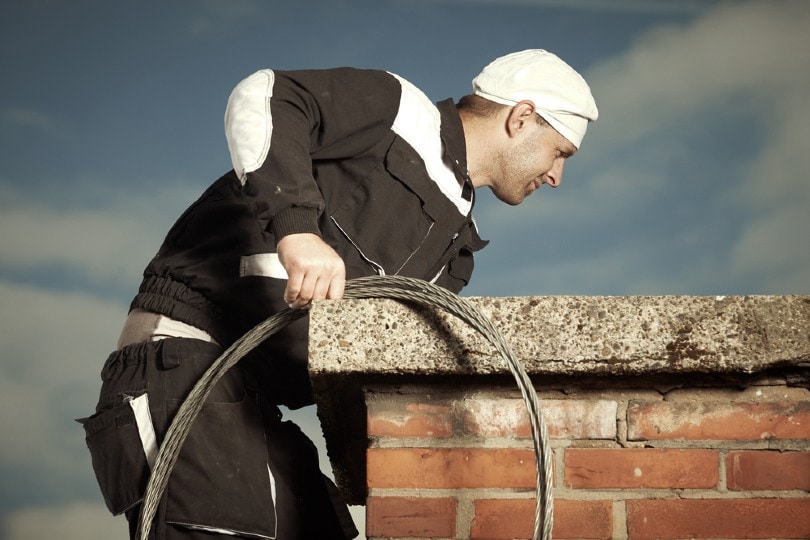
Feel free to skip over this if you don’t have a chimney. Chimneys can let a lot of air in and pose health risks because of the soot clinging to them, so you should have yours cleaned before the first cold snap hits. If you don’t mind looking like an extra from Mary Poppins, you can save some cash and clean it yourself with a wire brush, broom, and dustpan. If you don’t plan to use the chimney, have a chimney balloon installed to prevent drafts.

In Conclusion
Winter can be hard to prepare for, especially if you’re used to a warmer climate, but it’s not as hard or complex as you might think. Wrapping your pipes and making sure your house is airtight is most of the job, but there are a lot of quirks to deal with. Either way, vigilant observation and winterization will save you a lot of trouble and money later.
Featured Image Credit: JamesDeMers, Pixabay
Contents
